
Step 1: Apply Eyeshadow Base
Starting with a clean lid. Take your preferred eyeshadow base and apply it from the base of the lid working your way up towards the brow bone. Be sure to use less product as you are working your way up so there is less as you move towards the brow bone.
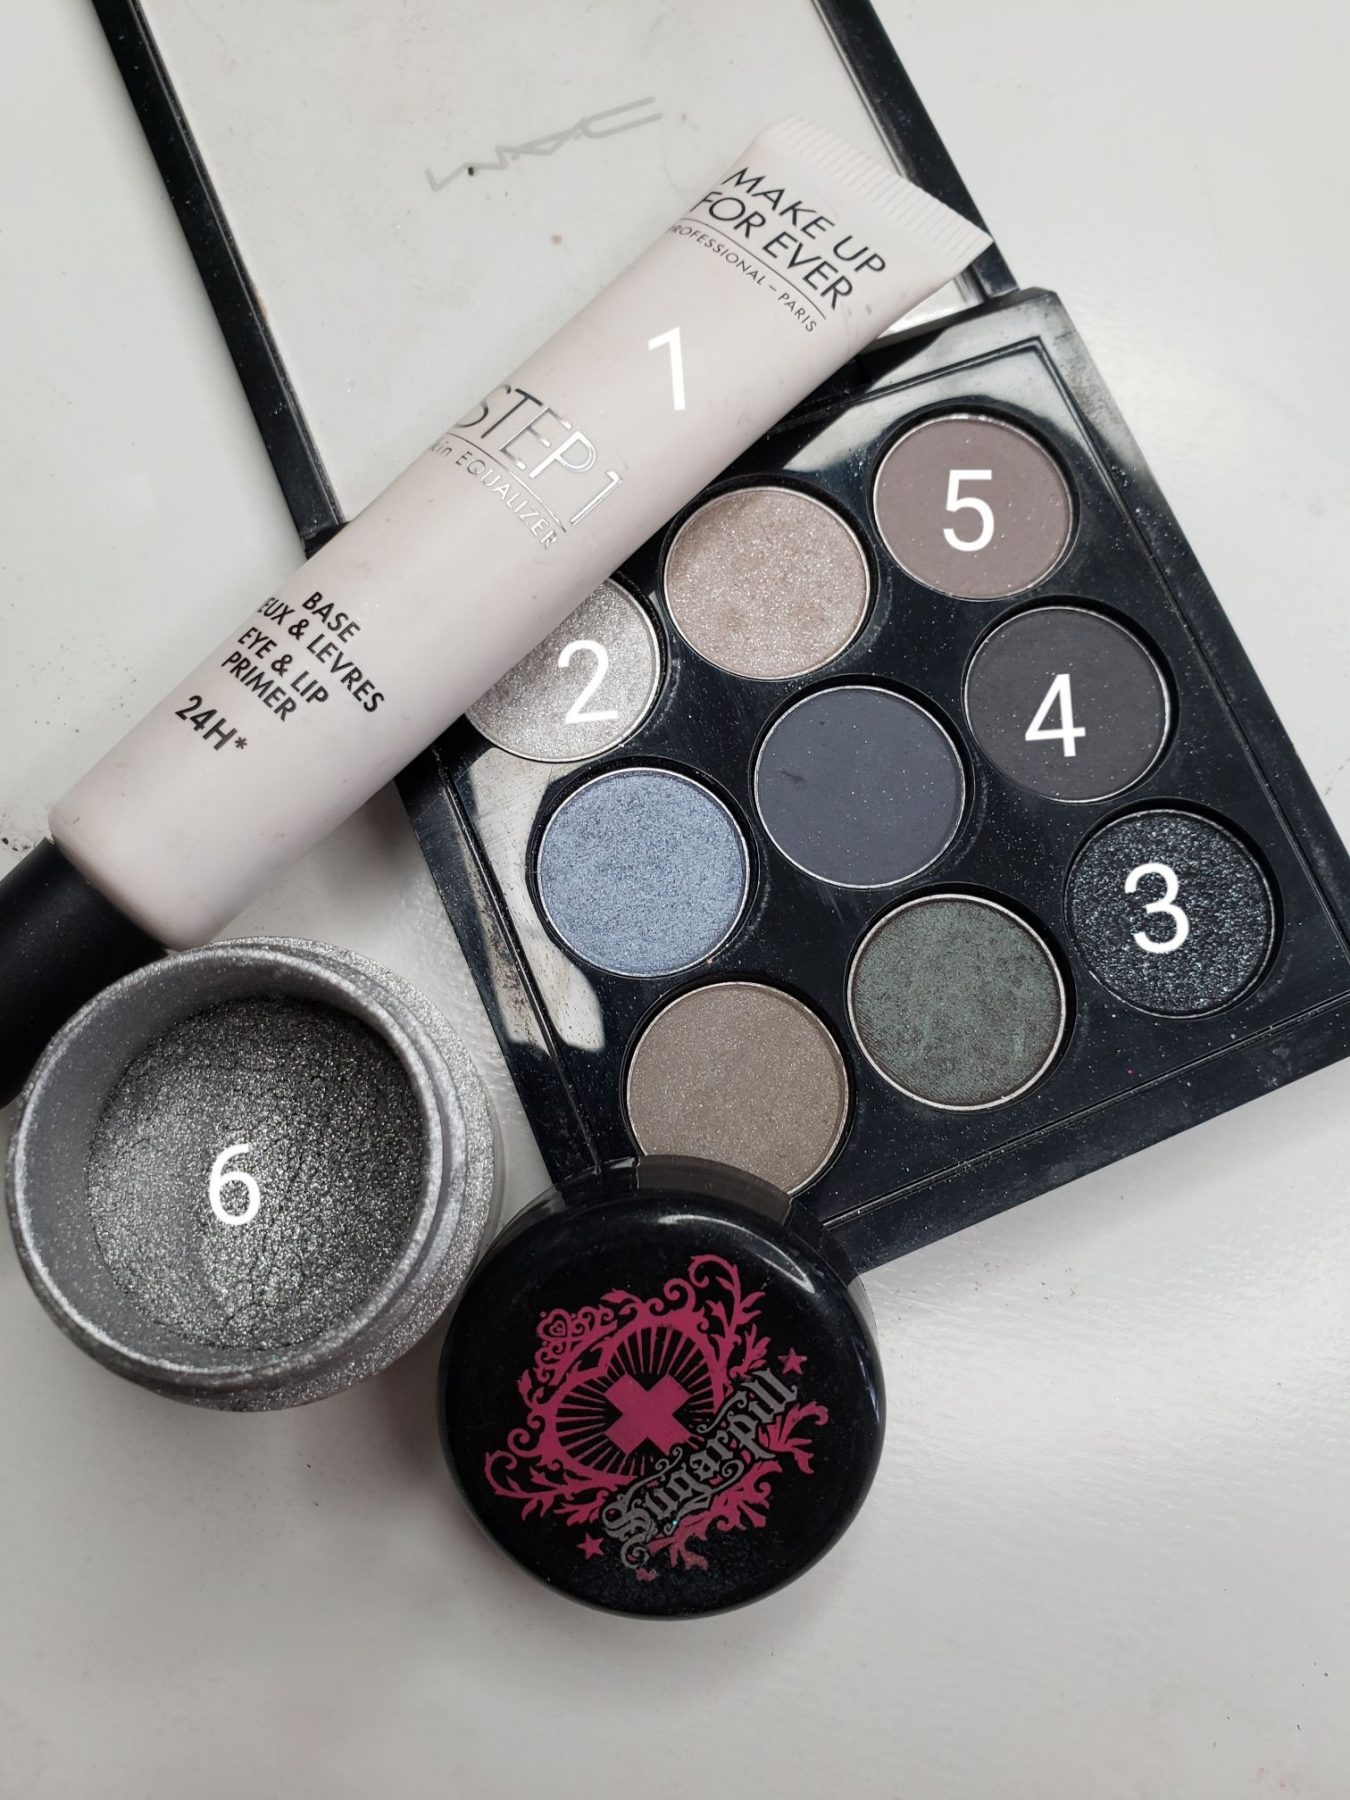
After, use your finger to spread and disperse evenly. I used Makeup Forever Step 1 base for eyes and lips.
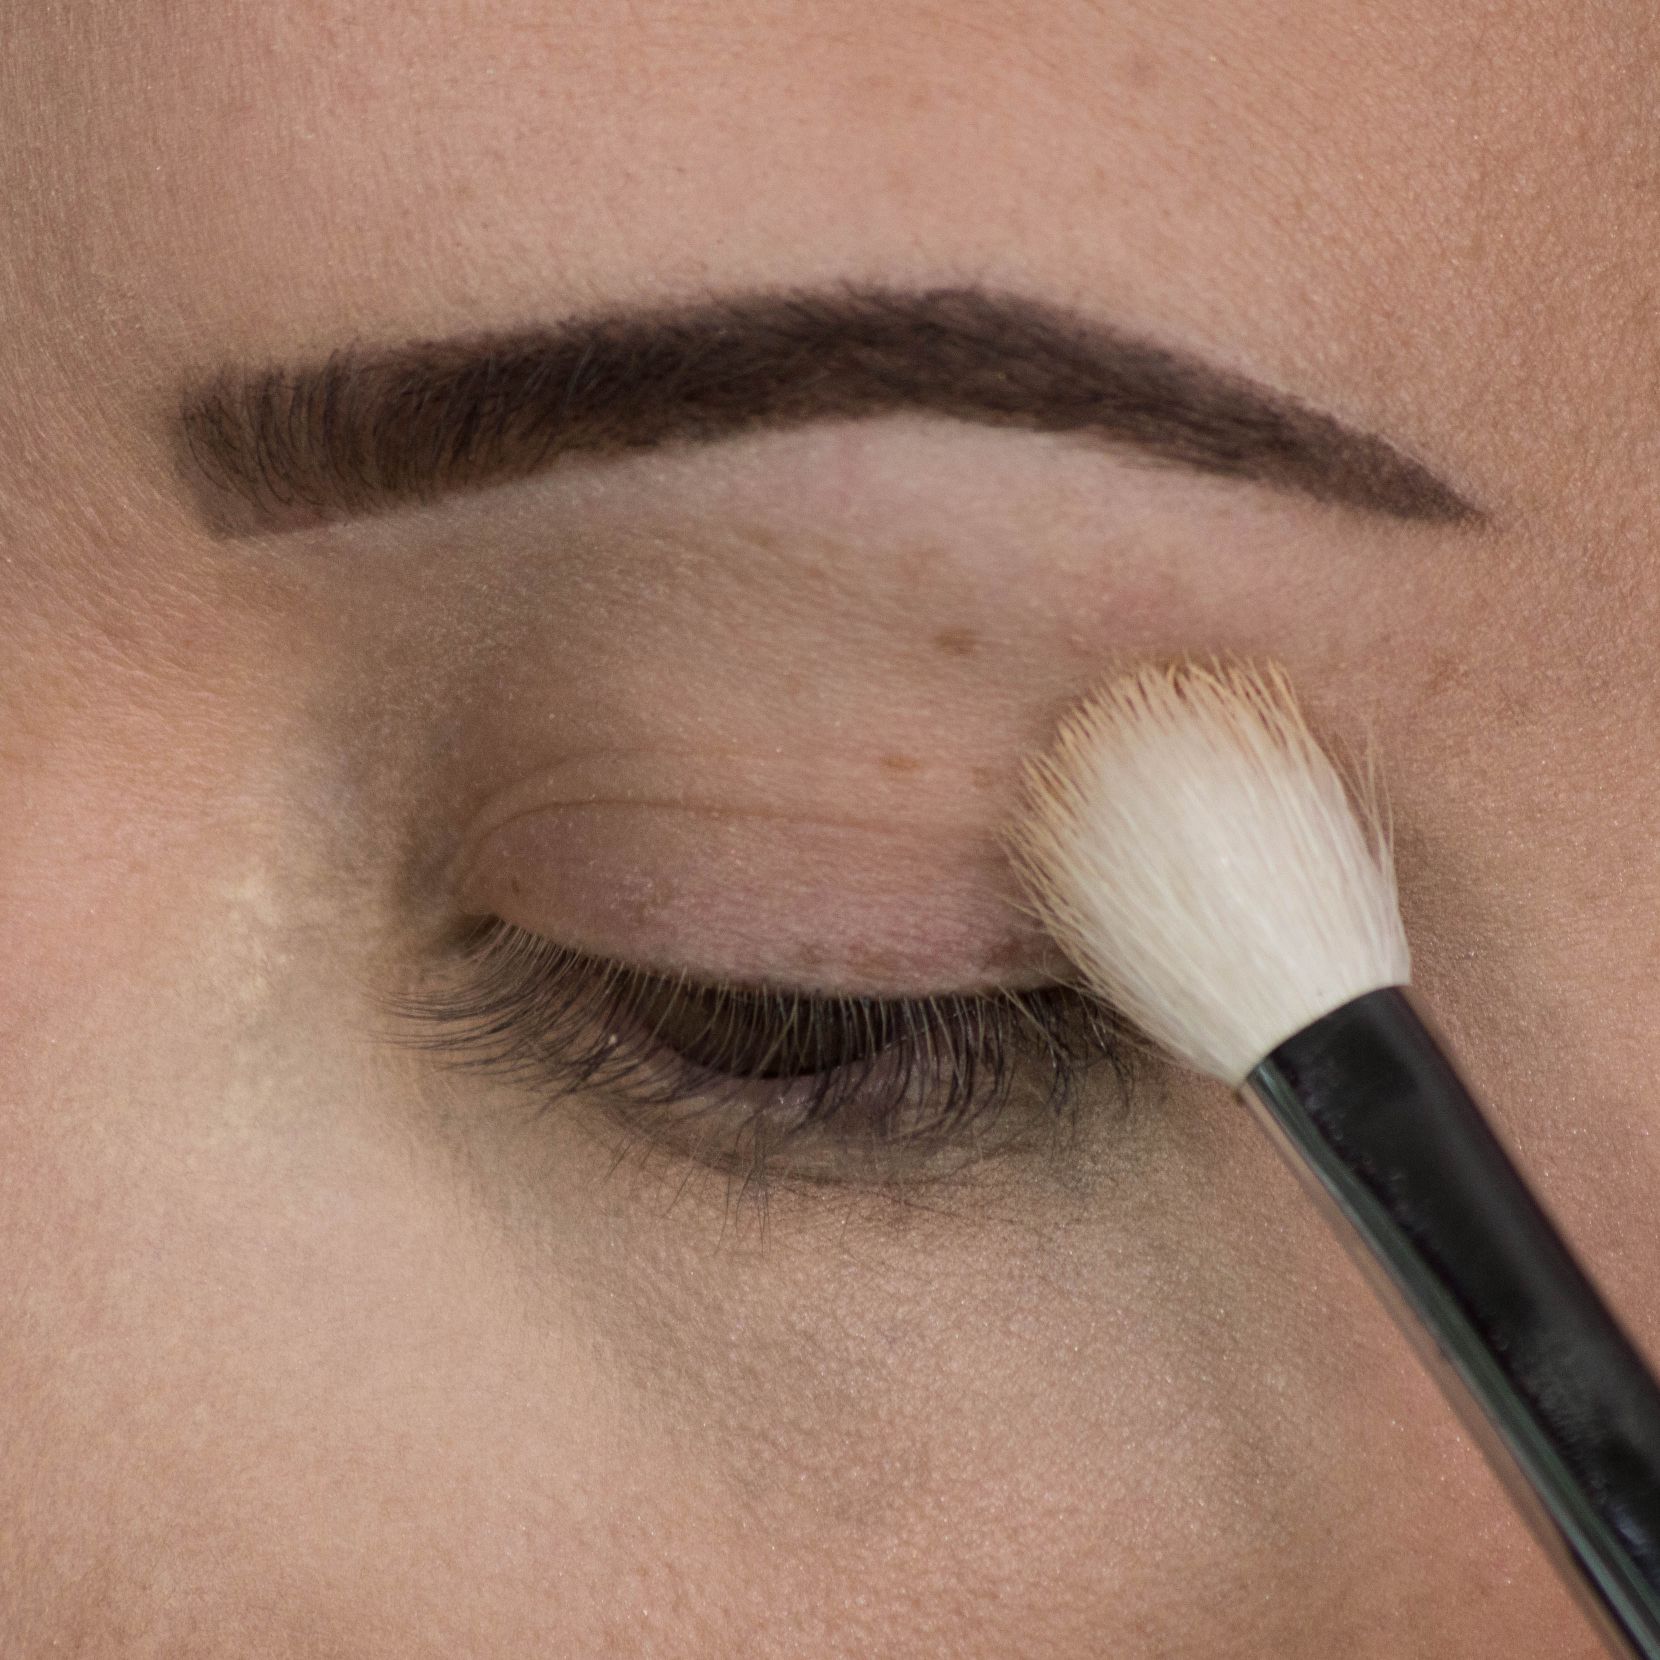
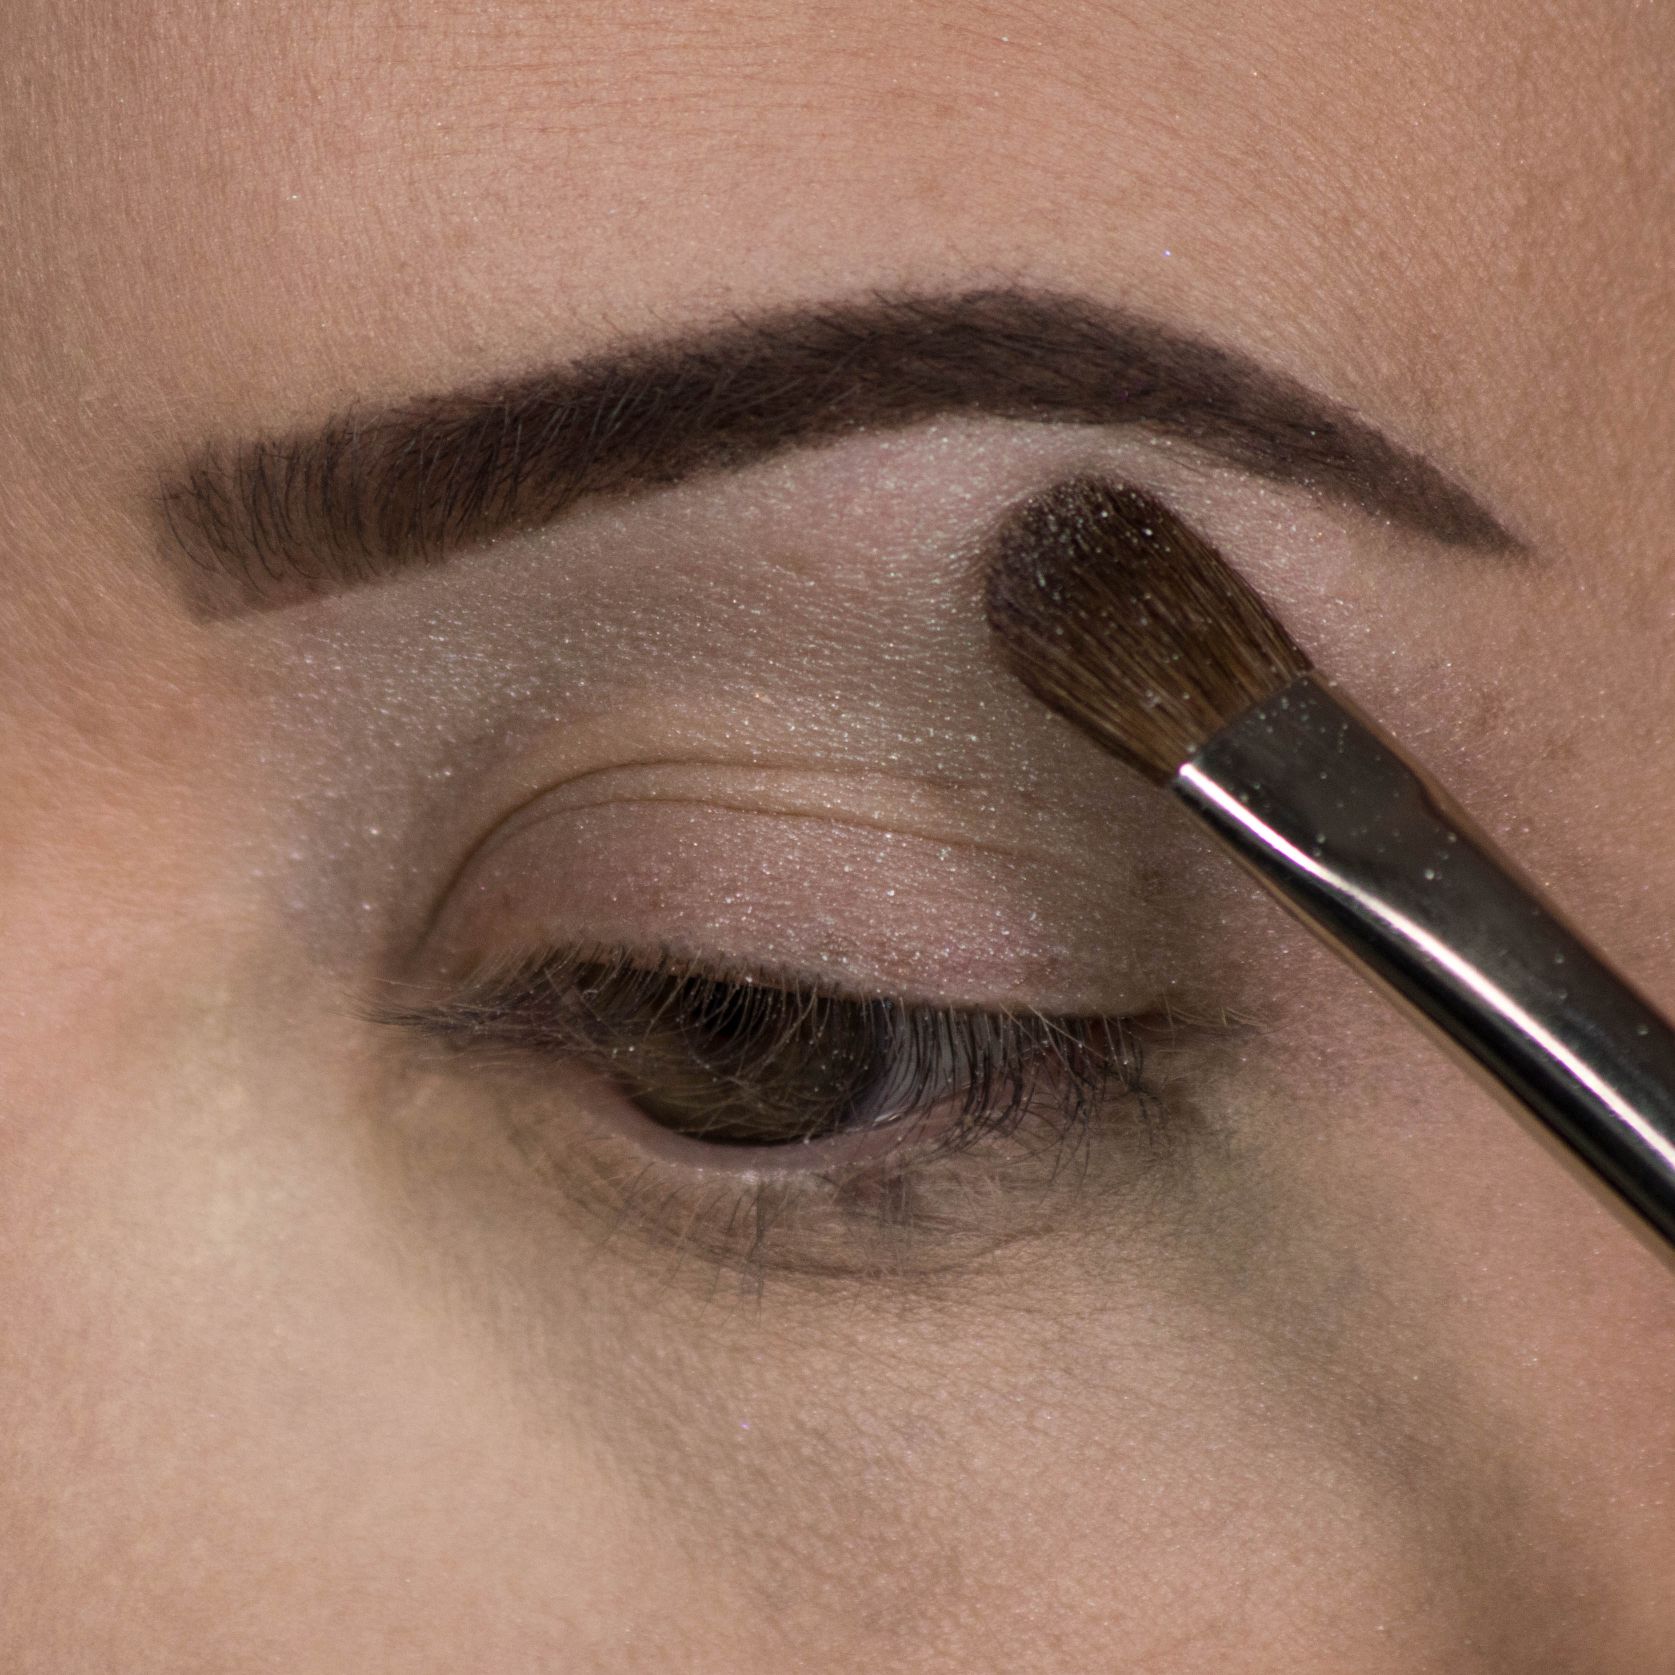
Step 2: Apply Base Shadow
Using a semi-flat, fluffy brush: Take the light grey shadow and apply it starting at the brow bone and apply it all over the whole eyelid. This will help to set the base and ensure that your other shadows will blend without sticking or skipping on the base.
I used “Silver fog” from the MAC x 9 Navy palette (shadow 2 see image).
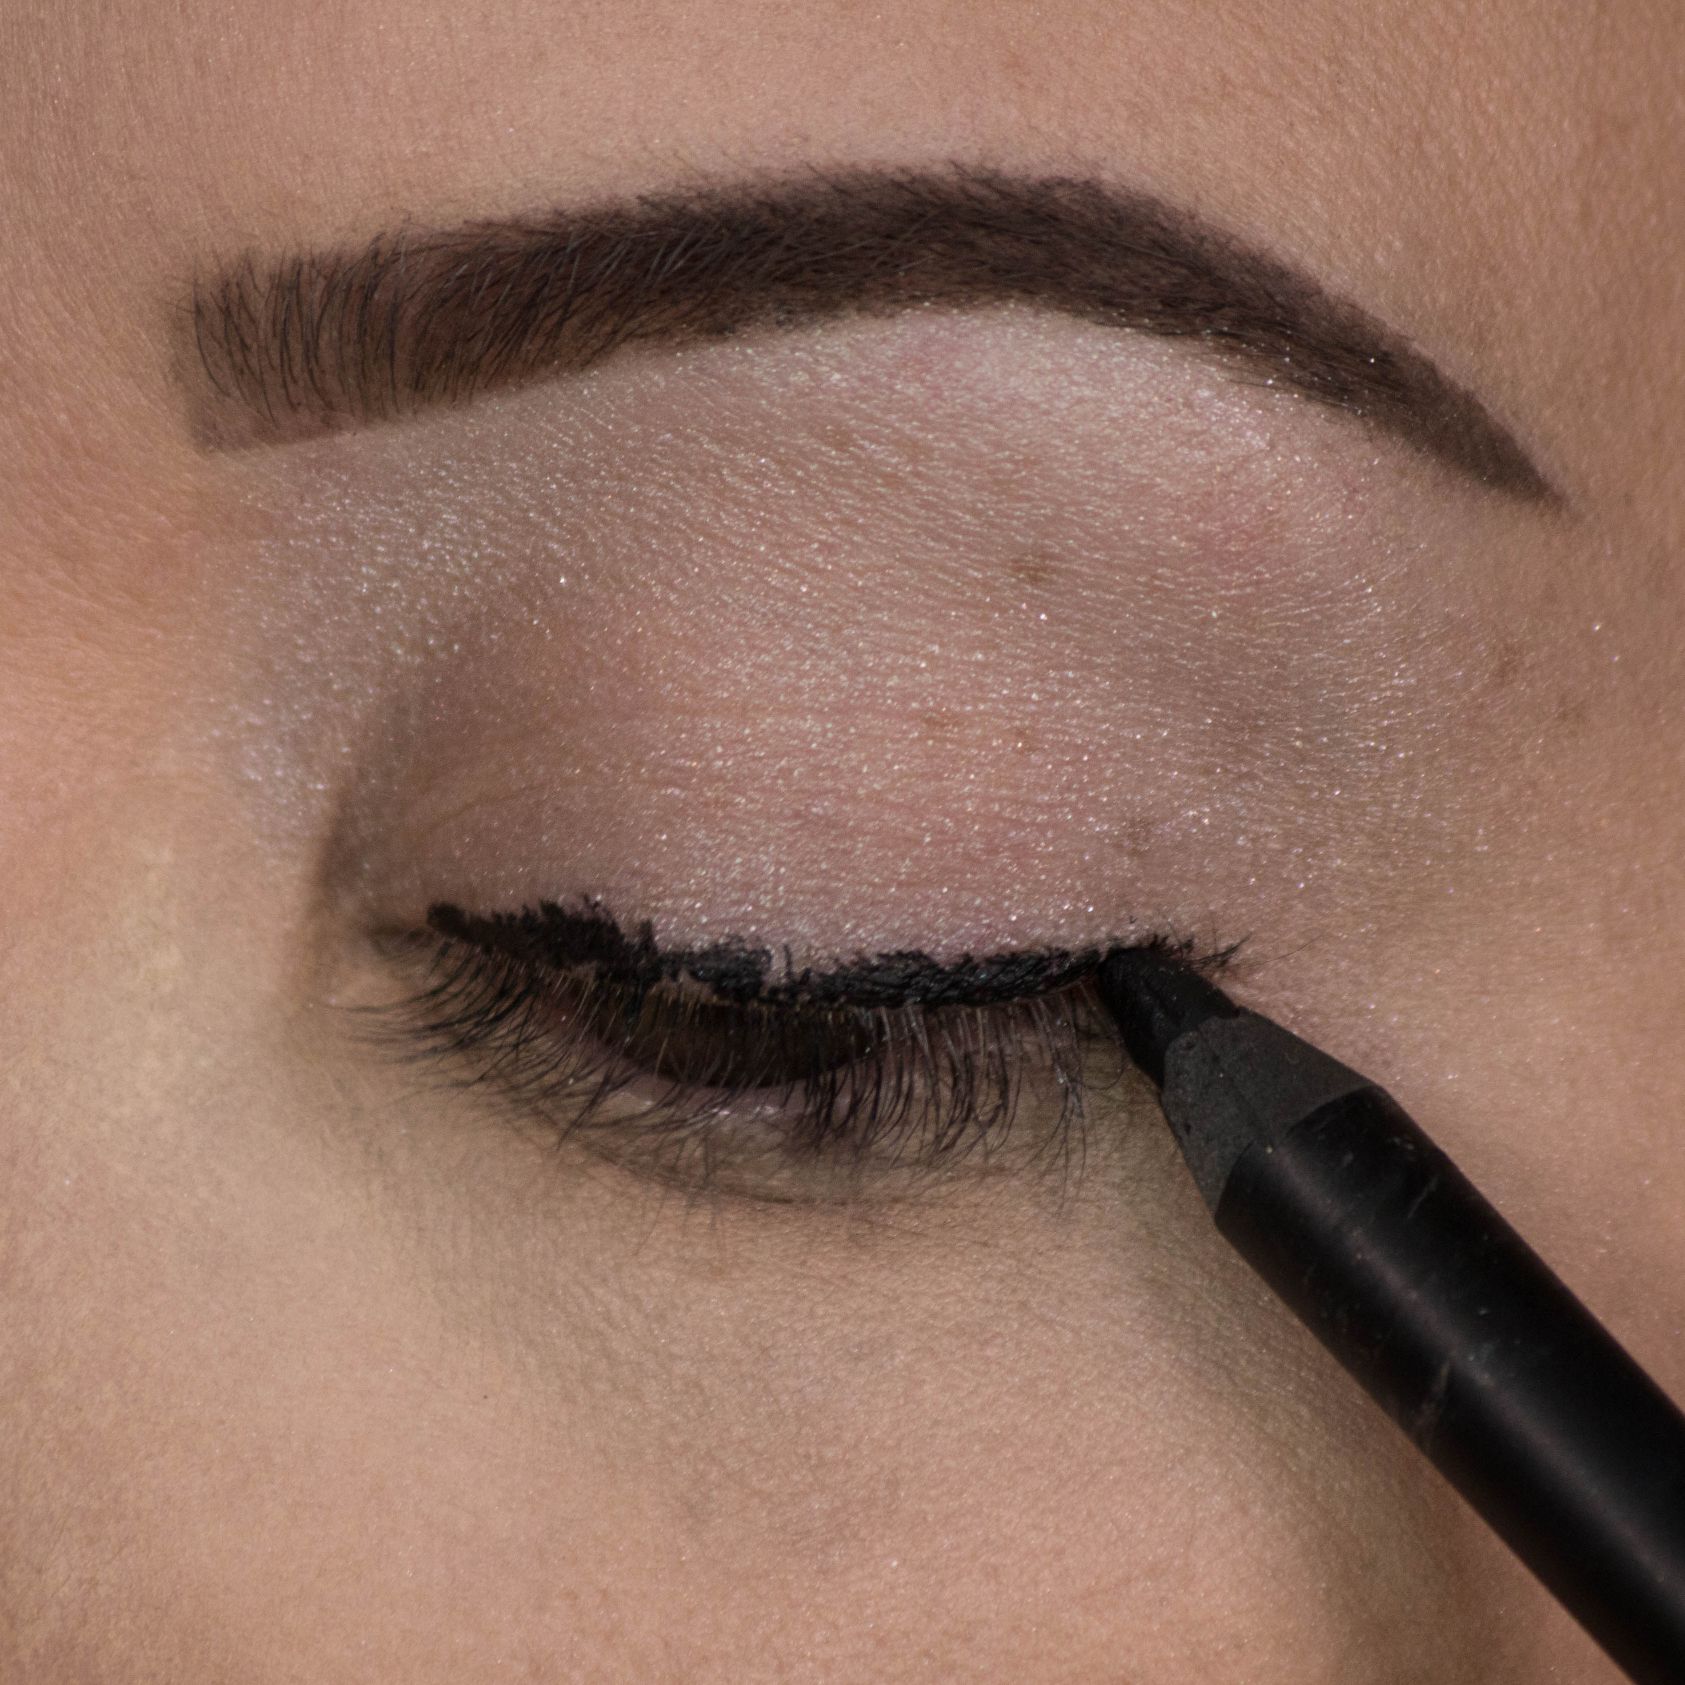
Step 3: Apply Pencil Liner
Using a soft kohl pencil apply black liner all along the lid. Quickly use a small soft brush to blend and smudge. Continue to alternate pencil and brush until you have your desired amount of smokiness.
Its okay if things look a little messy at this point – we will clean things up in later steps. I used the Urban Decay 24/7 glide on pencil in perversion.
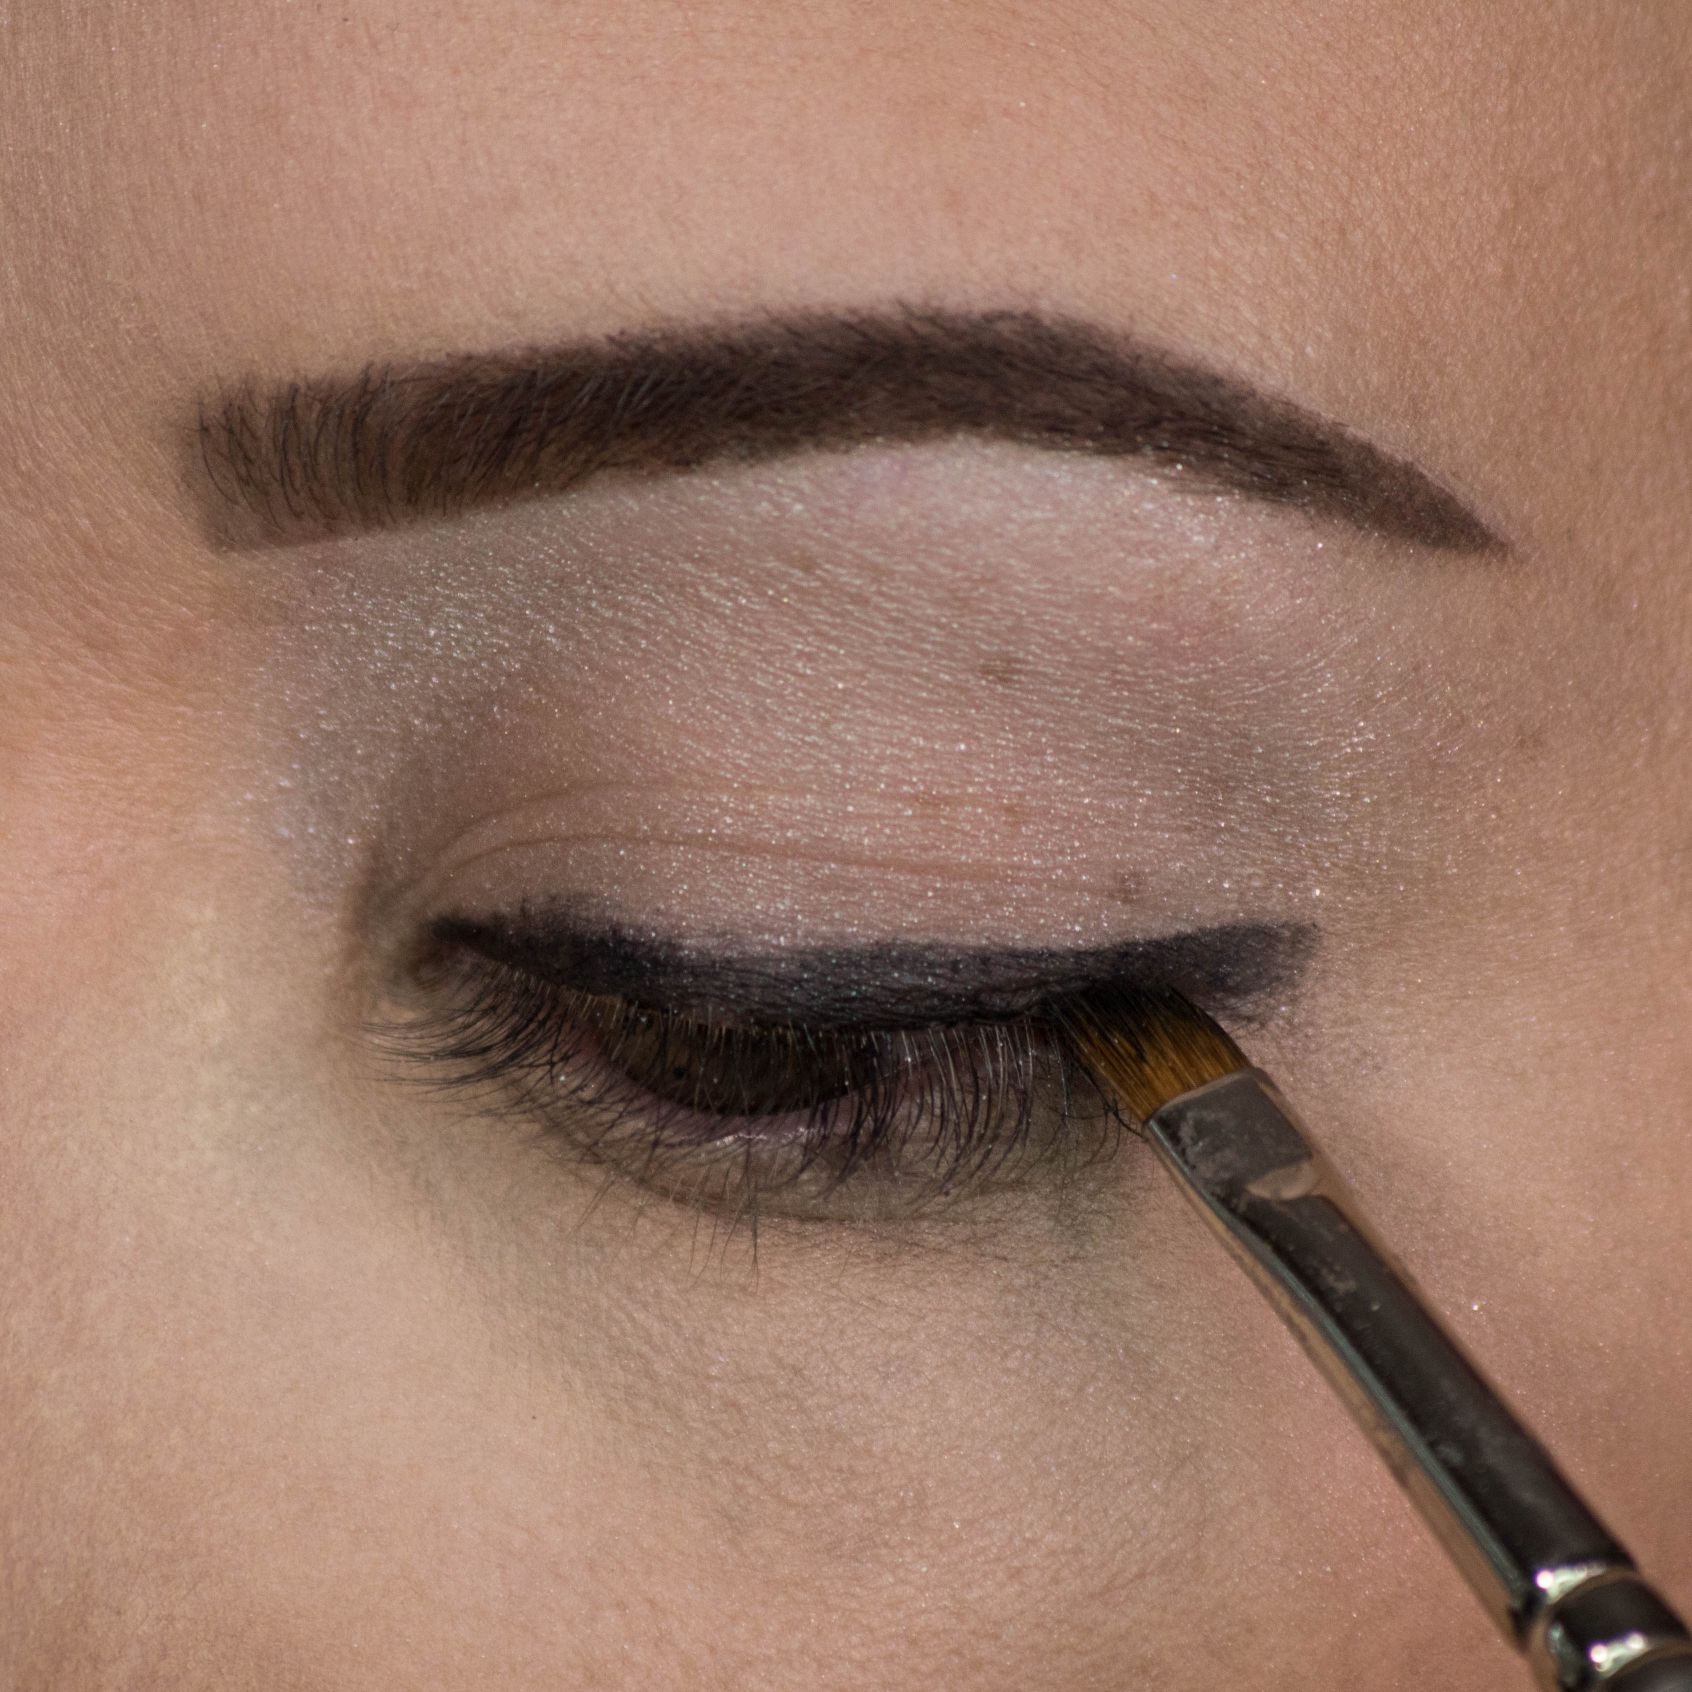
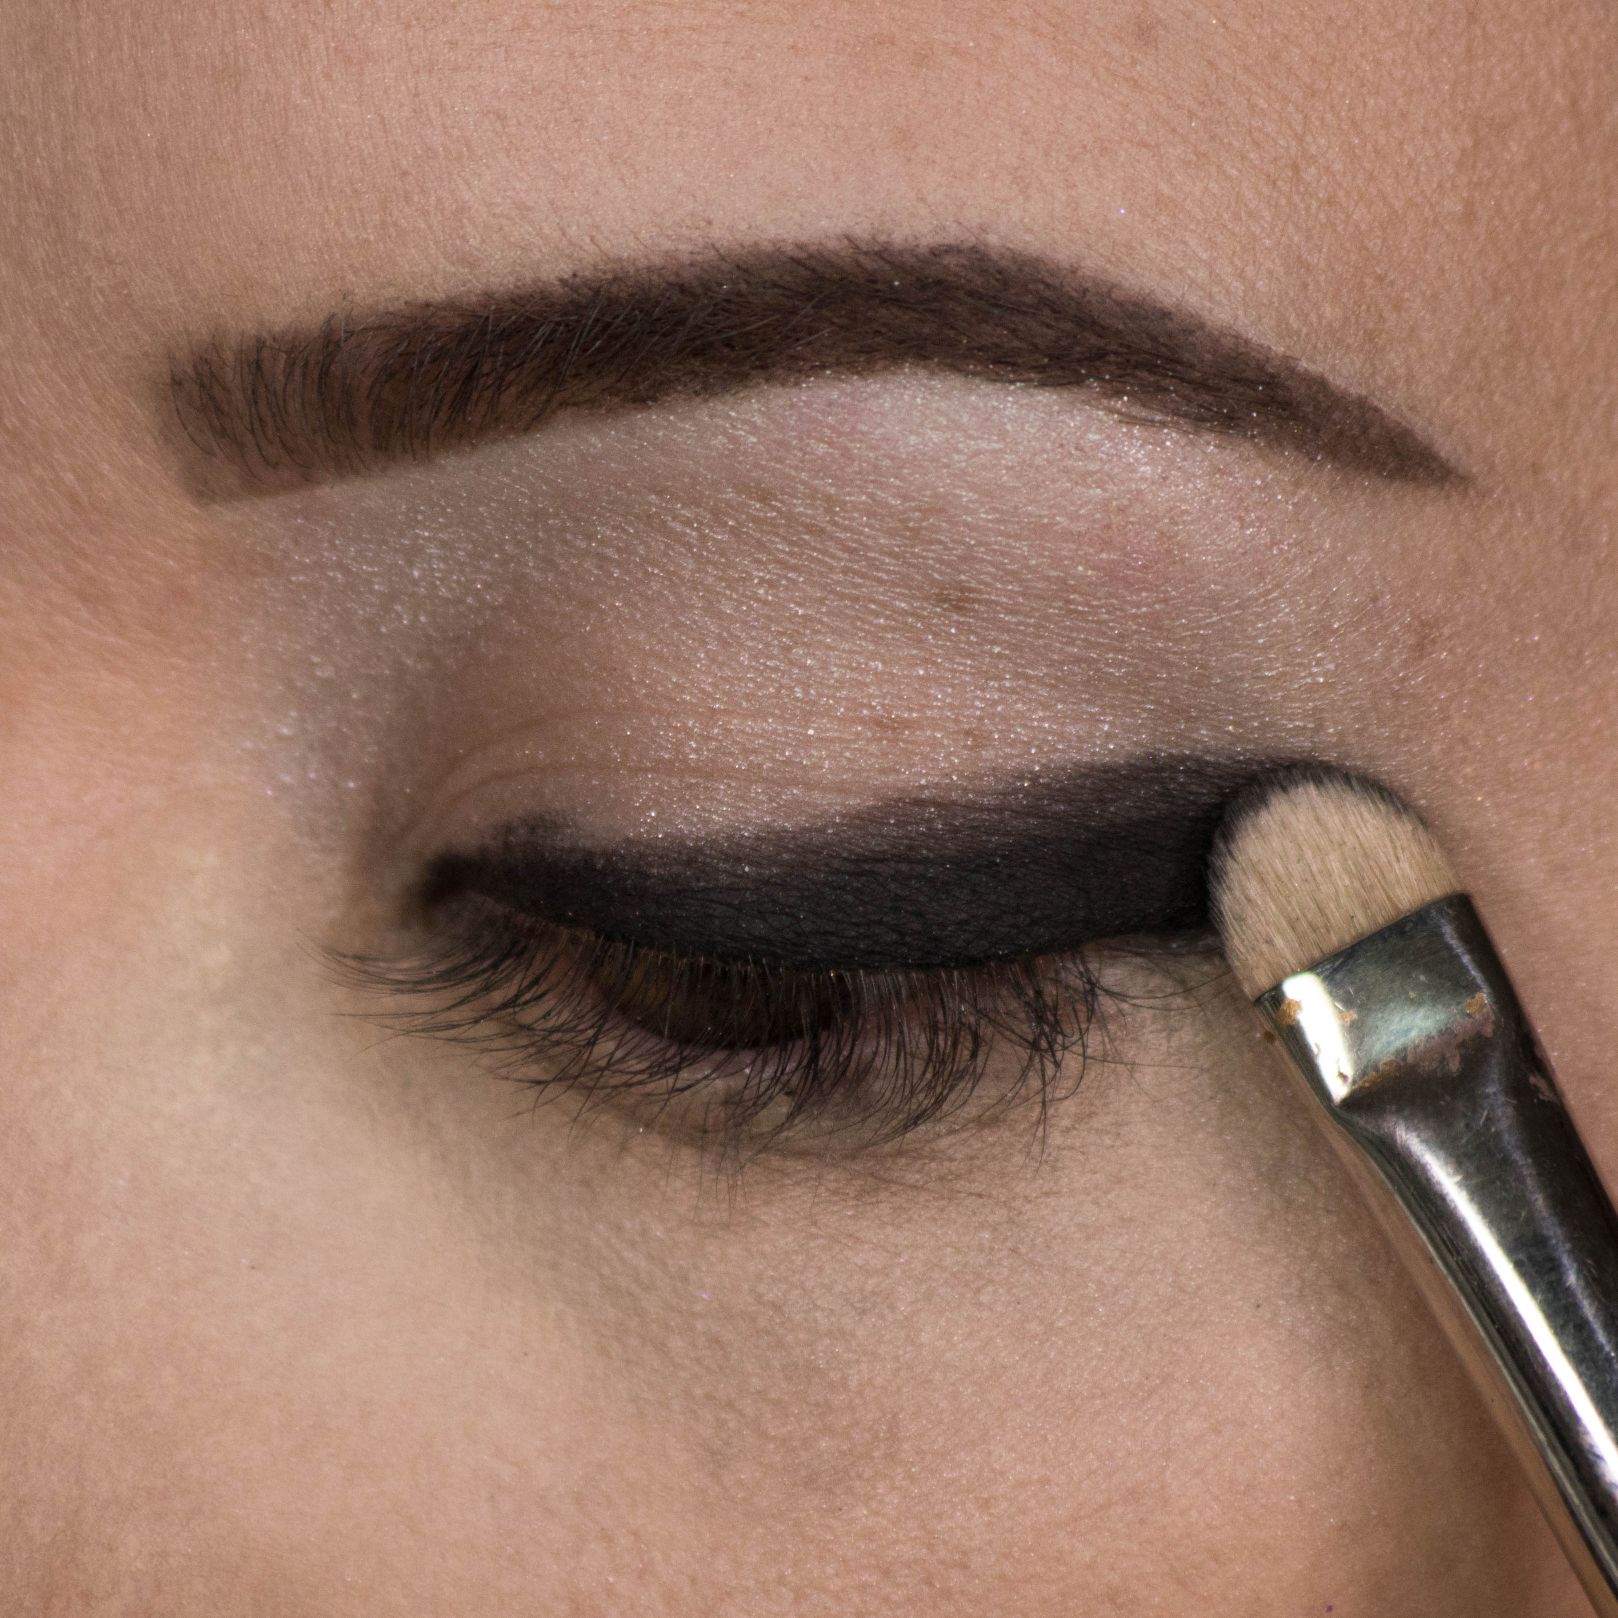
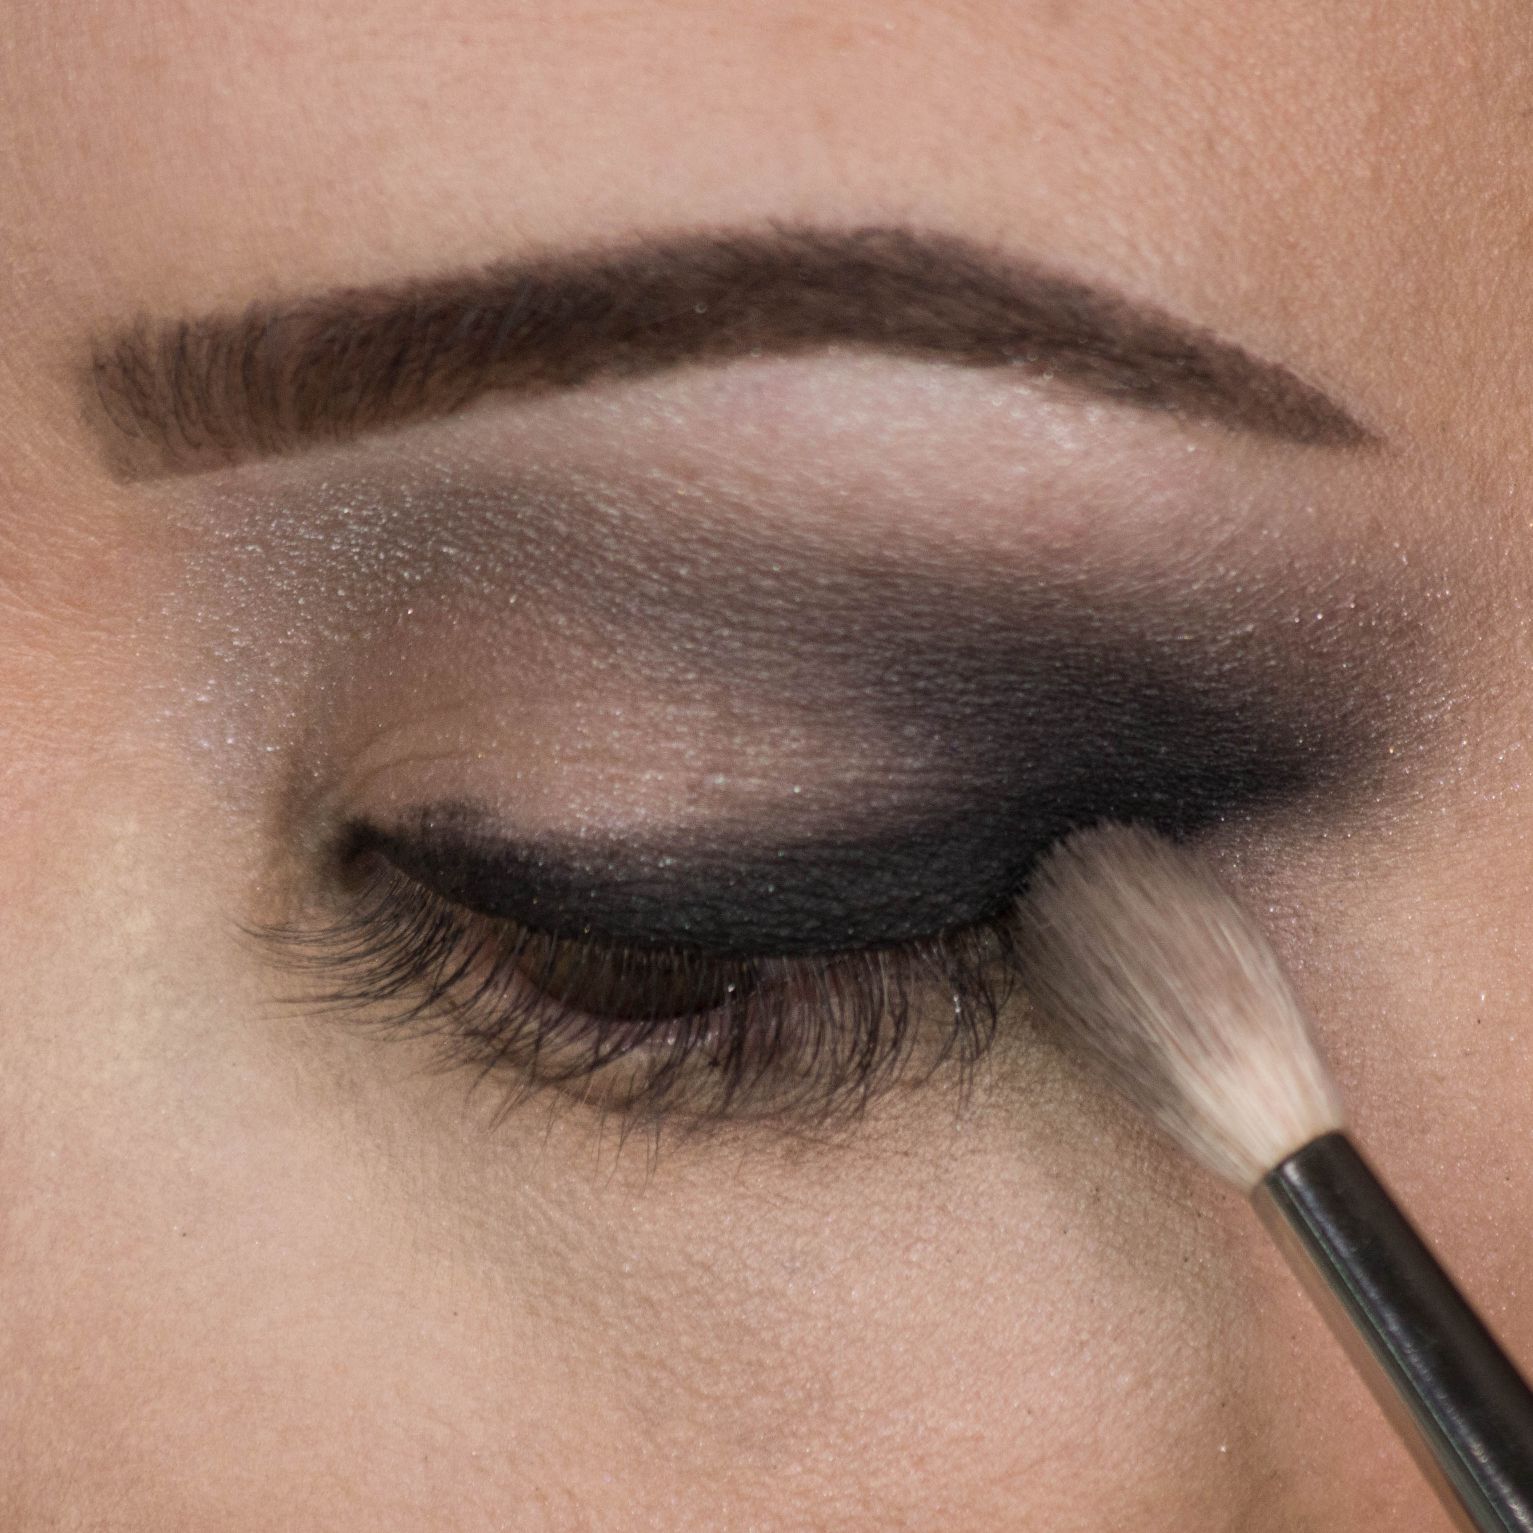
Step 4: Smoke it Out
Using a soft shimmery black/grey shadow soften the liner and begin to work it into the outer corner. Then take a fluffy brush to soften and blend.
You can use a slightly lighter grey to assist in the blending process. (Shadow 3 from image)
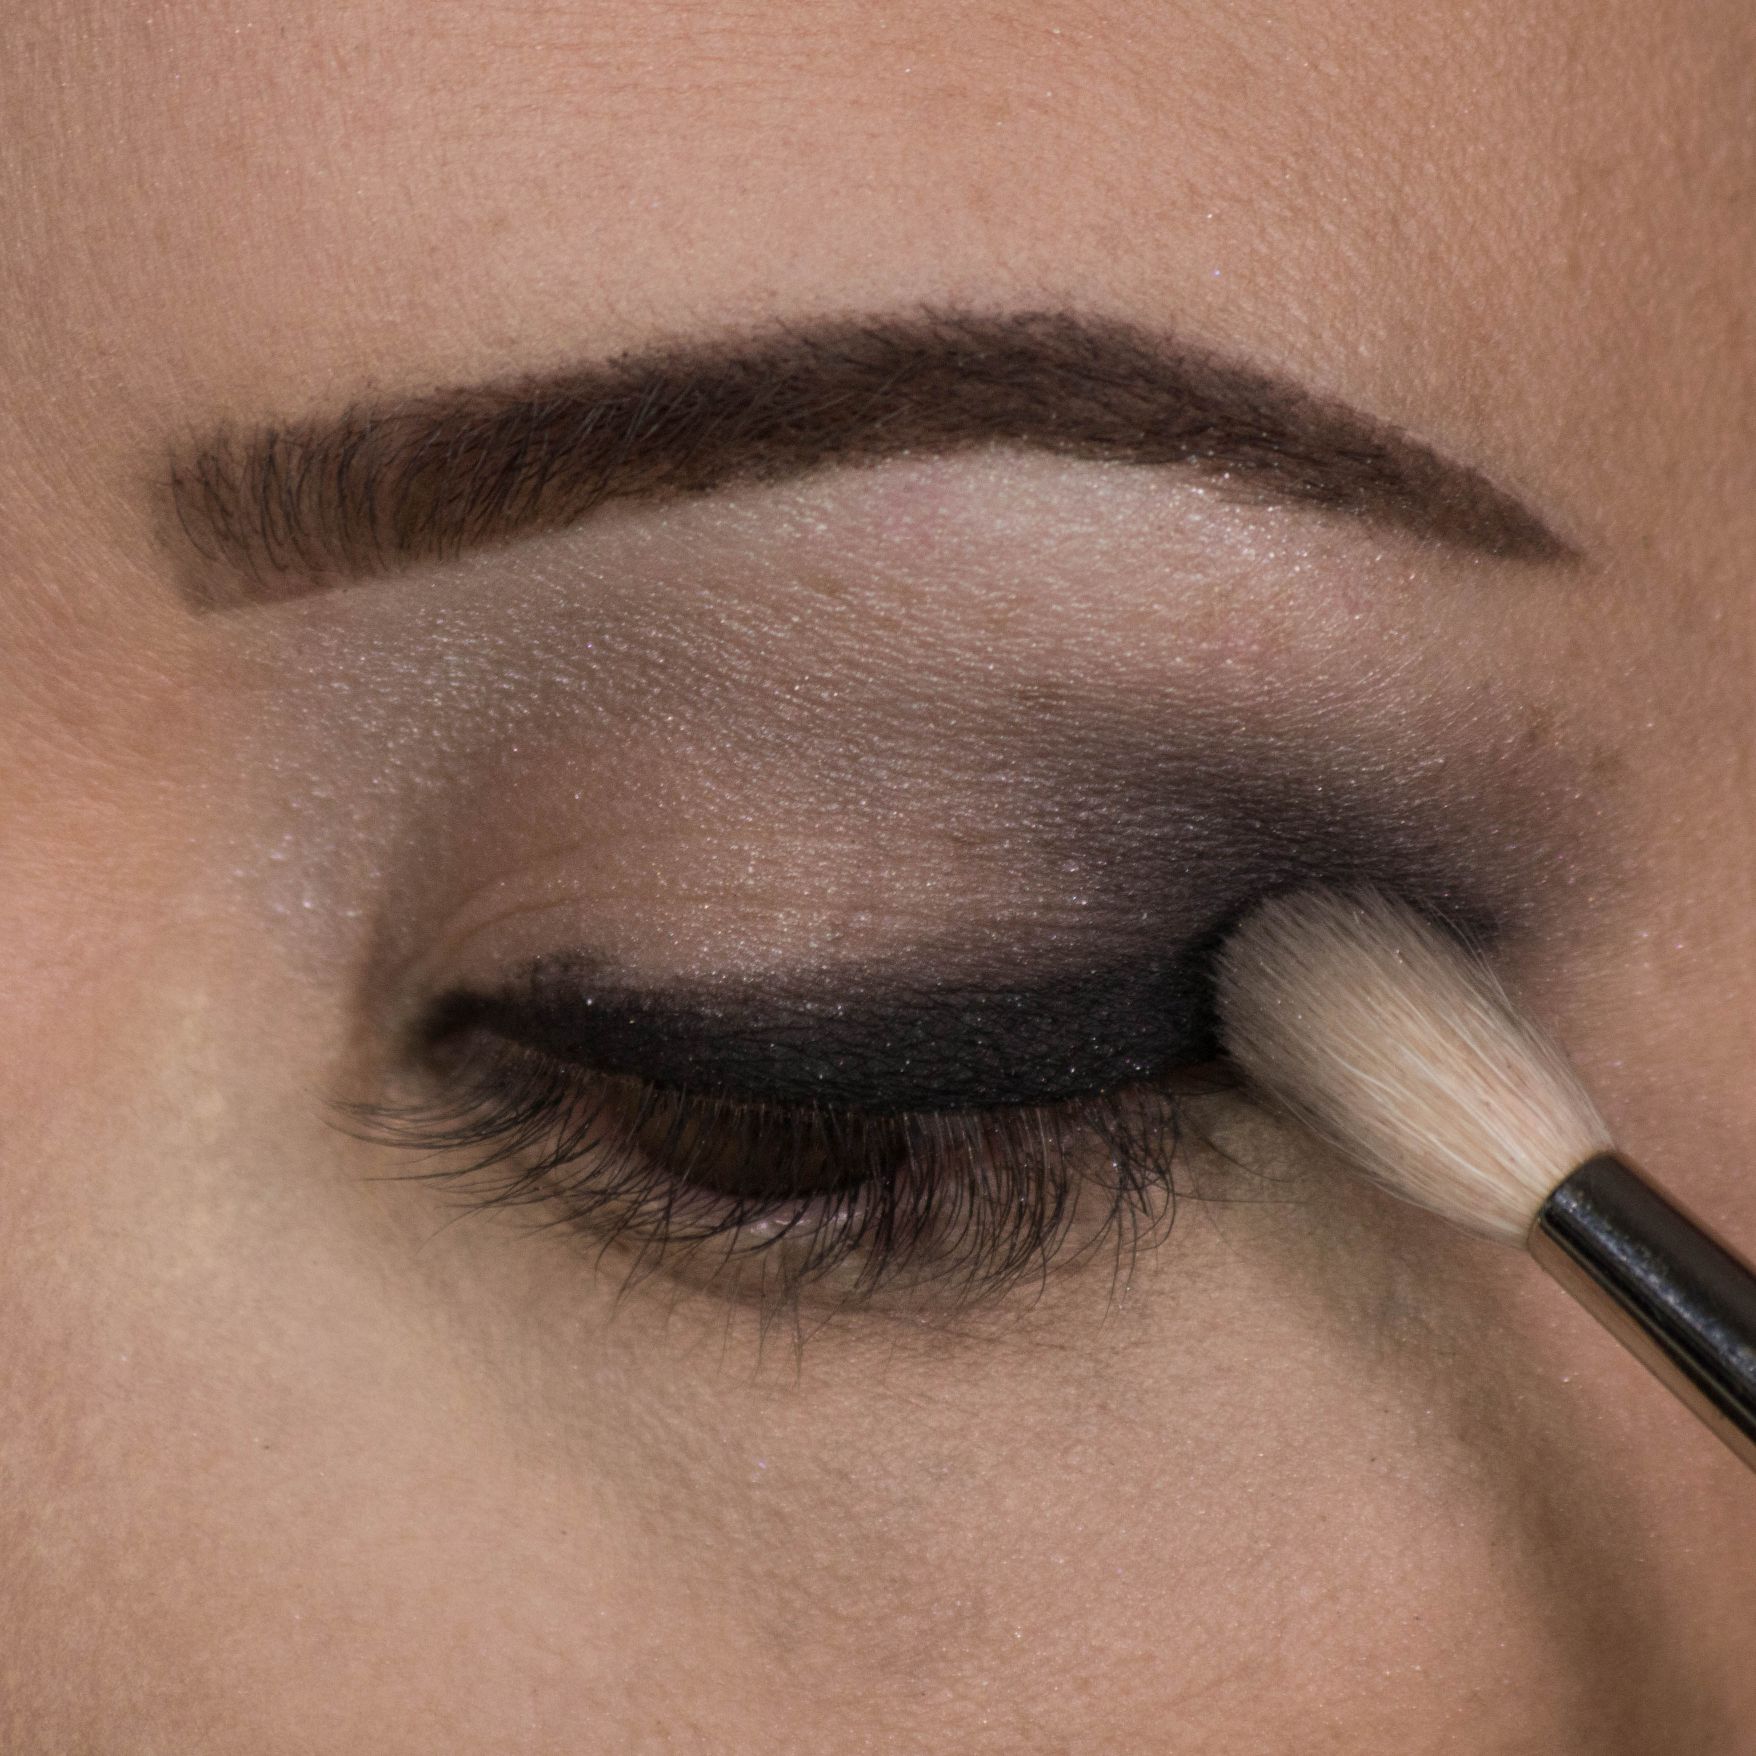
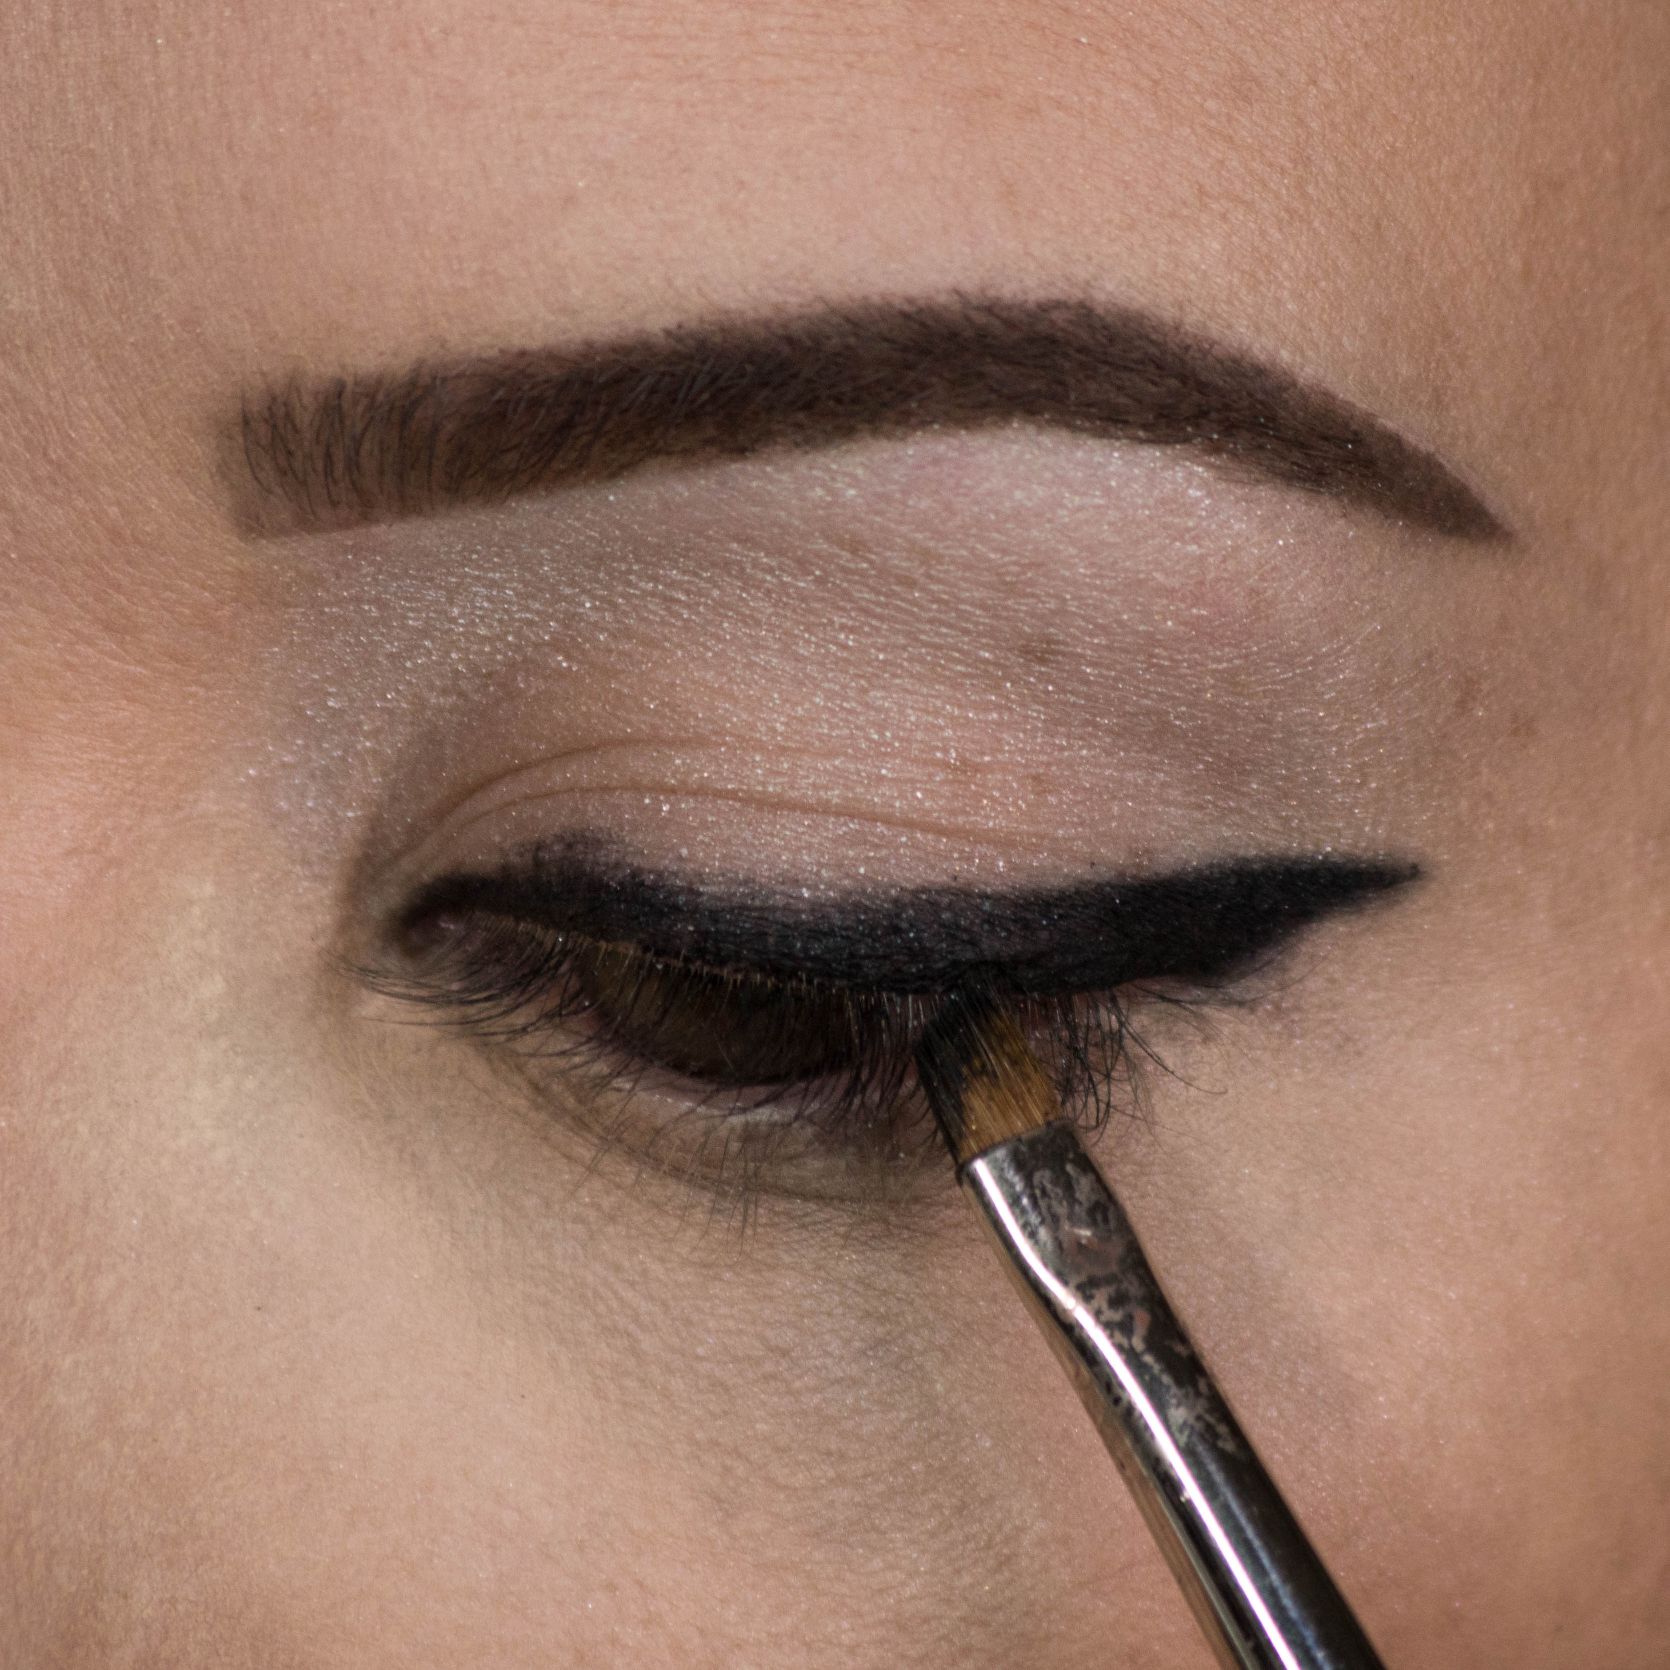
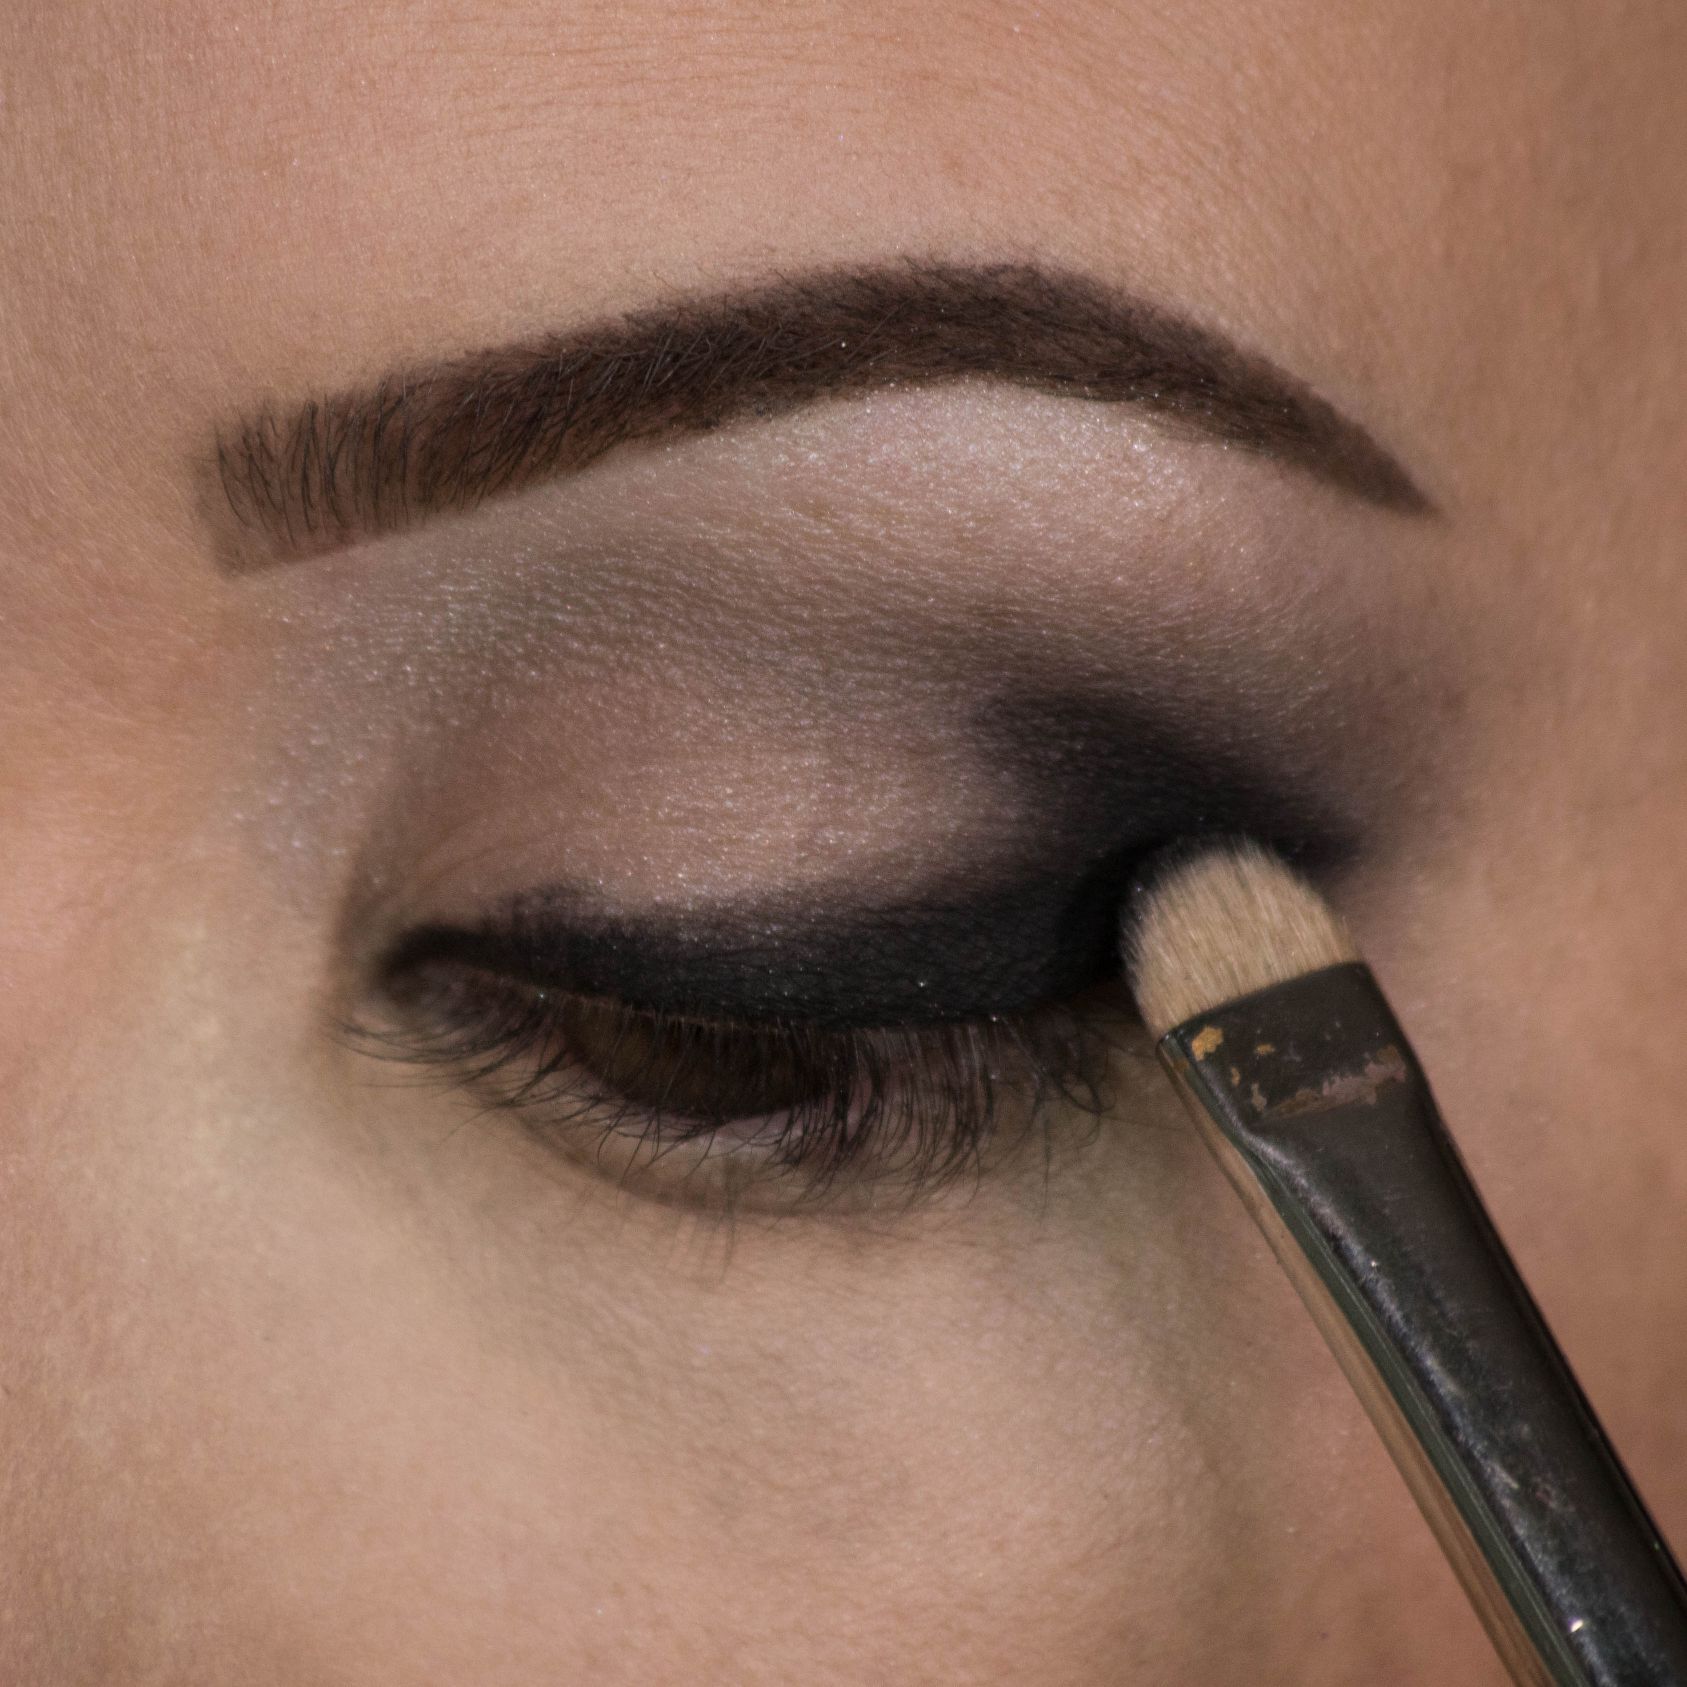
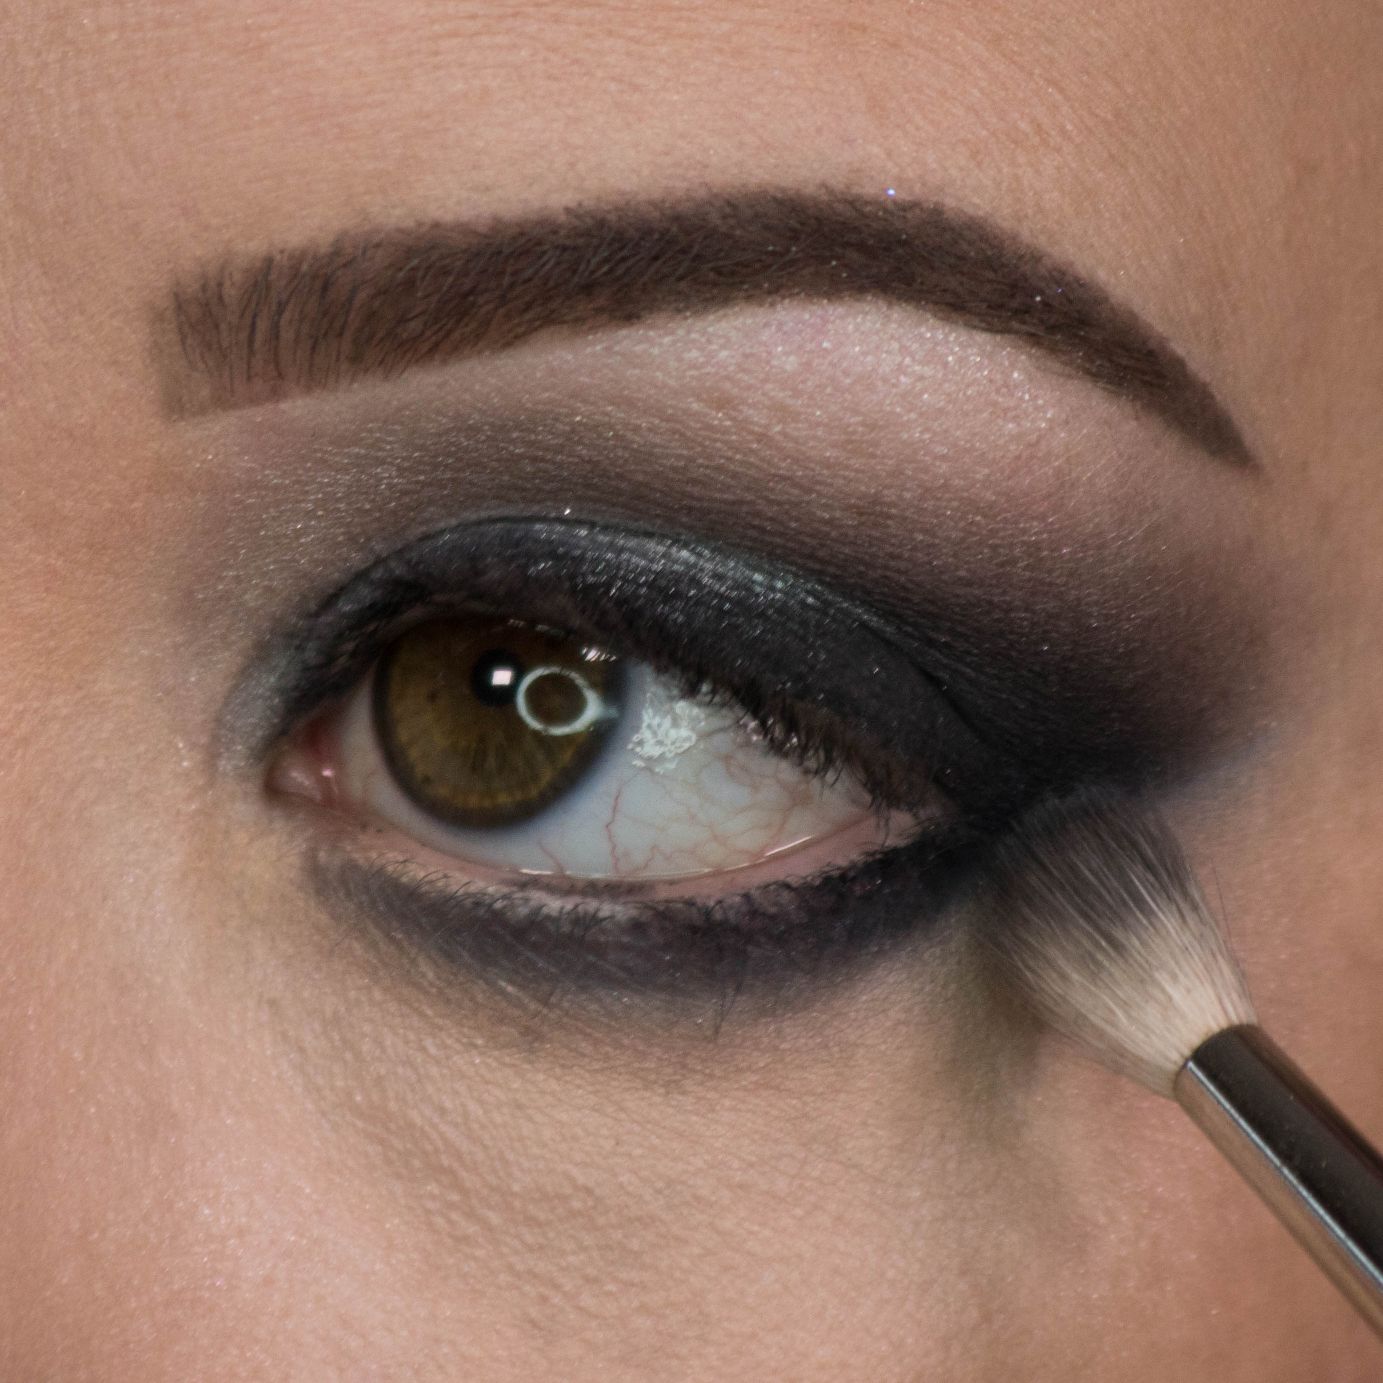
Step 5: Define the Crease
Using that same black or grey toned shadow (3 or 4 from image), take a dense flat brush and continue to smoke out the liner and define the crease. Swap for a fluffy blending brush to soften the edges.
Tip: Try to blend in the same shape as you apply your shadows and tap the edges with a clean fluffy brush for best results in blending.
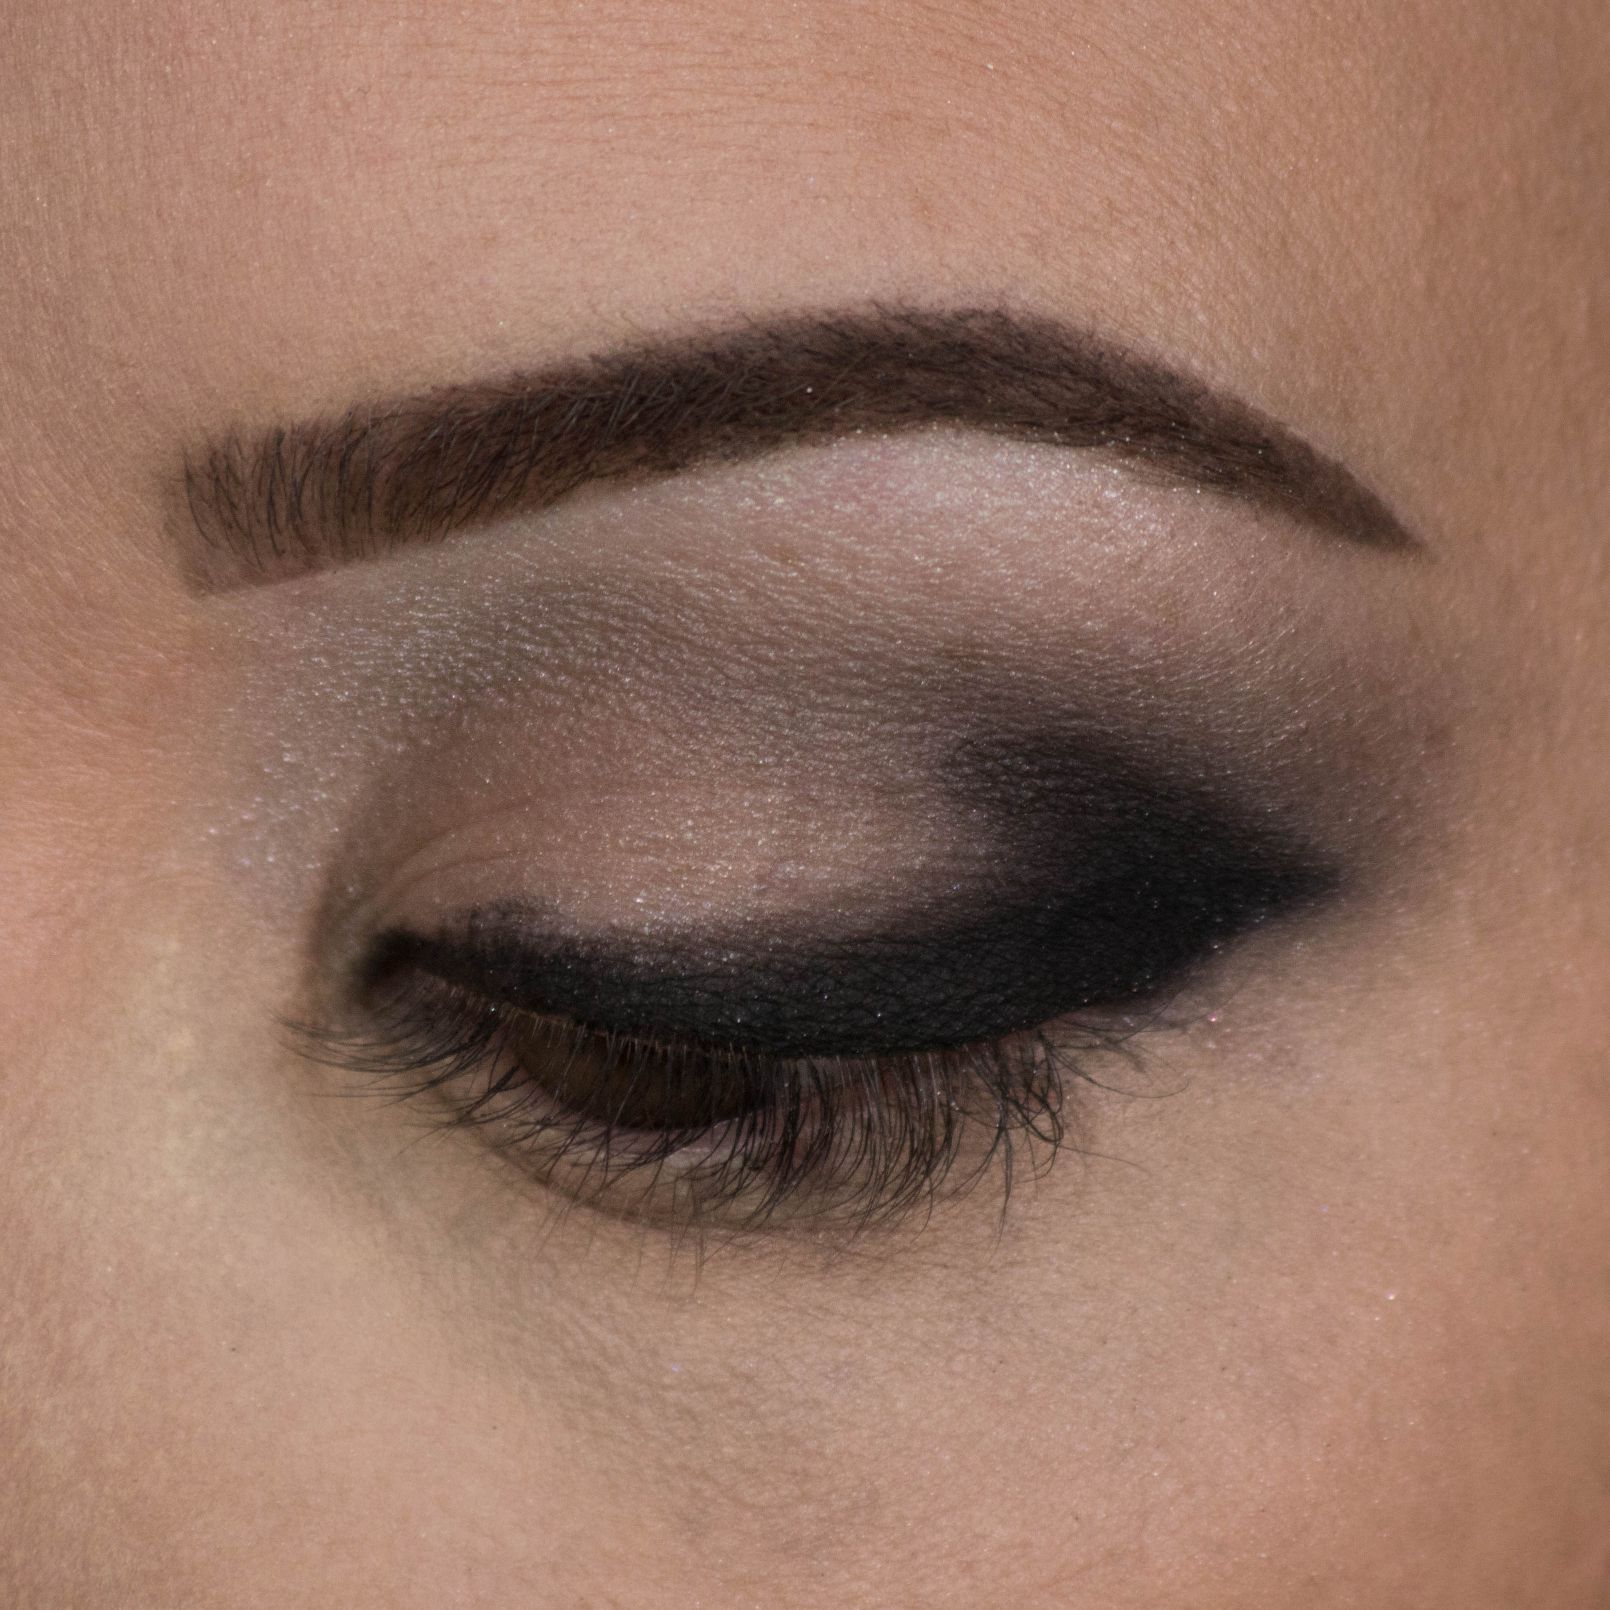
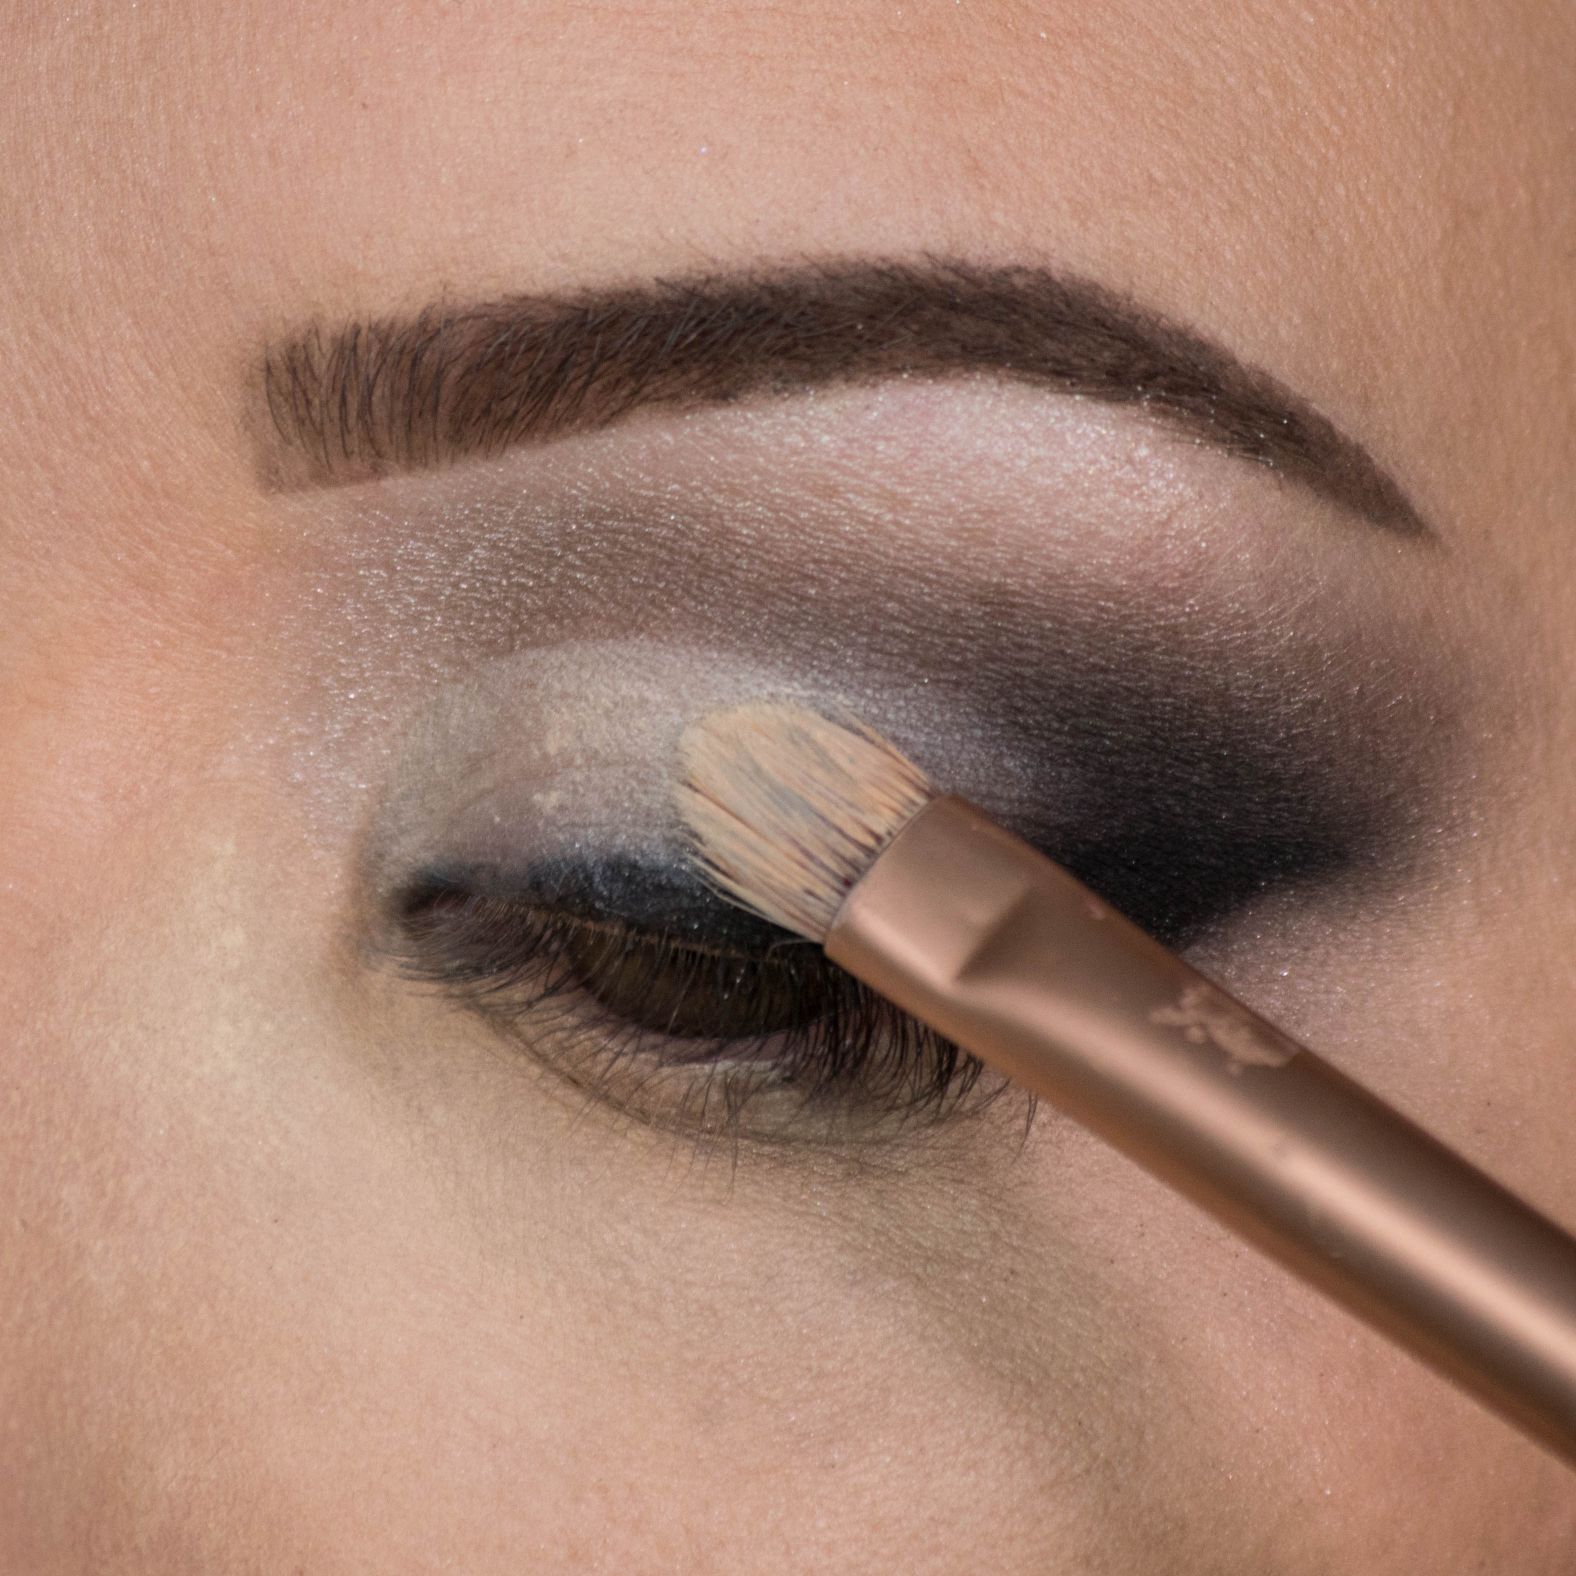
Step 6: Cut the Crease
Using a cream concealer and a flat brush cut out and define the lid. This is to give the next step (loose shadow) something to stick to.
After applying the concealer quickly use your finger to even out the product on your lid. I made sure to soften the product enough that there was no harsh line between the crease and eyelid.
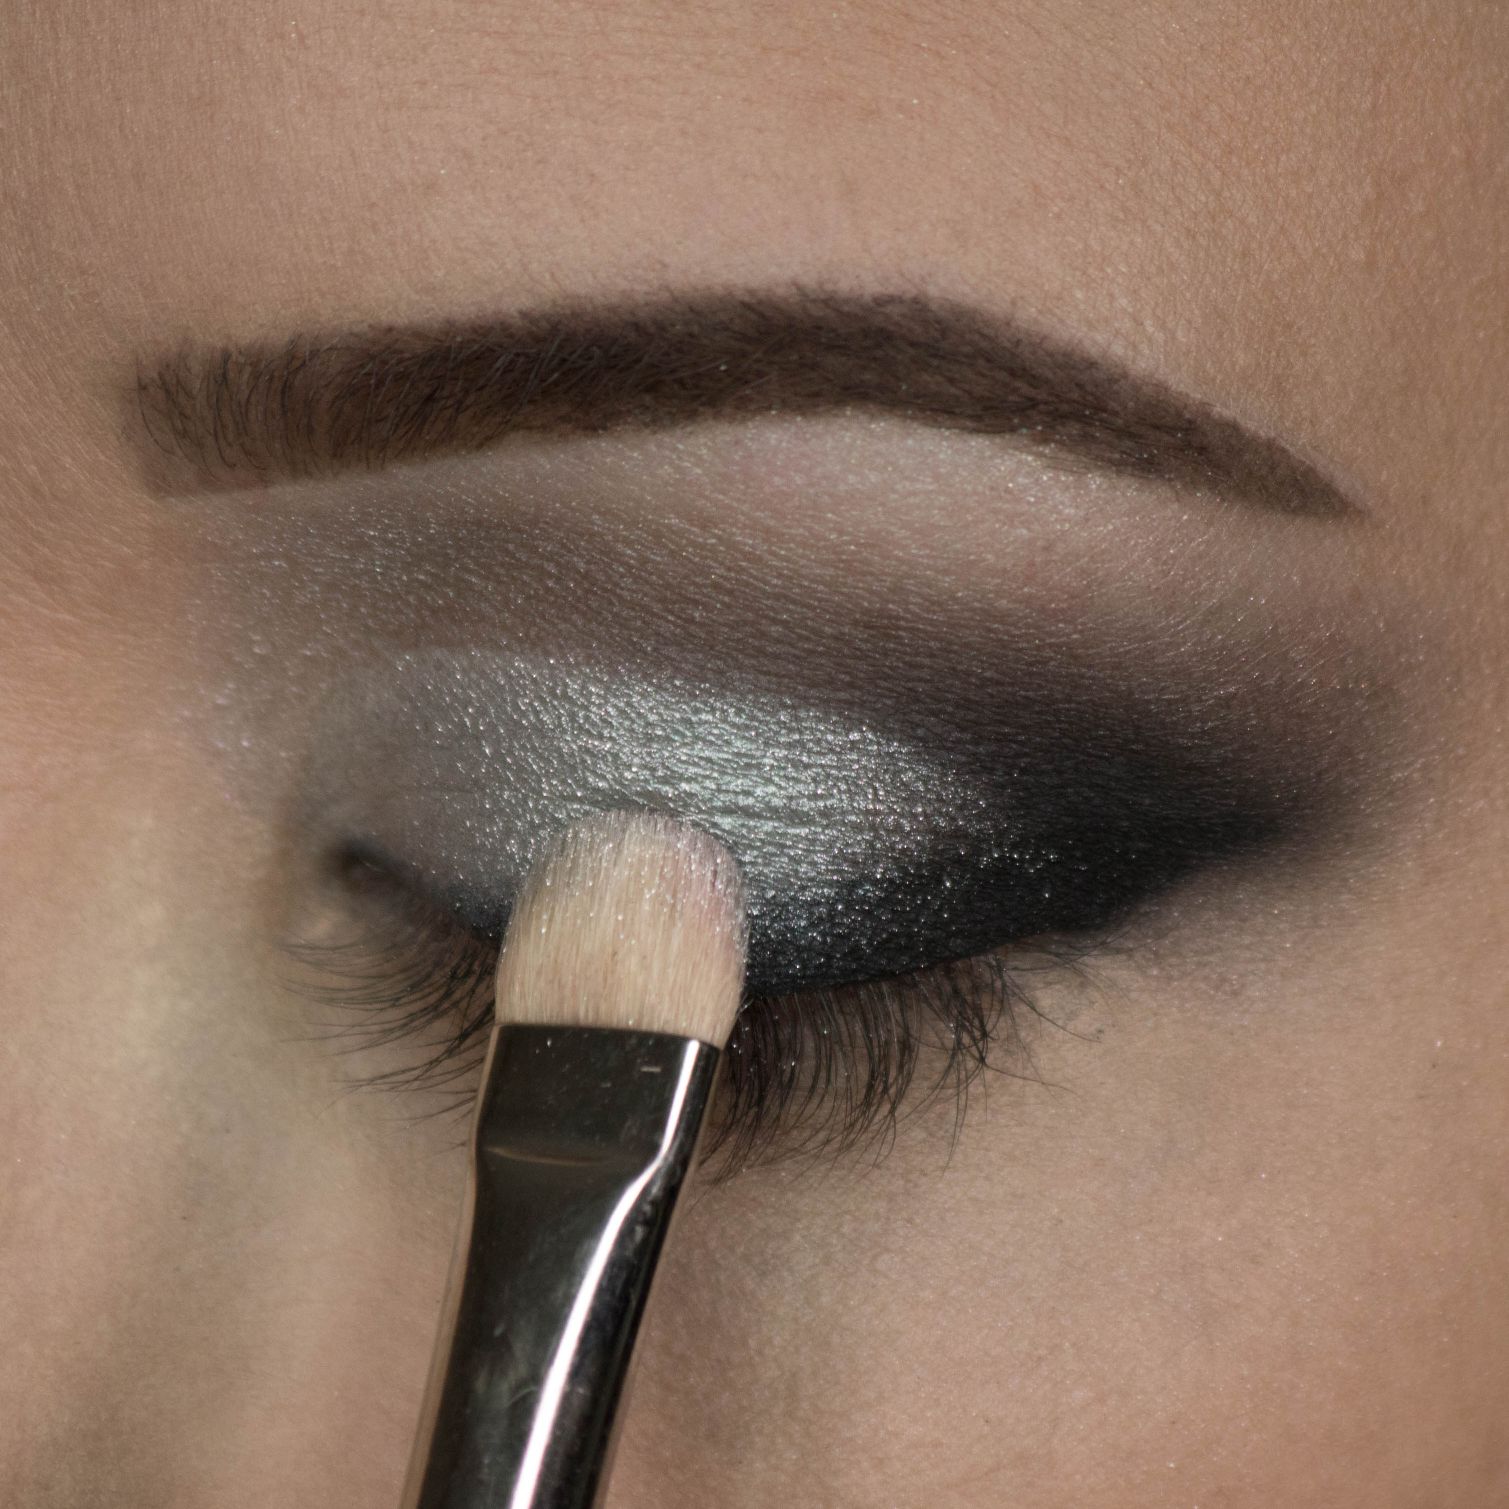
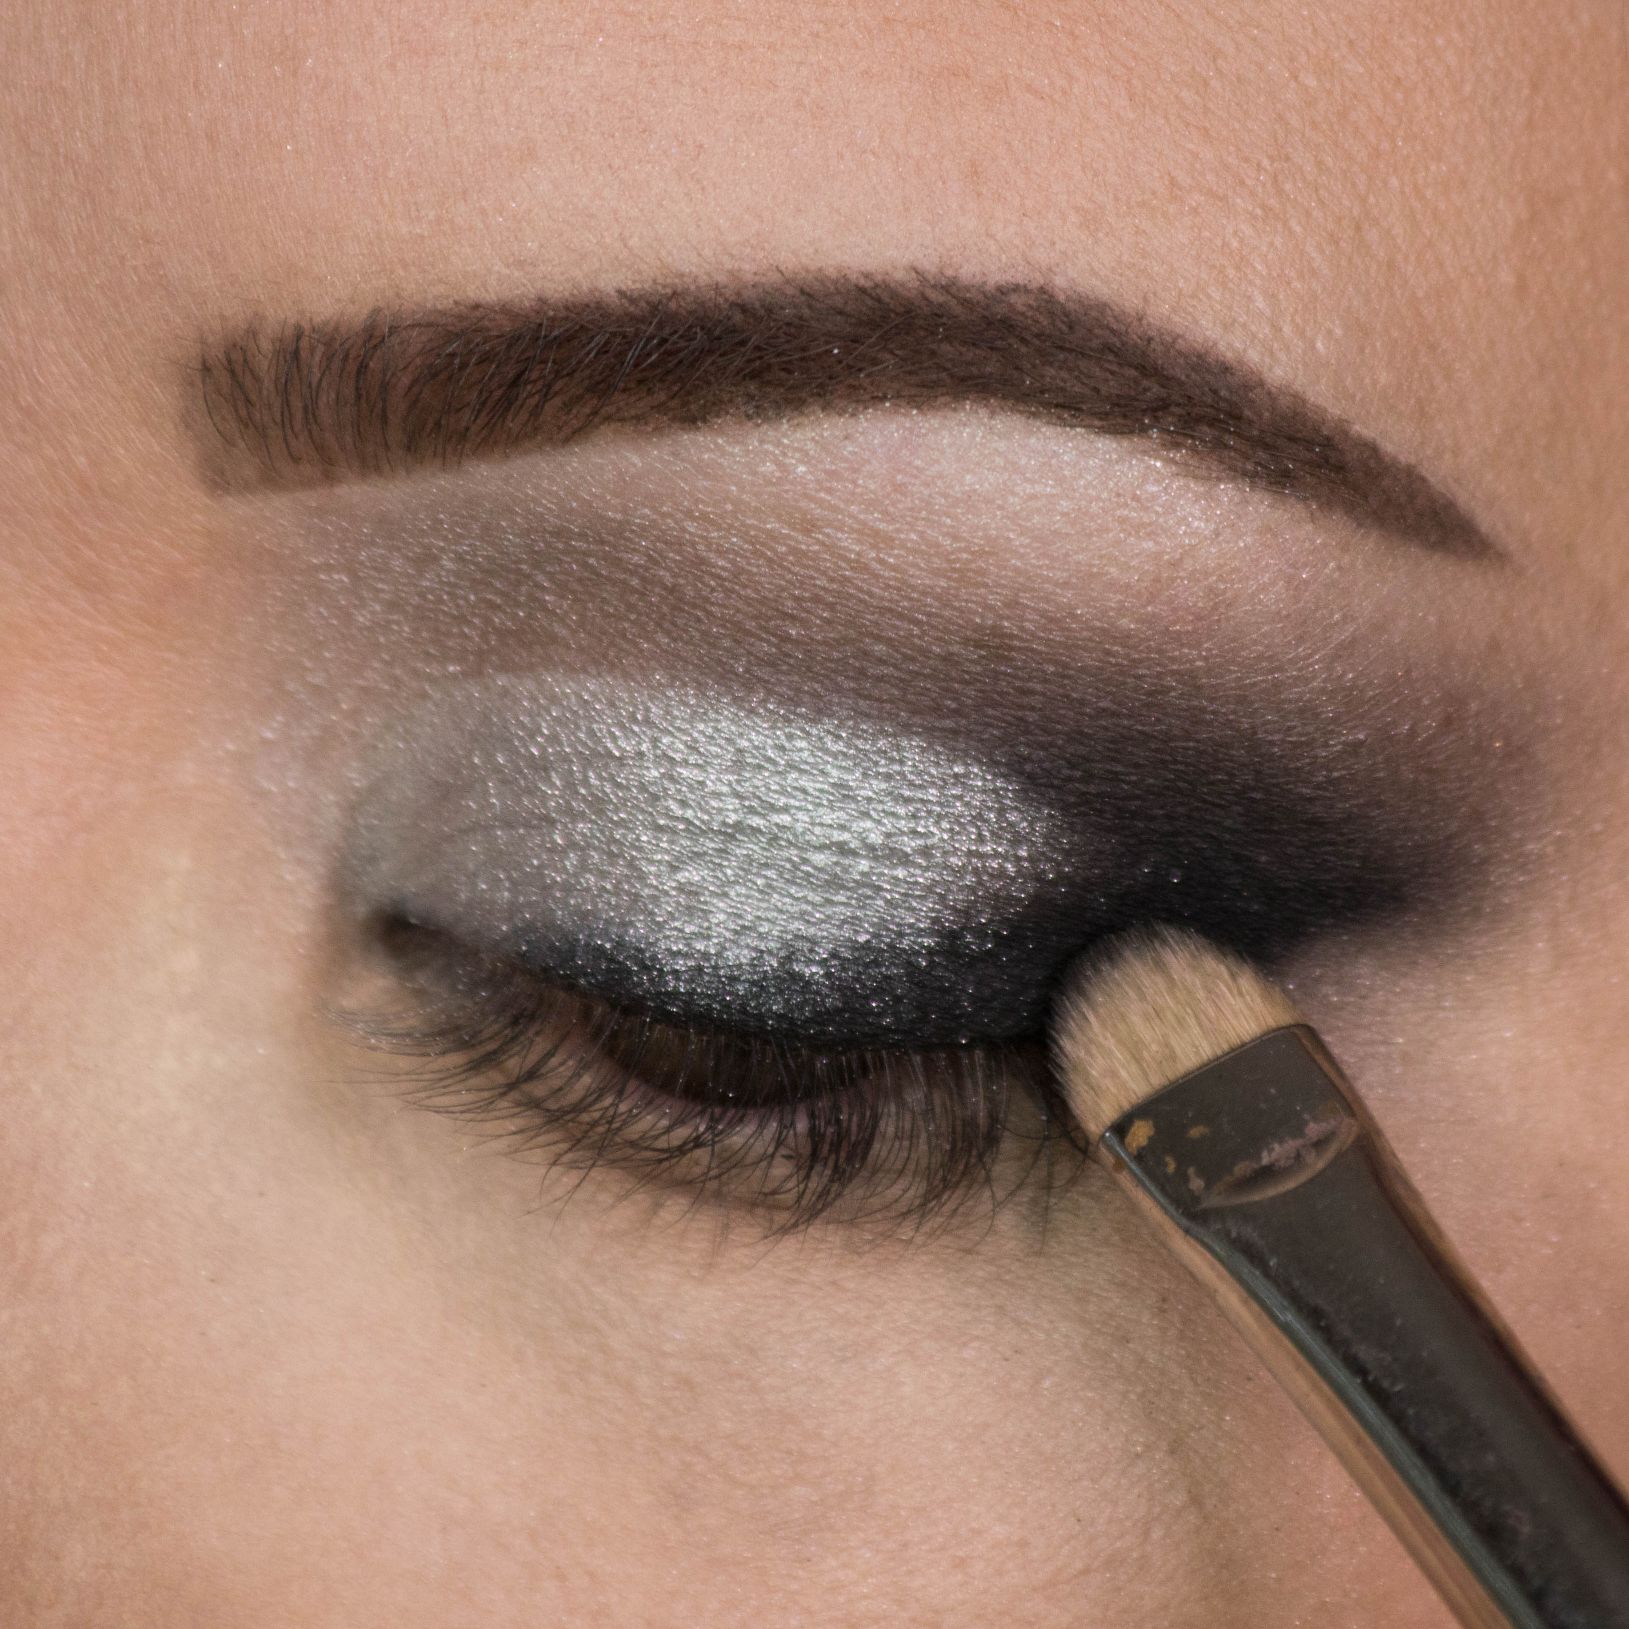
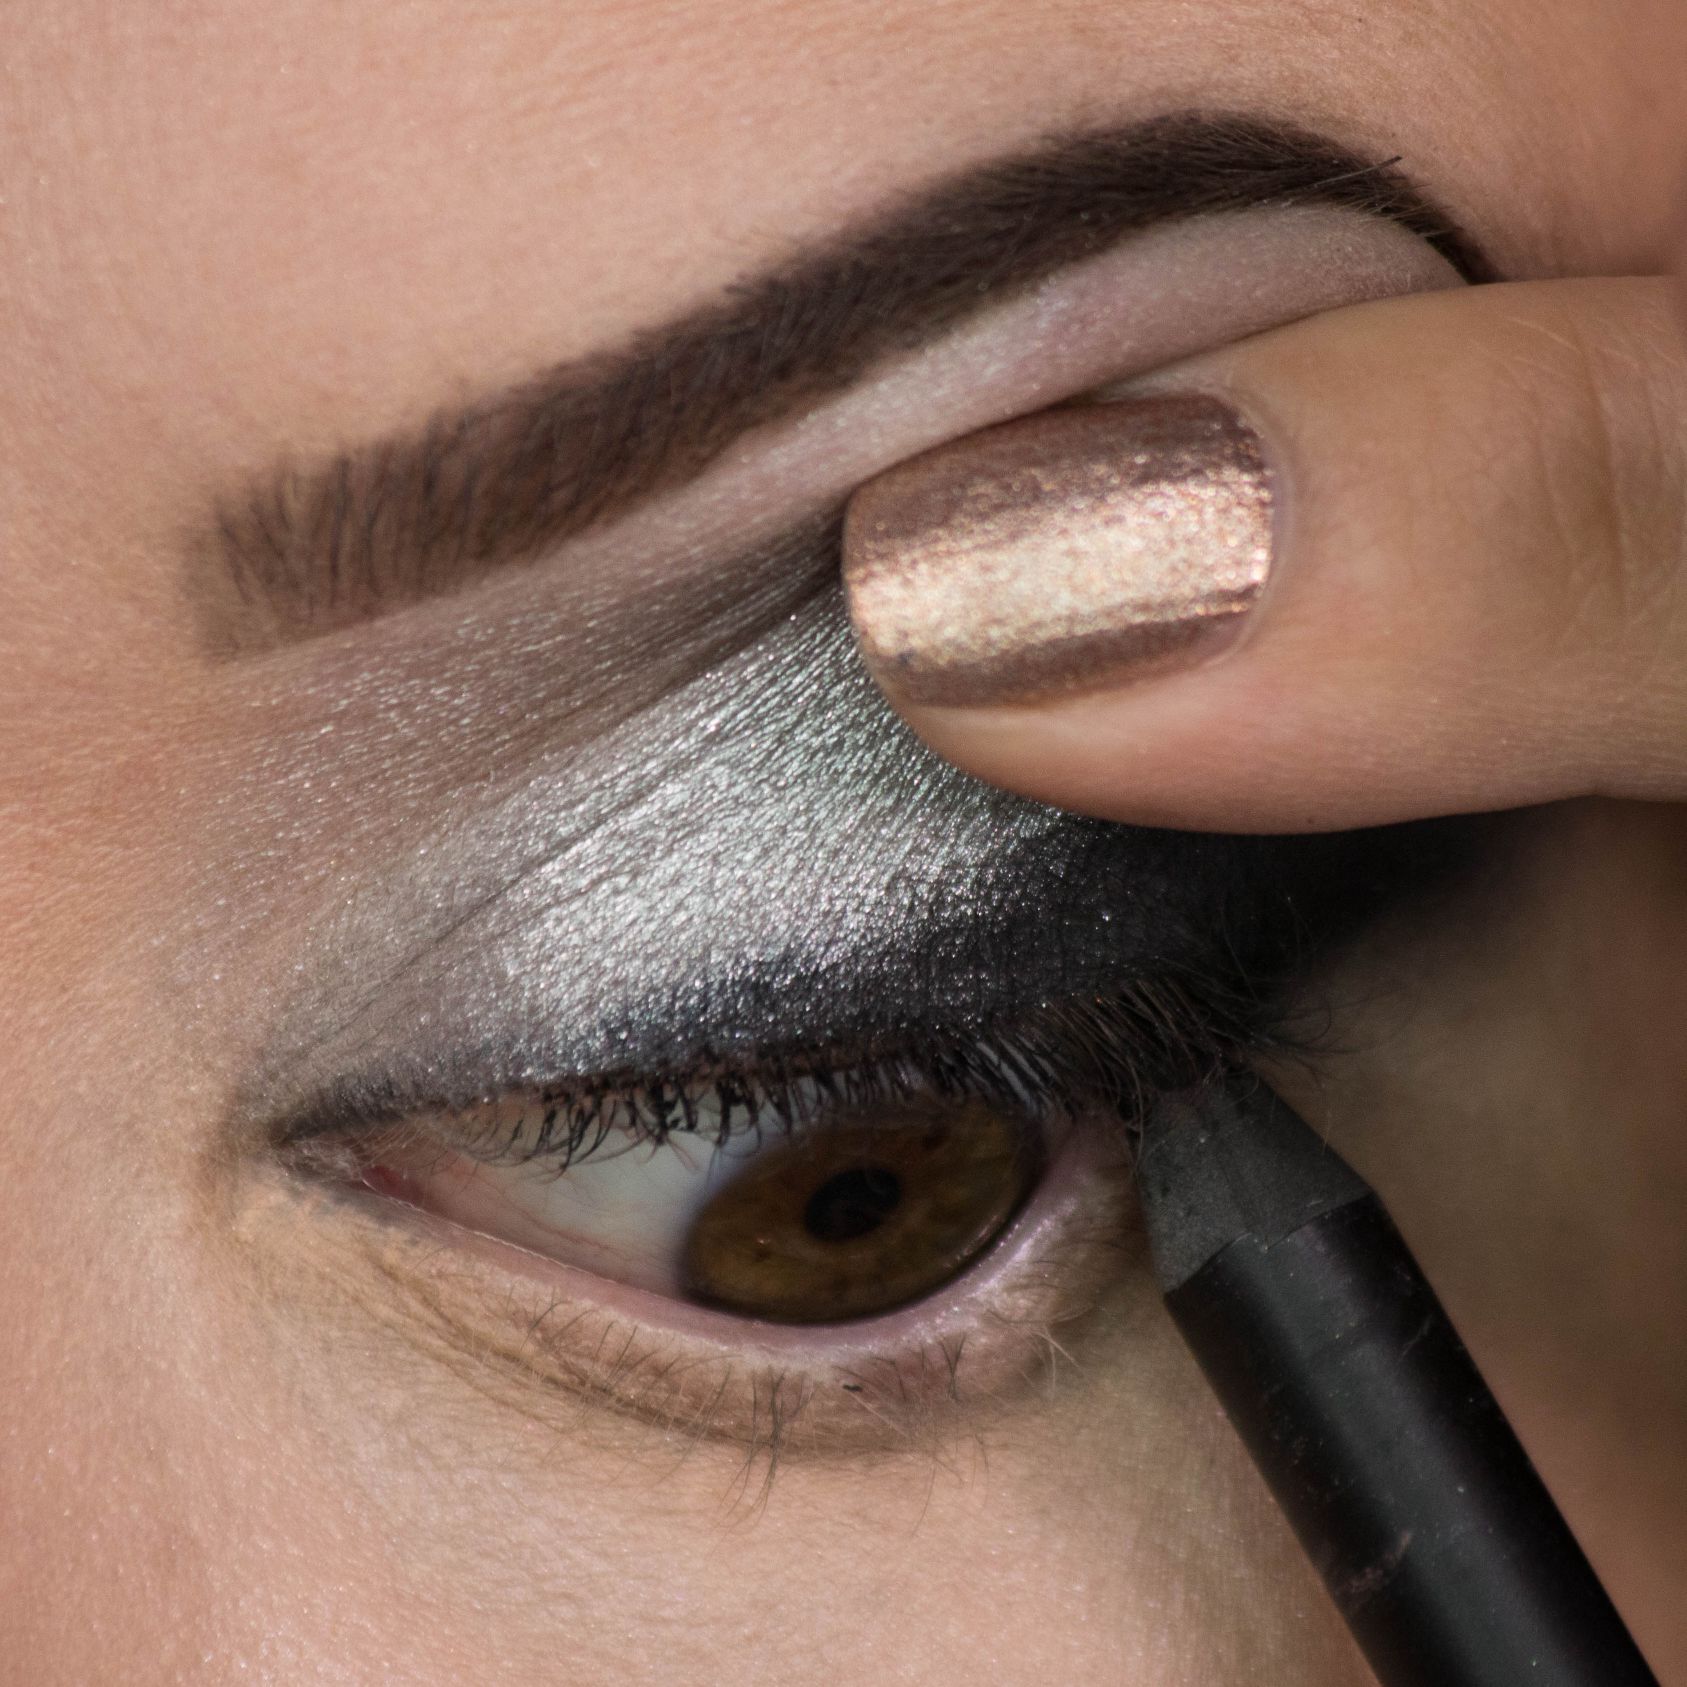
Step 7: Add Lid Shimmer
Using a flat eyeshadow brush dip into your chosen shimmery shadow and pack it all over of the lid avoiding the crease. After dip back into a black shadow and blend where the silver and black shadows meet in the outer crease.
I used the Makeup Forever HD concealer in the lightest shade.
Tip: If you choose to use a pressed shadow for this step you can also spritz your loaded up shadow brush with some setting spray to give it an extra pop.
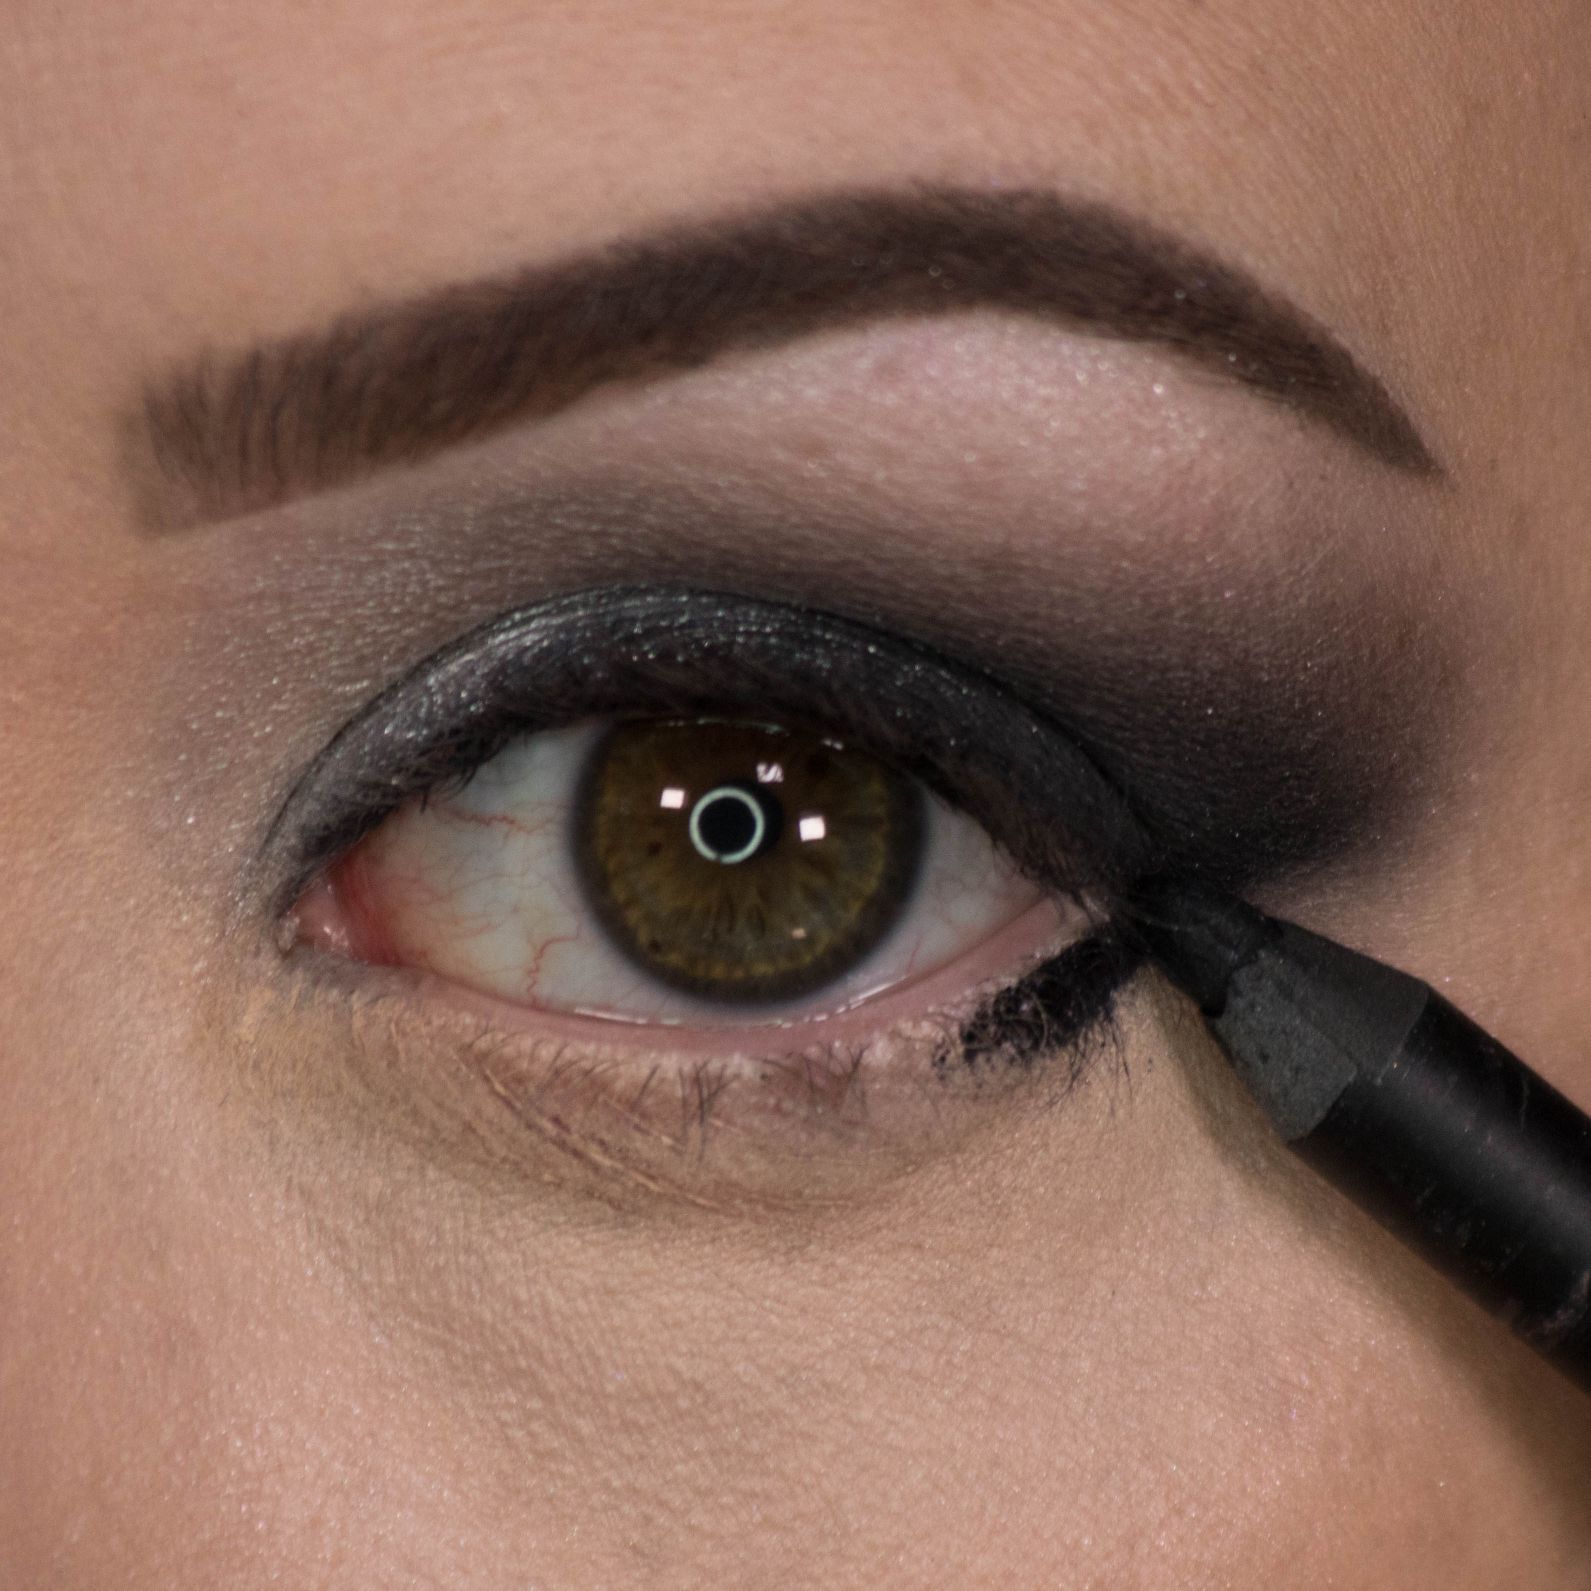
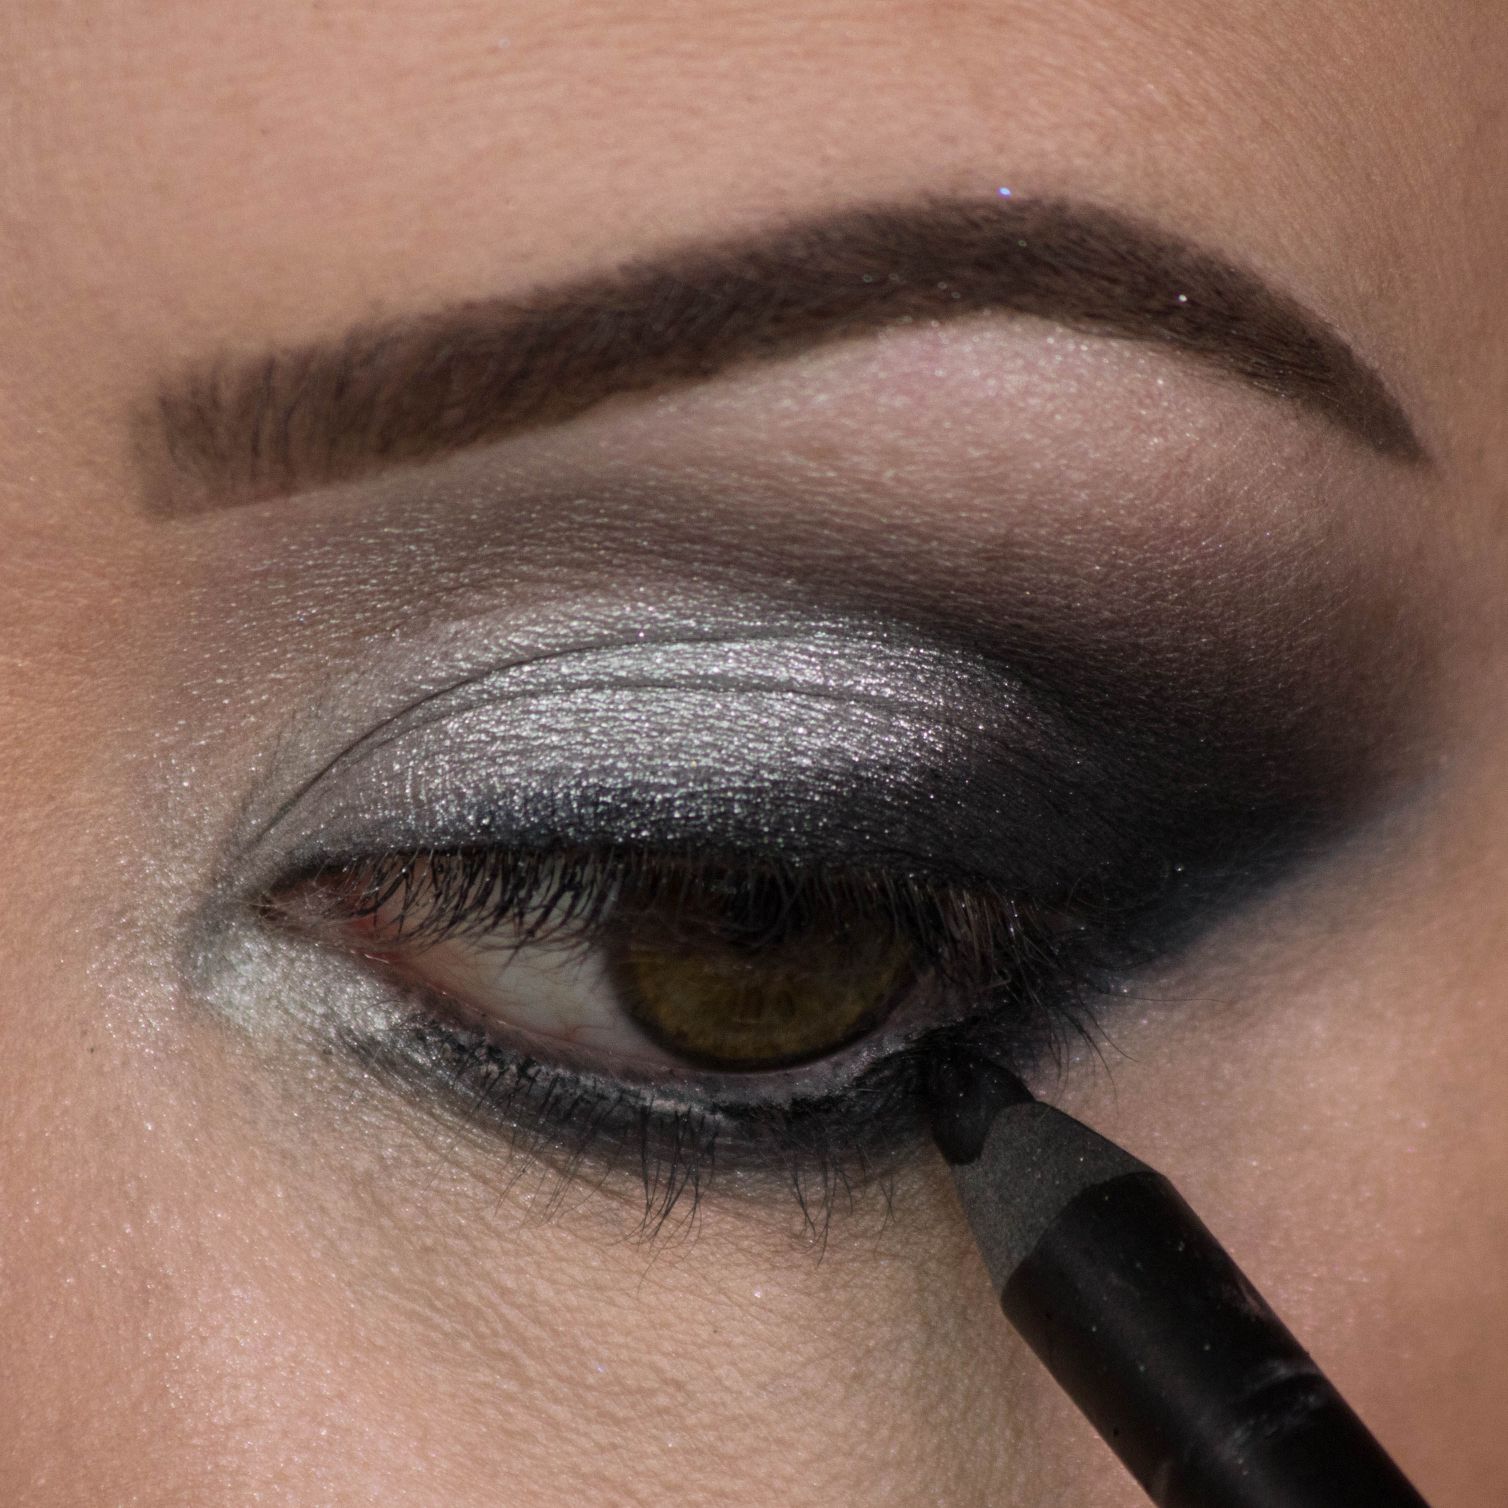
Step 8: Tightlining
This step is often the scariest part, but makes the biggest impact! Using a soft, waterproof pencil, gently apply liner to your upper lash line.
This will help to mask the flash lashes at a later step (It will also help to thicken the appearance of your lash line for those who chose to go lash-free).
Tip: The most difficult part is applying this on yourself, so take your time.
Tightlining Tips
I personally like to use a mirror on a stand that I can tilt up toward my face, that sits on my makeup desk. This frees up my hands to gently pull up the eyelid while giving me the ability to see what I’m doing.
Having a soft and pigmented pencil also helps in this step as the easier and faster it applies, the less likely you to spend more time potentially poking yourself in the eye.
That being said please be careful. We are working with a sensitive area here so if you do not feel comfortable, please skip this step.
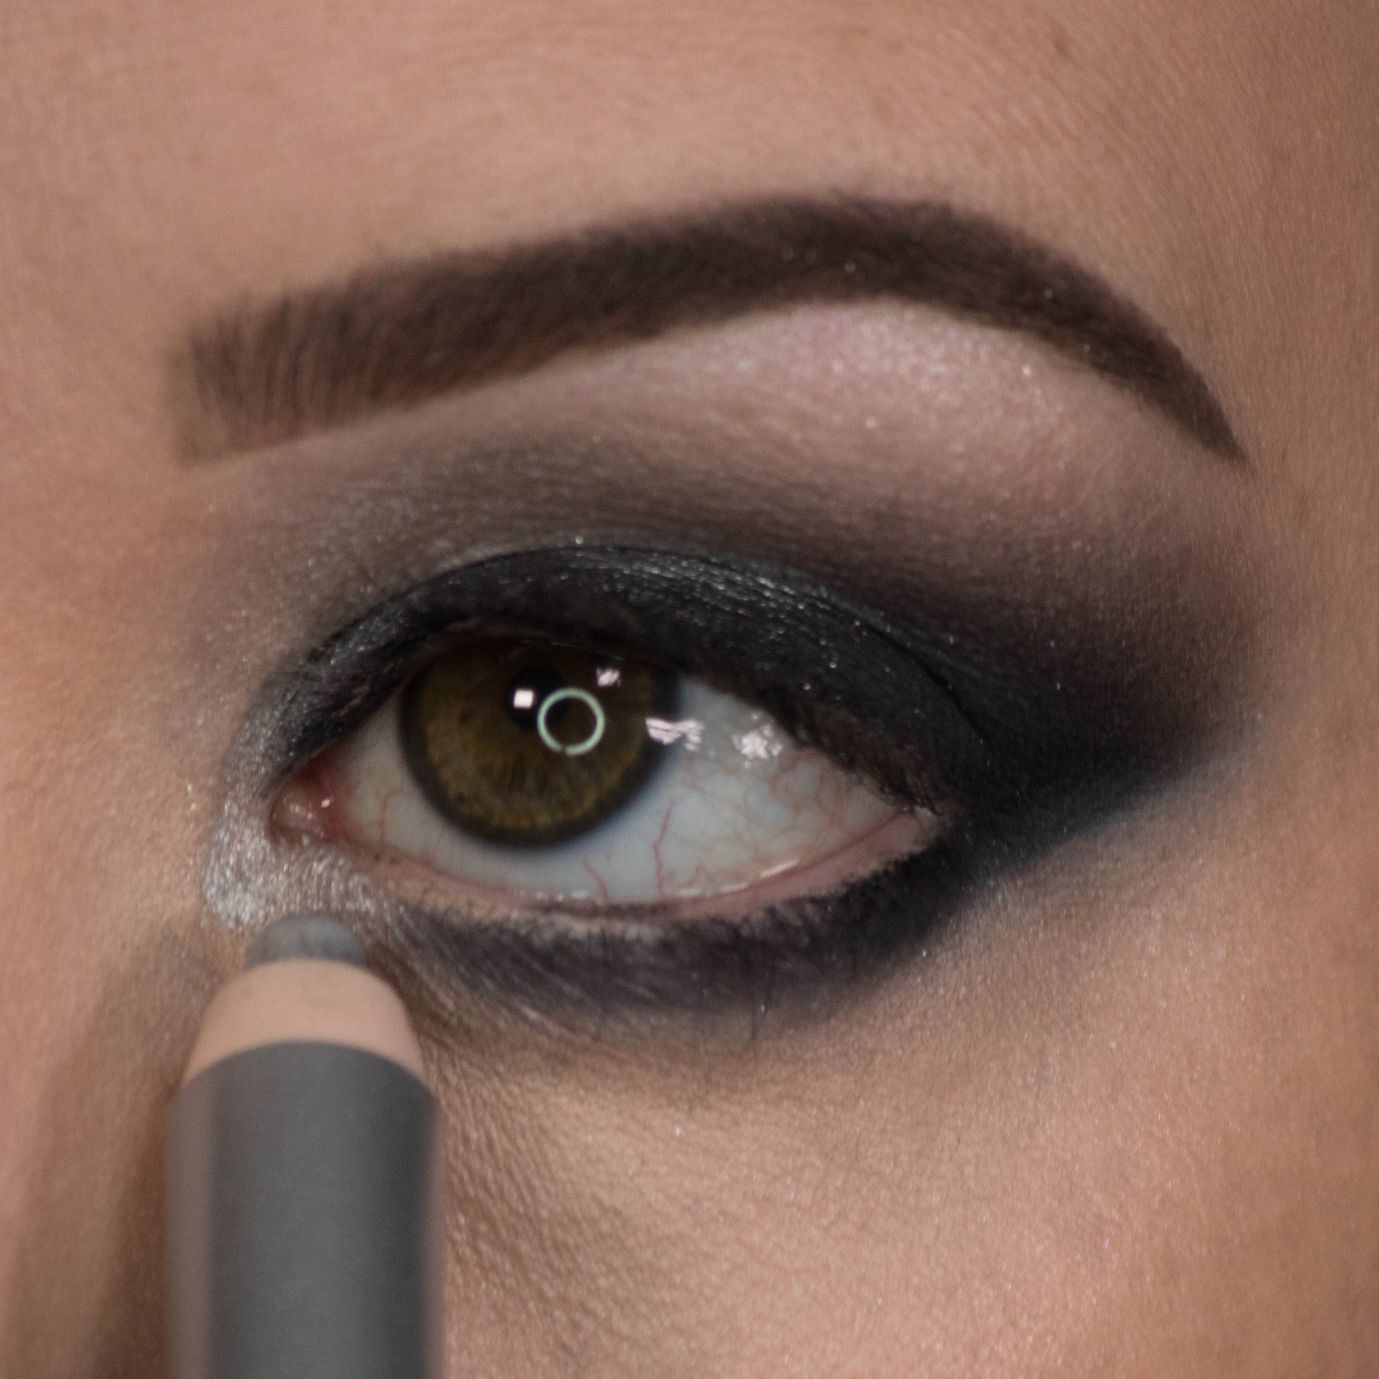
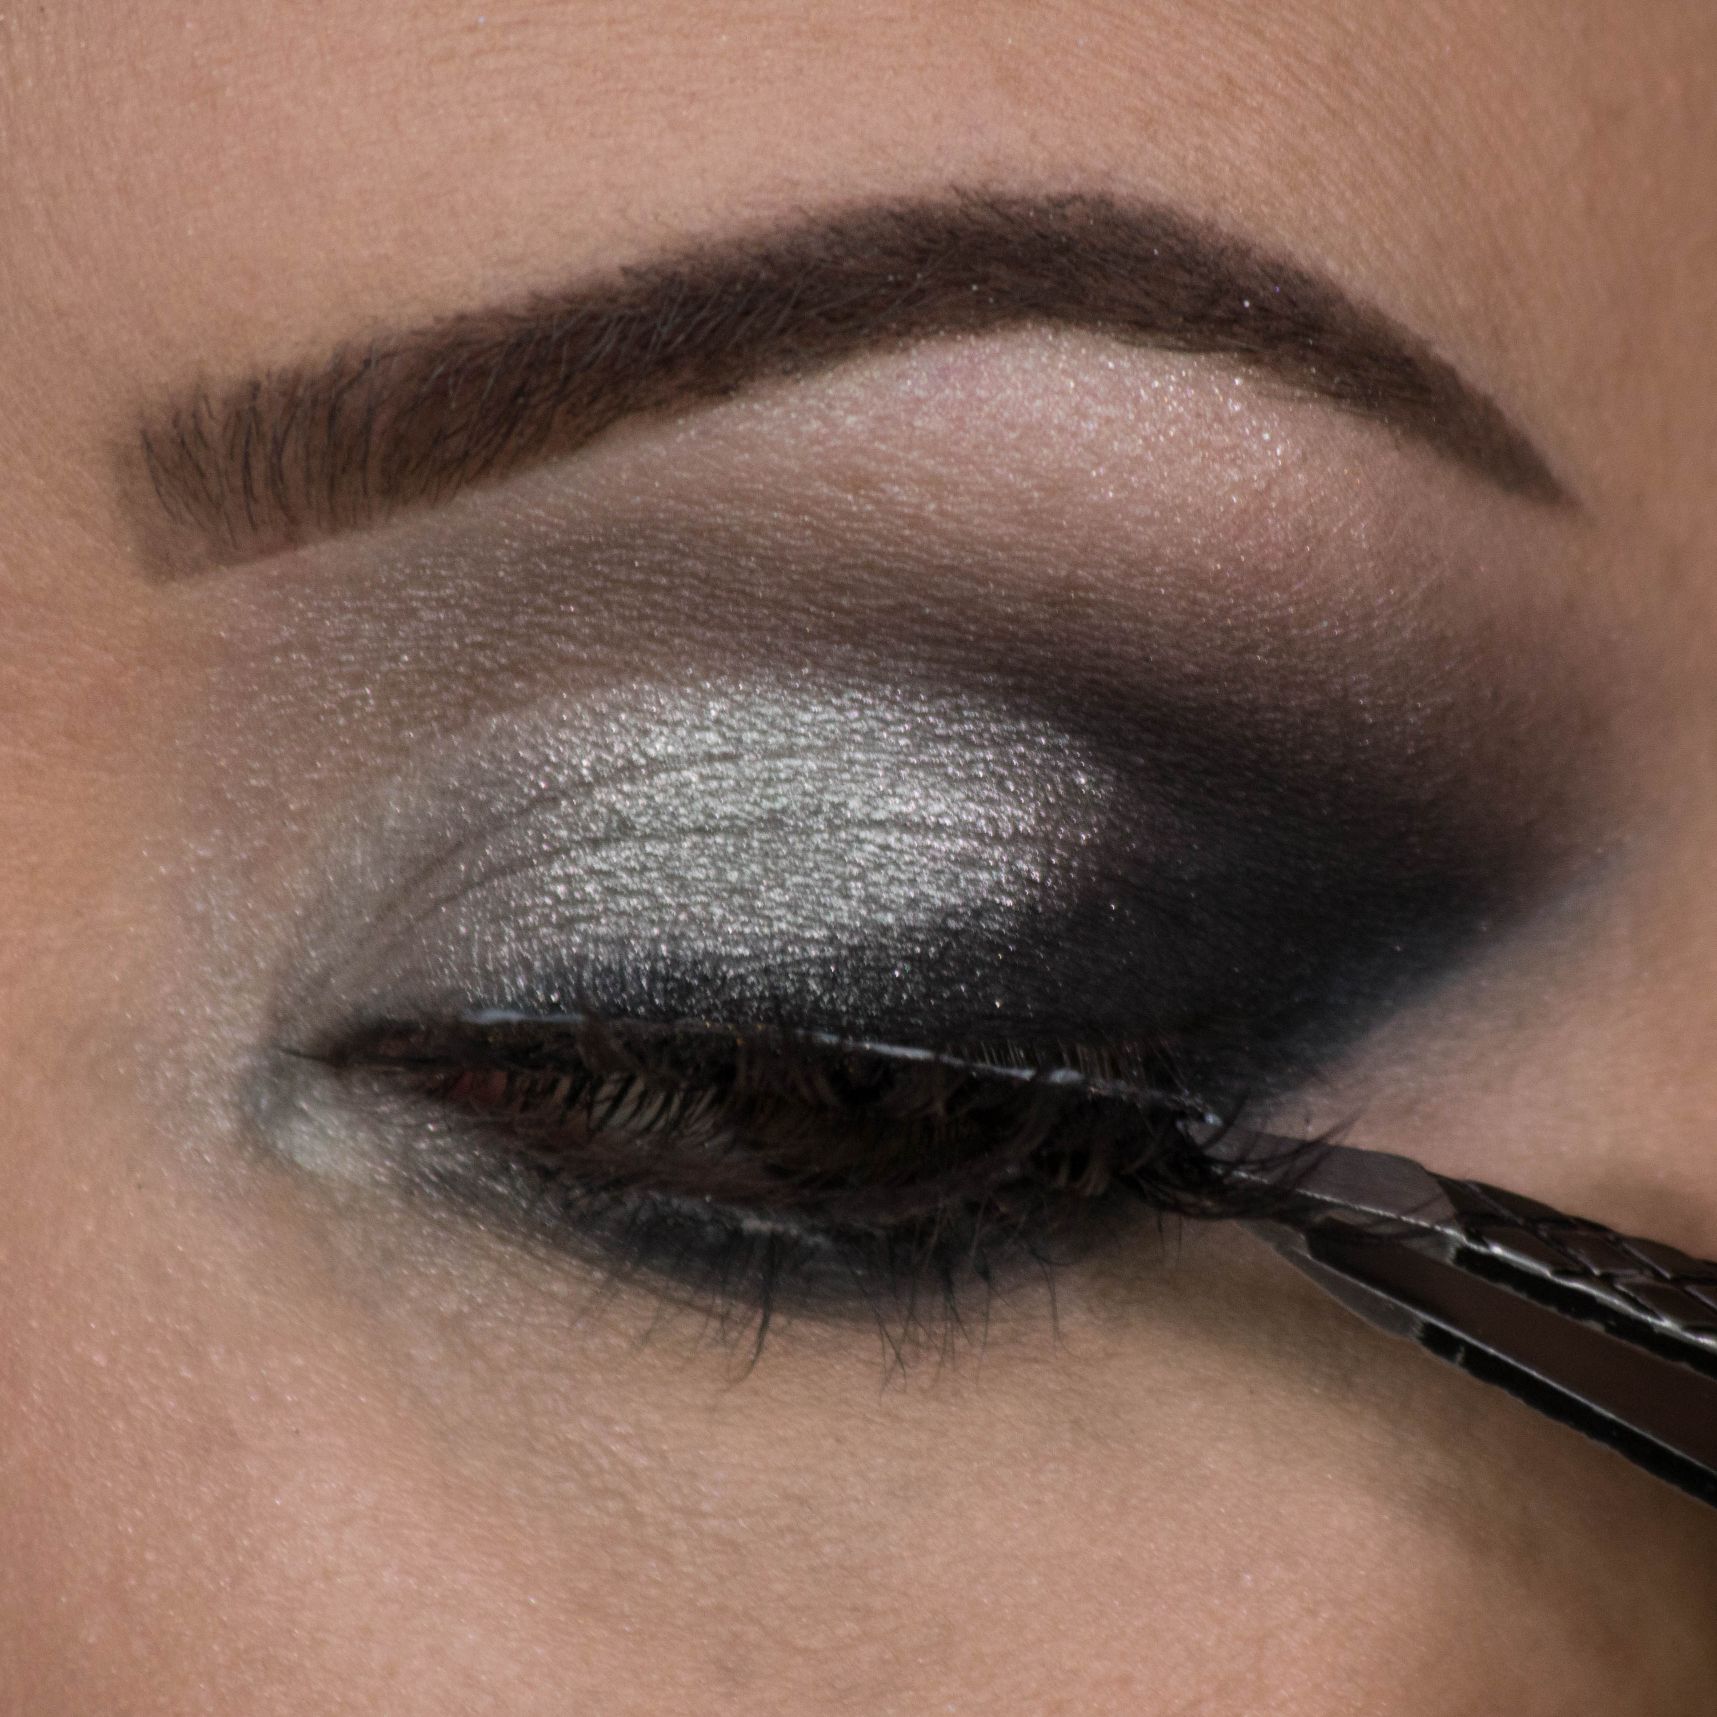
Step 9: Define the Lower Lash Line
Using that same soft pencil connect the lower lash line in the outer corner and blend. Use a little of that grey shadow from earlier to assist in the process.
Remember: Start small and work in more product as you go so as not to overdo it.
Step 10: Highlight & Define
Using a silver shimmery show (loose or pencil) highlight the inner corner of the eye to draw in light.
After that throw on a little black liner in the waterline to tie the whole thing together.
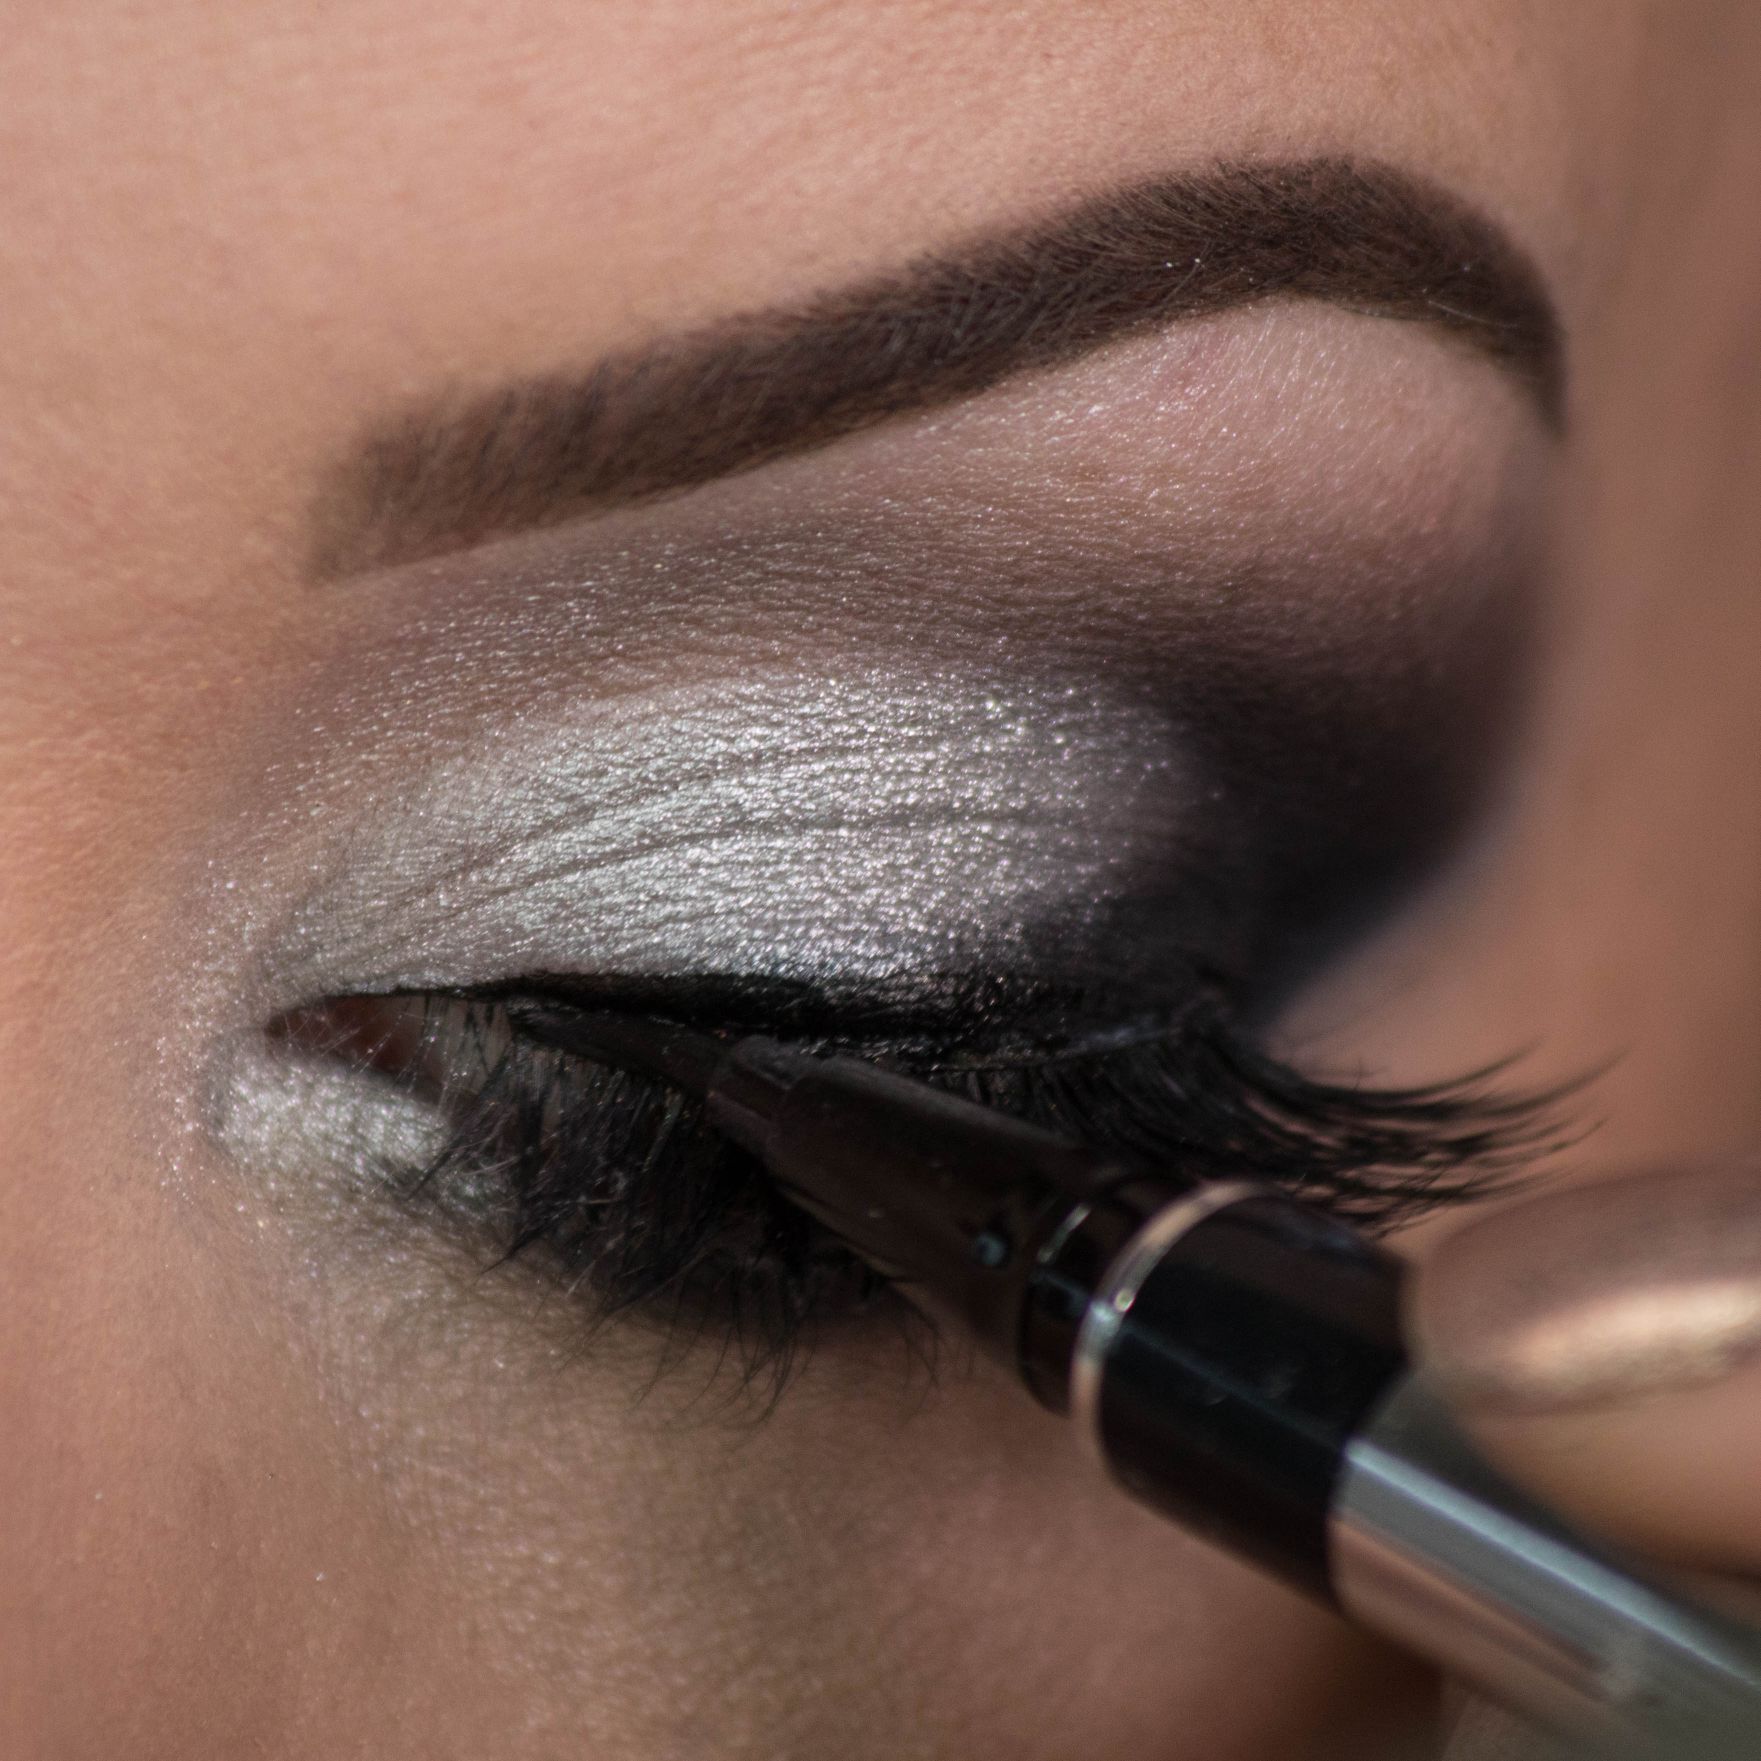
Step 11: Throw on Some Lashes
Throw on a sultry pair of lashes and don’t forget to add a little liner after to help mask the band of the eyelashes.
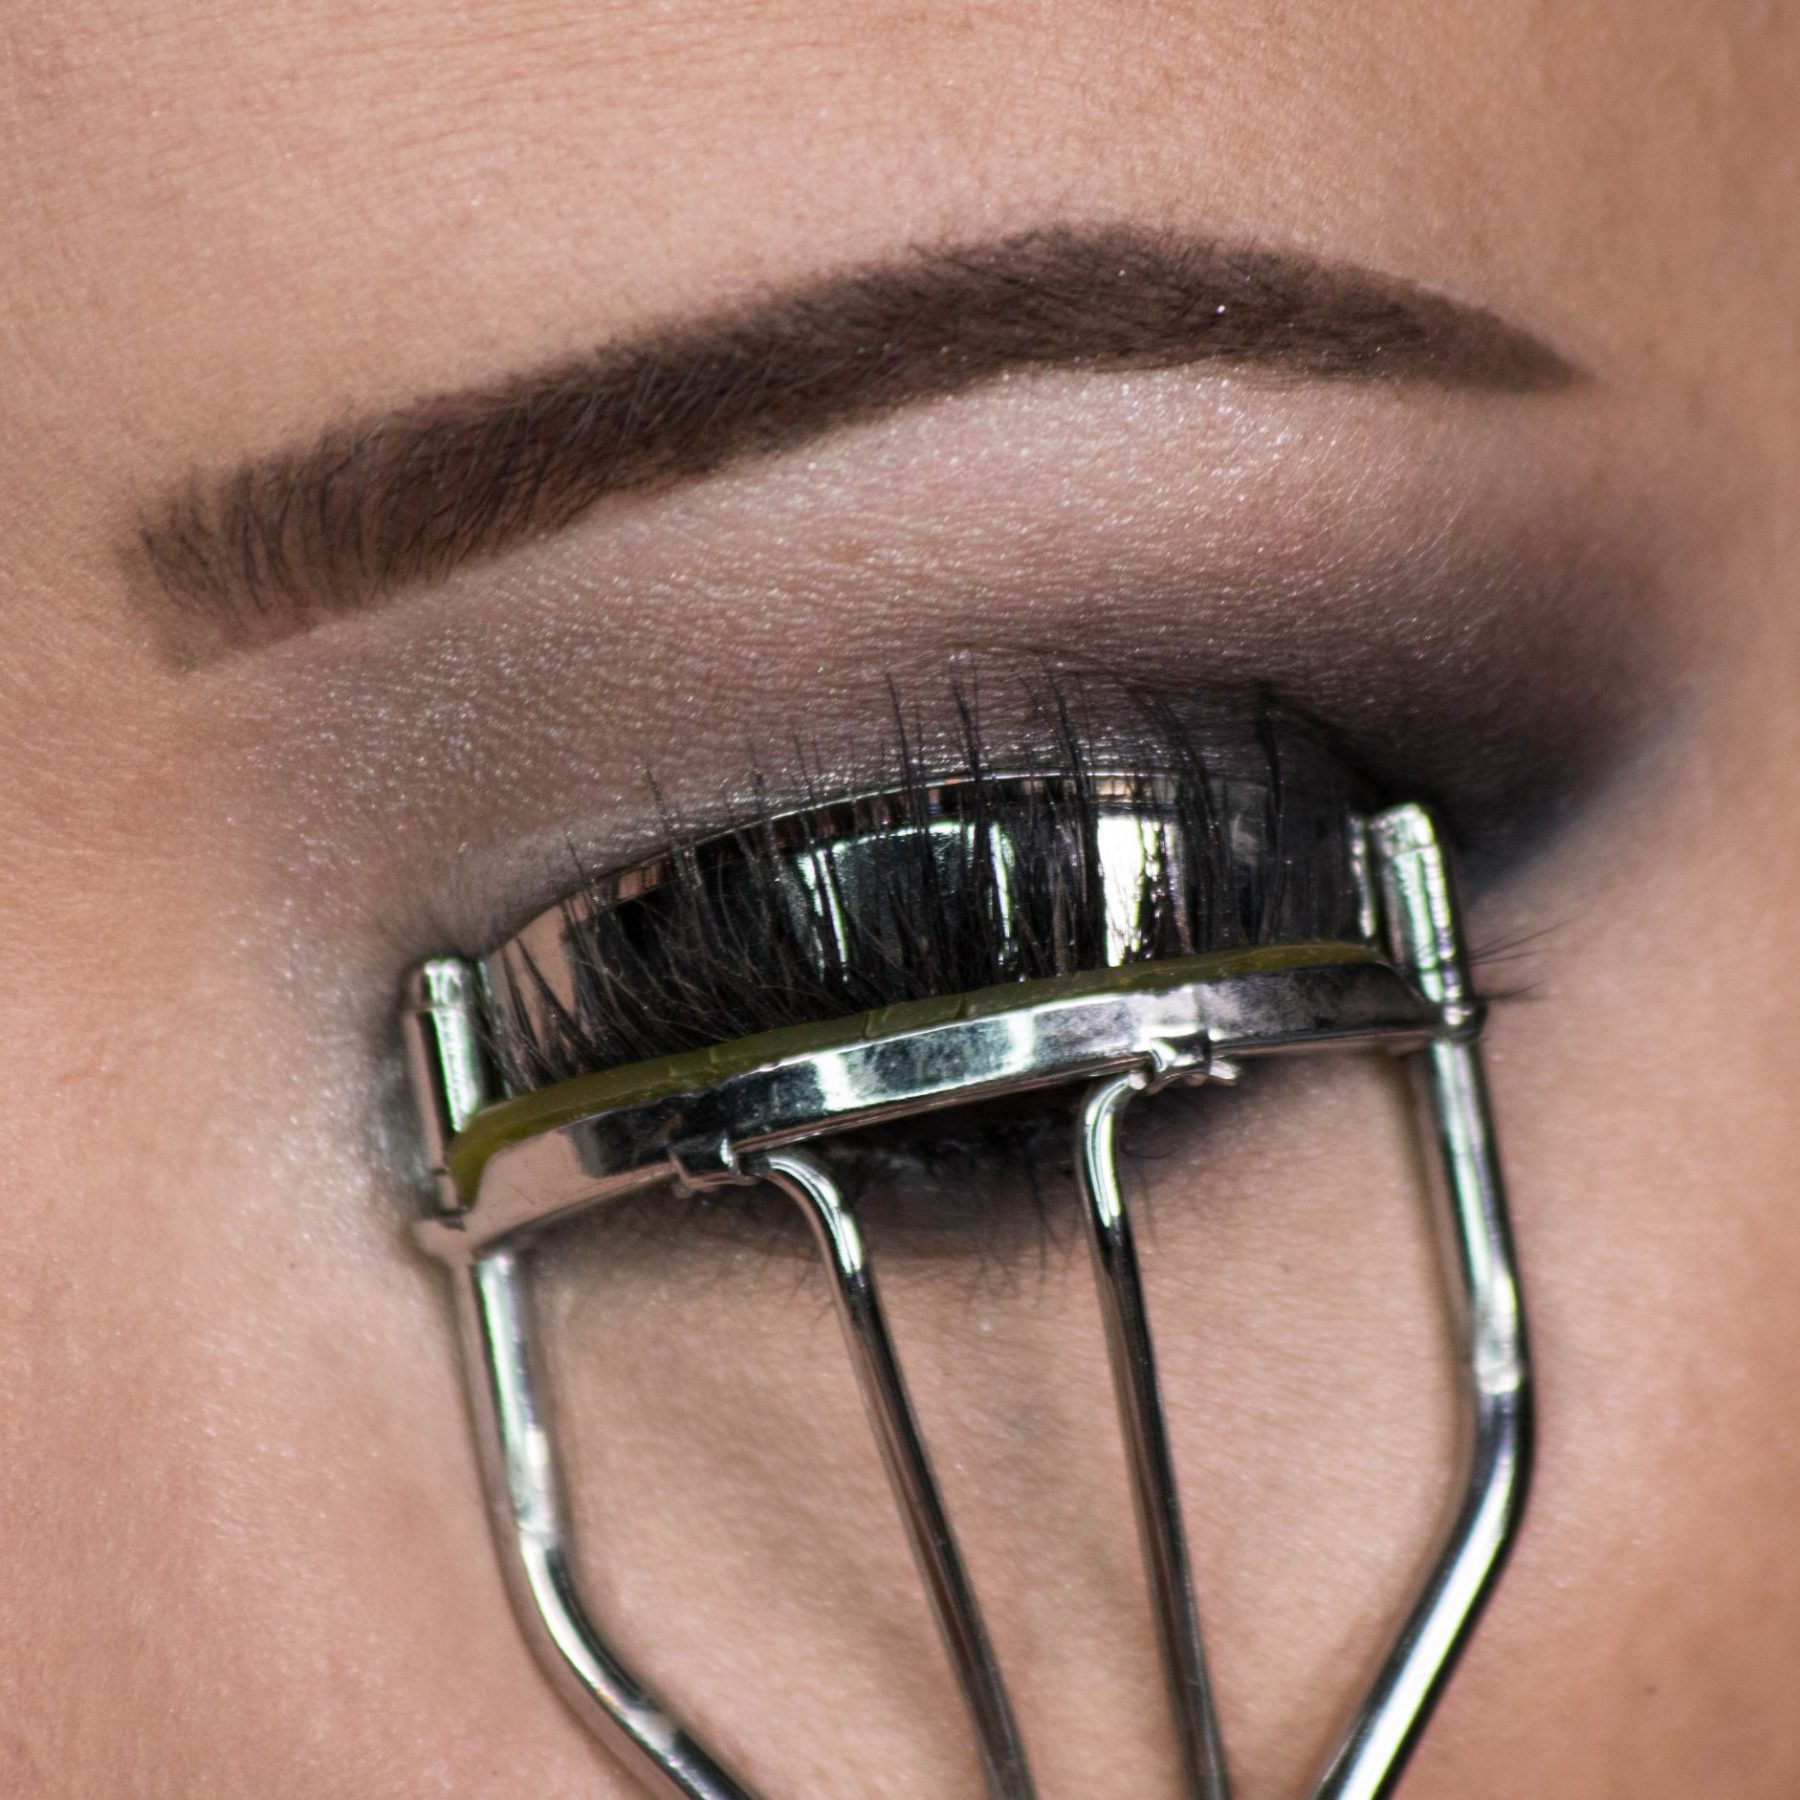
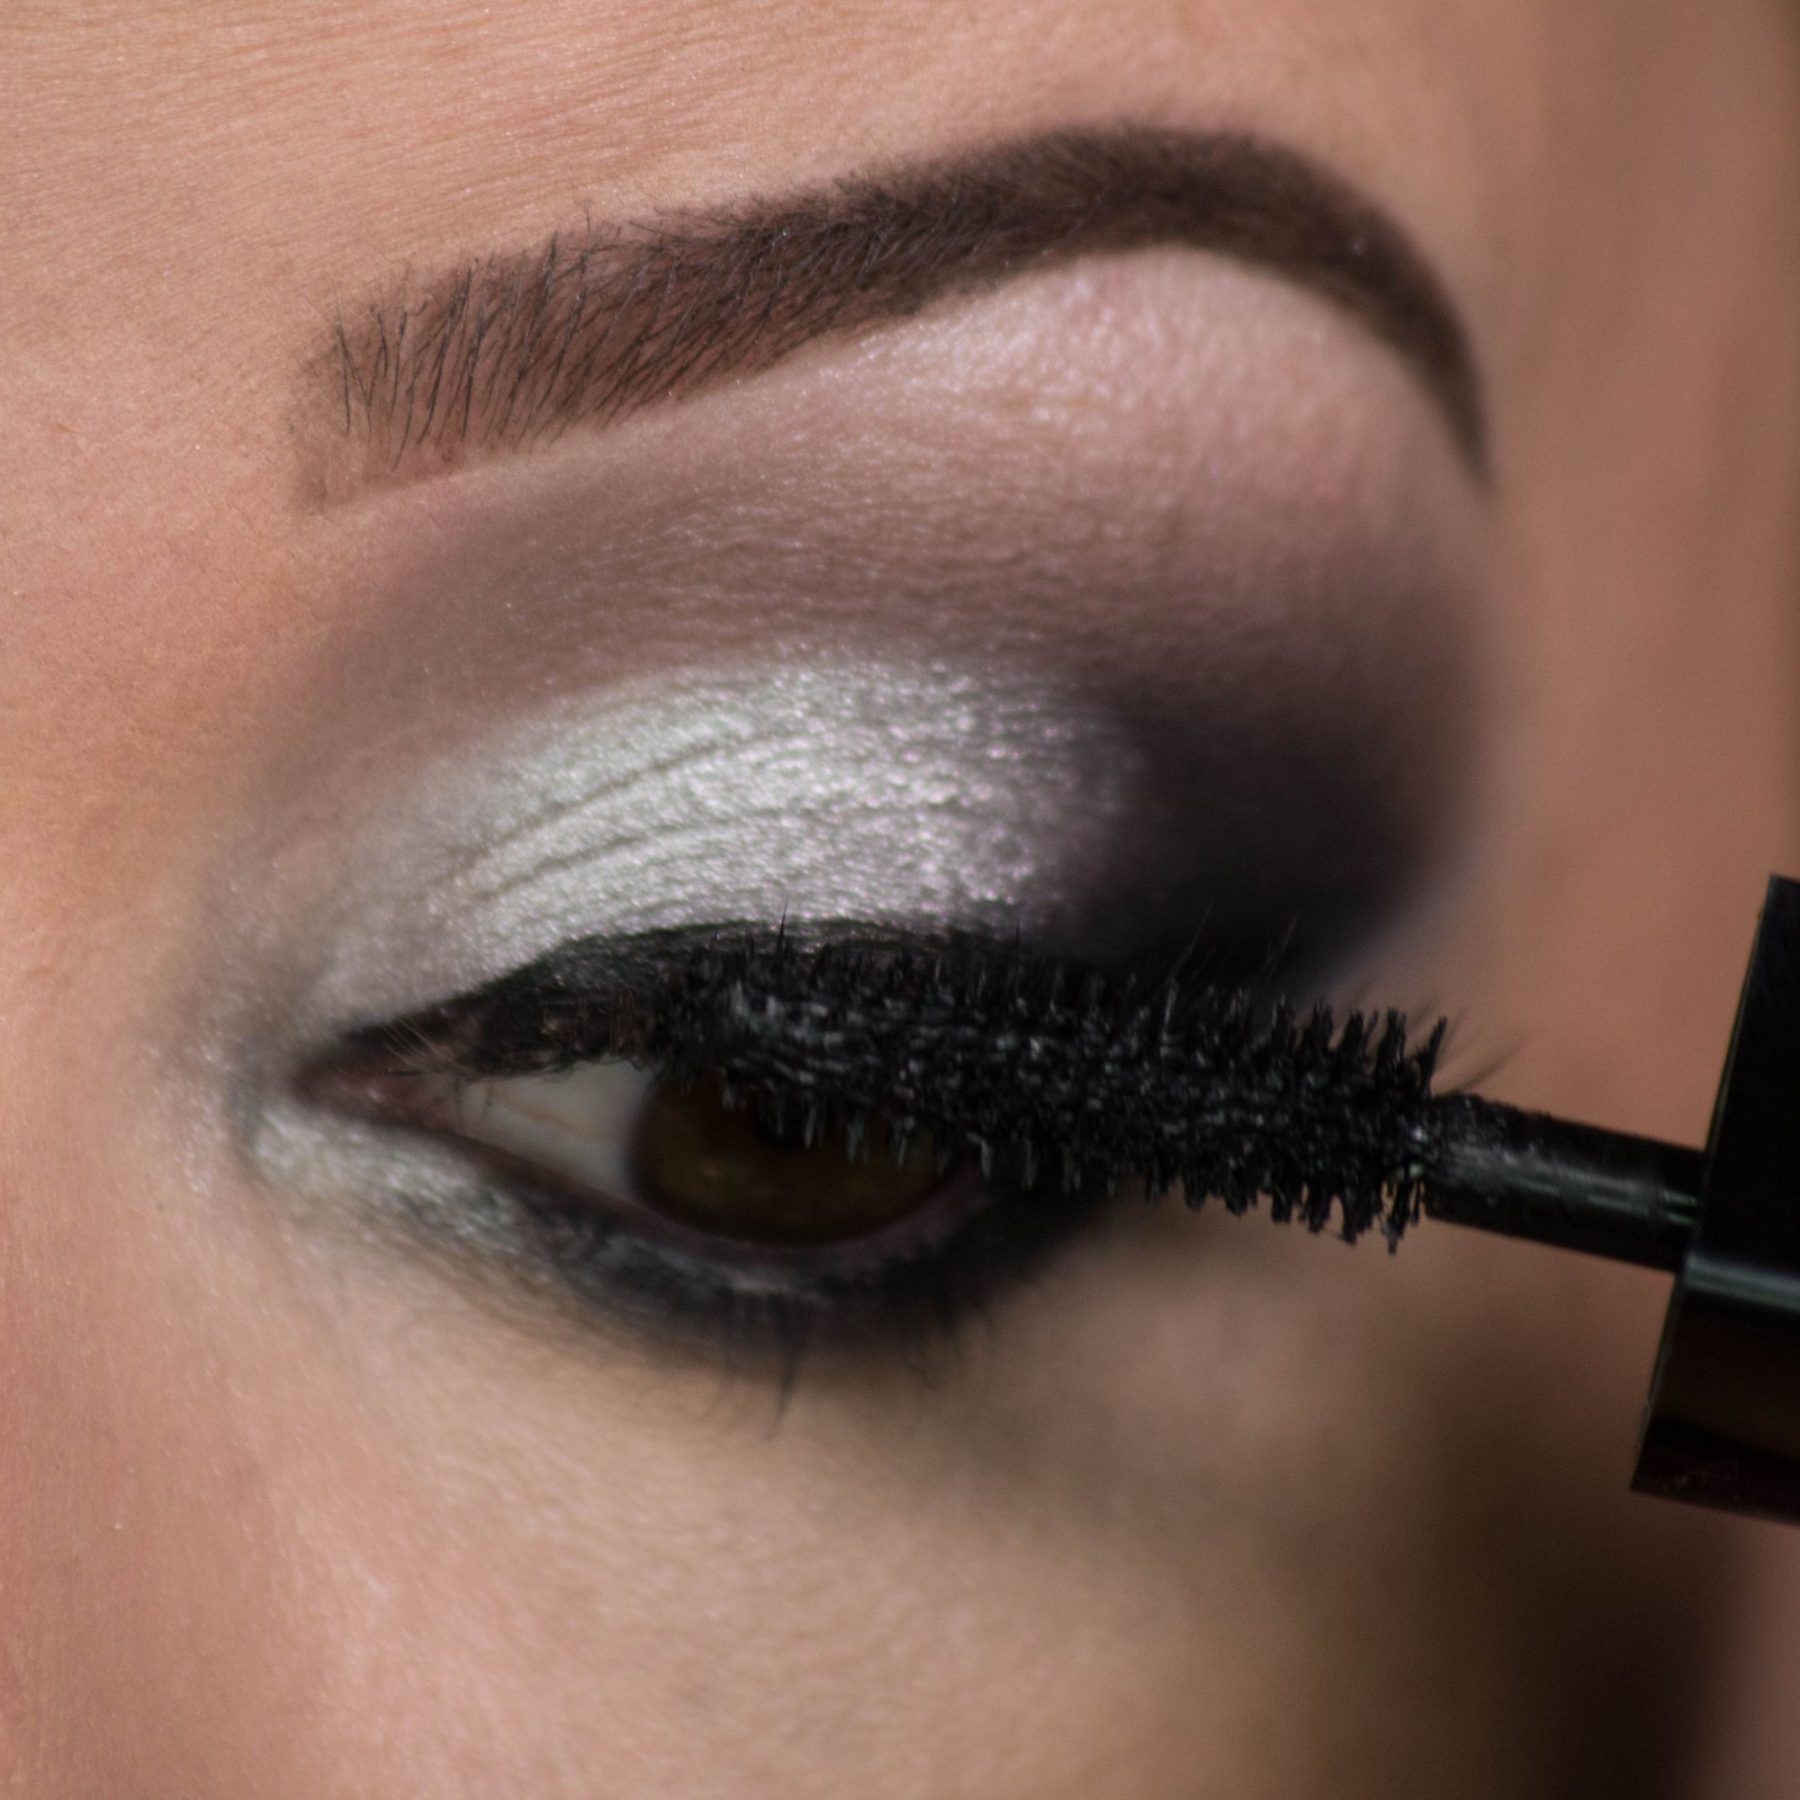
Step 12: Curl & Apply Mascara
This will help to really blend your natural lashes with the falsies.
Using your preferred lash curler, curl your natural lashes together with the false ones, be sure to do so after the lashes are secure and dry. Then apply a small amount of mascara to blend the lashes together.
Don’t forget the bottom lashes!
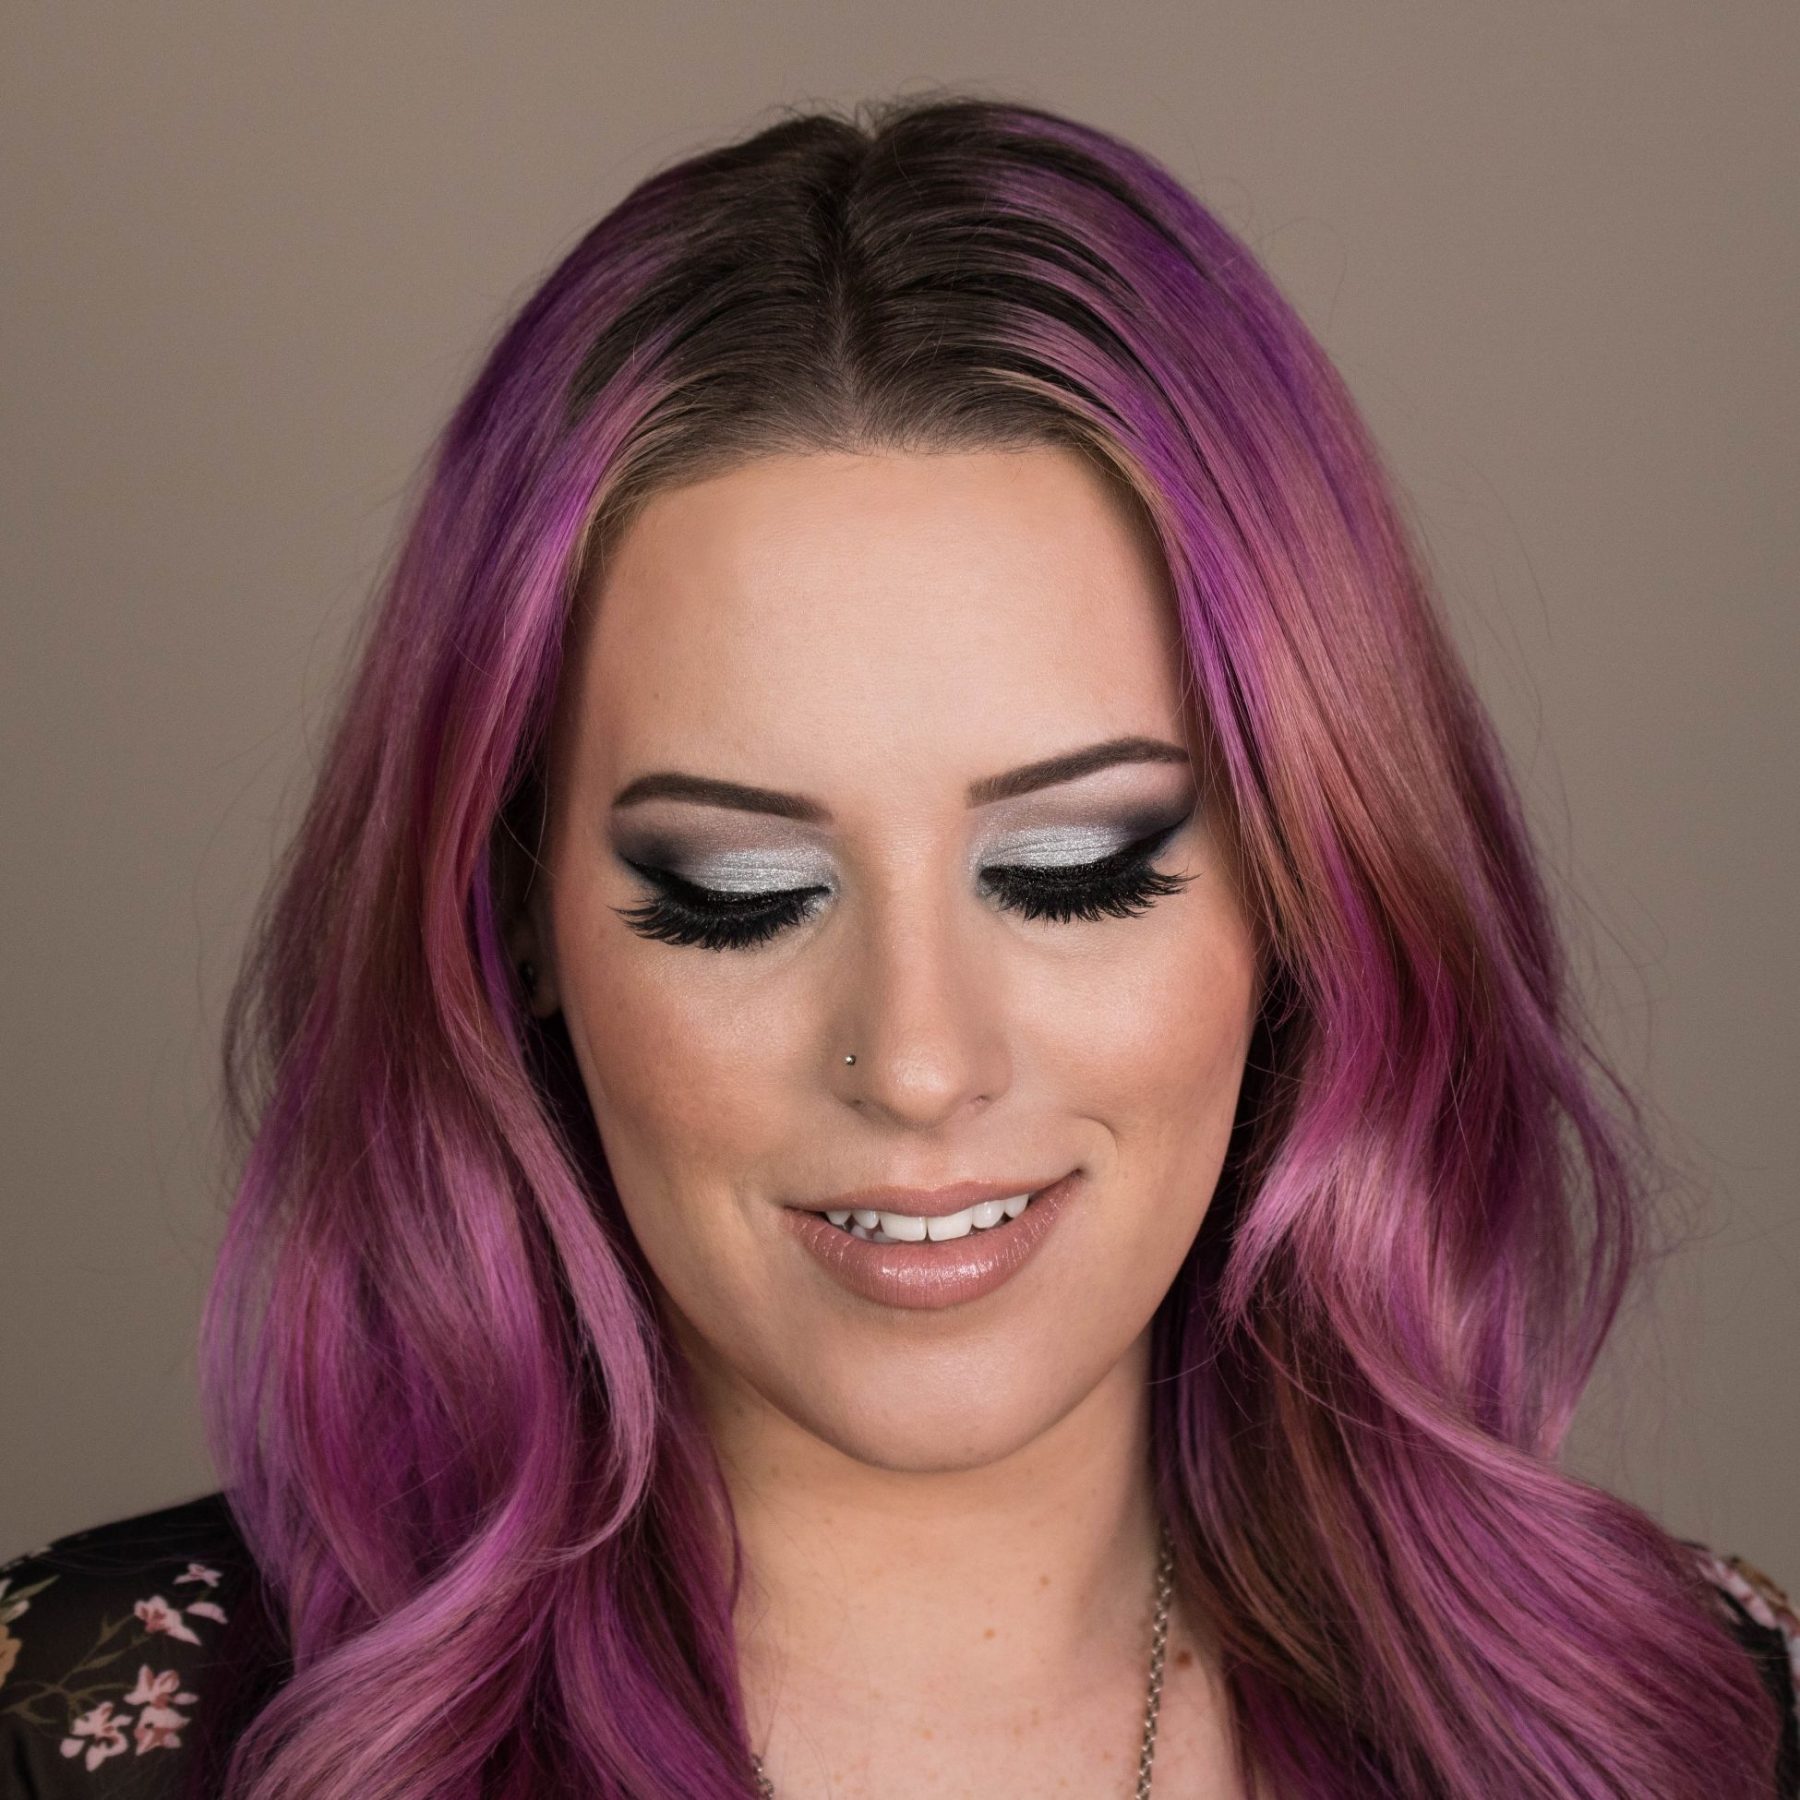
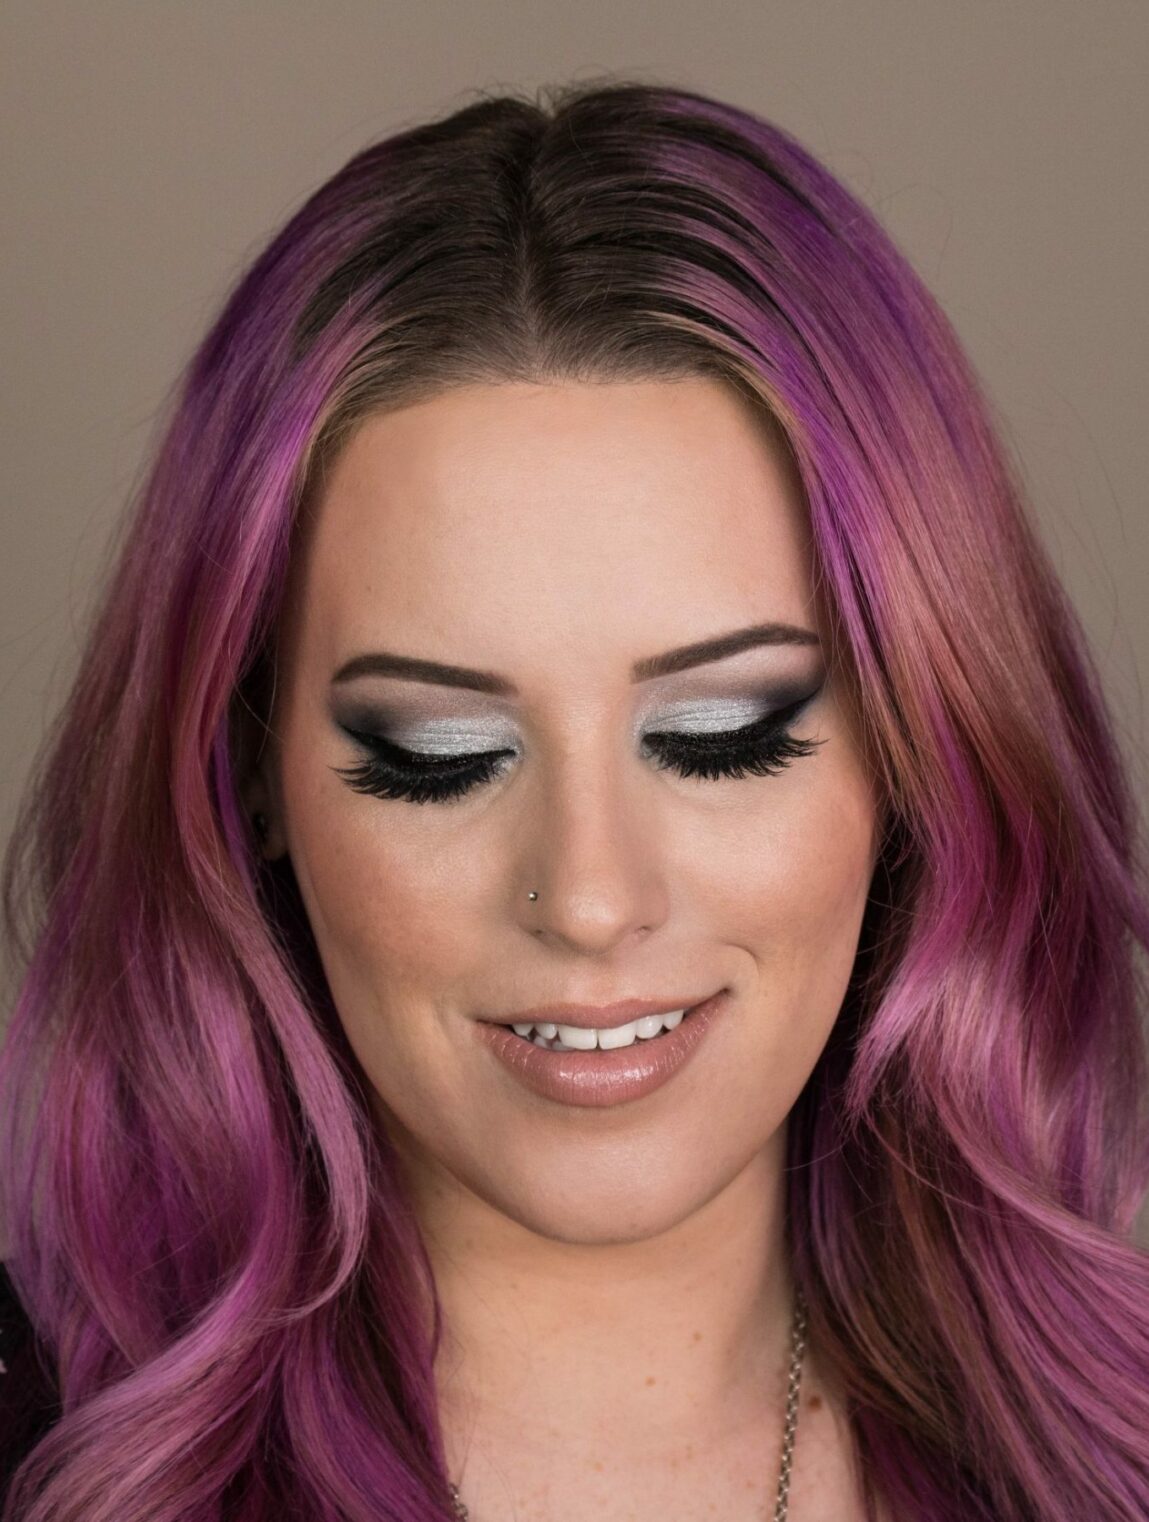
That’s it!
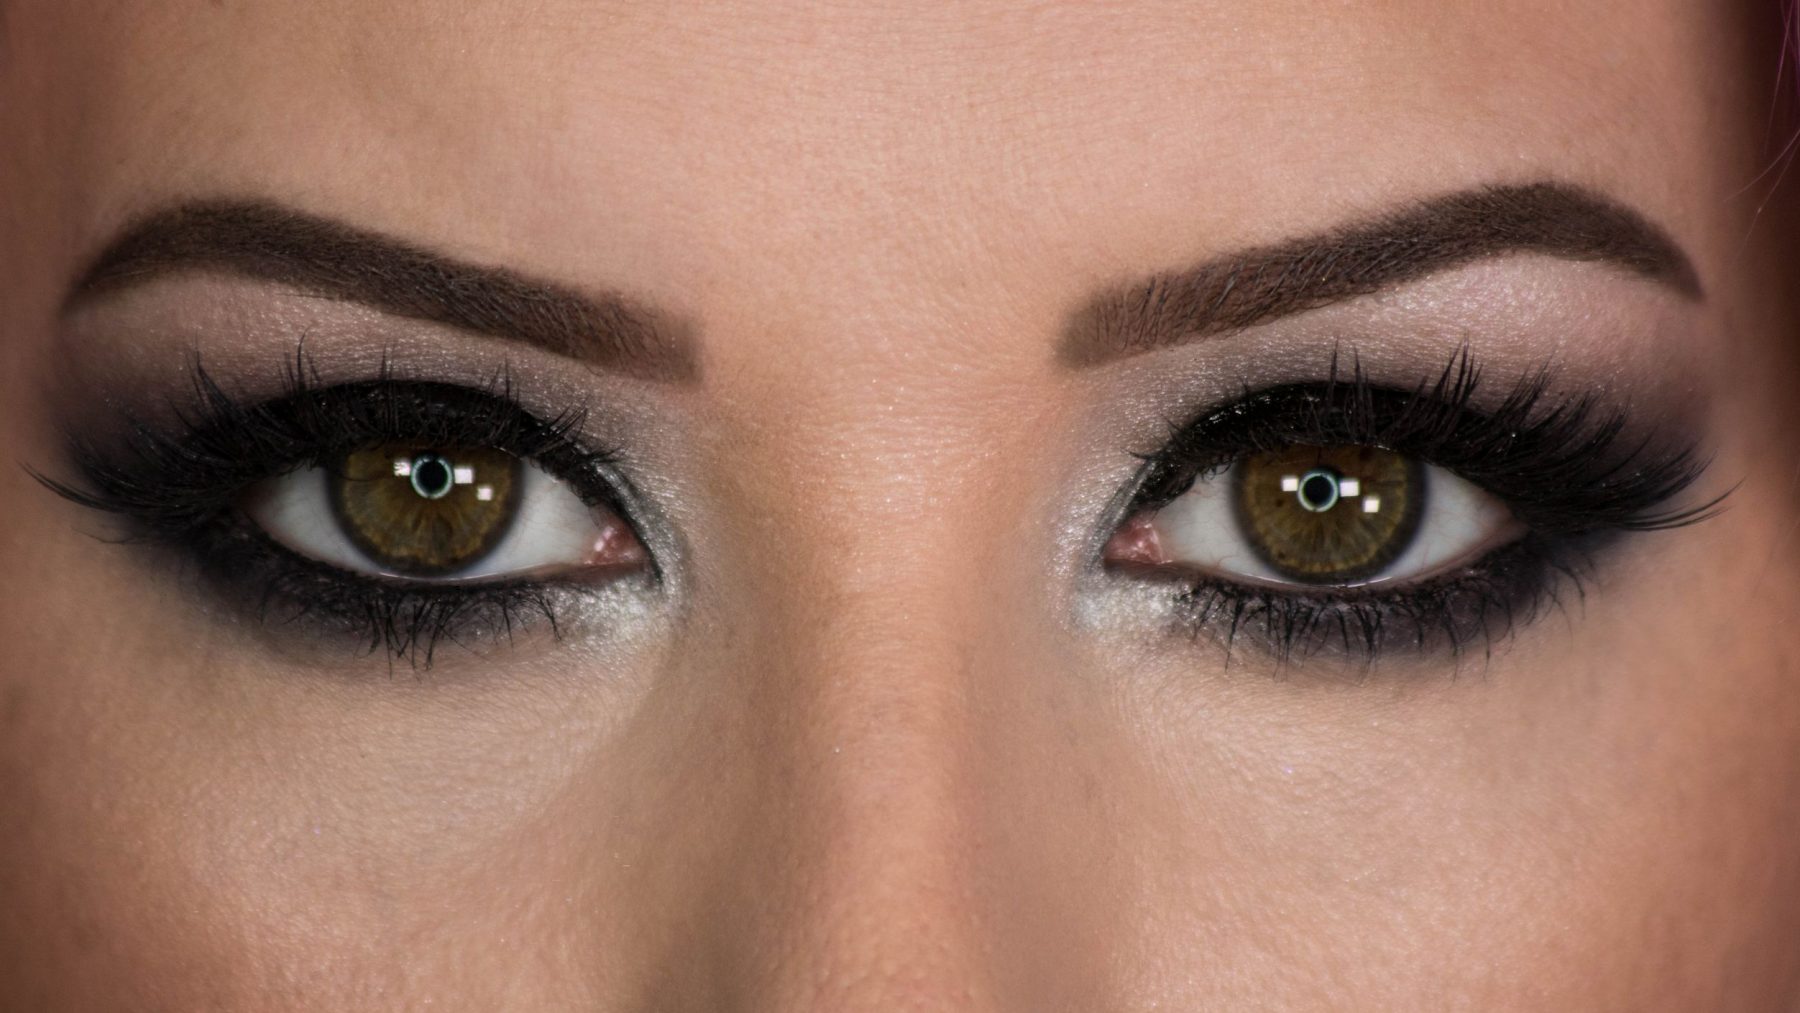
Don’t forget to check your work and make sure both eyes are even.
I personally like to give myself a little time to do hair or something else, and then come back to ensure a lash hasn’t popped off a bit in the corner. This way you can have the opportunity to make sure everything stays secure and lasts all day (or night) long.