I’m not a shy girl when it comes to makeup. For me, having a sick beat gives me killer confidence and makes me feel more willing to take on the day. It would seem more and more women agree.
Because what was once something you’d only see on the red carpet, is now something you can learn to do on yourself at home. There’s a reason this technique has been so popular online, it’s easier than it looks!
The cut crease has been wildly popular on Instagram, and to those new to makeup, it might seem far too difficult a look to tackle. But I’m here to tell you, it’s not as scary as it seems. Follow along and I’ll show you step-by-step, just how to do it.
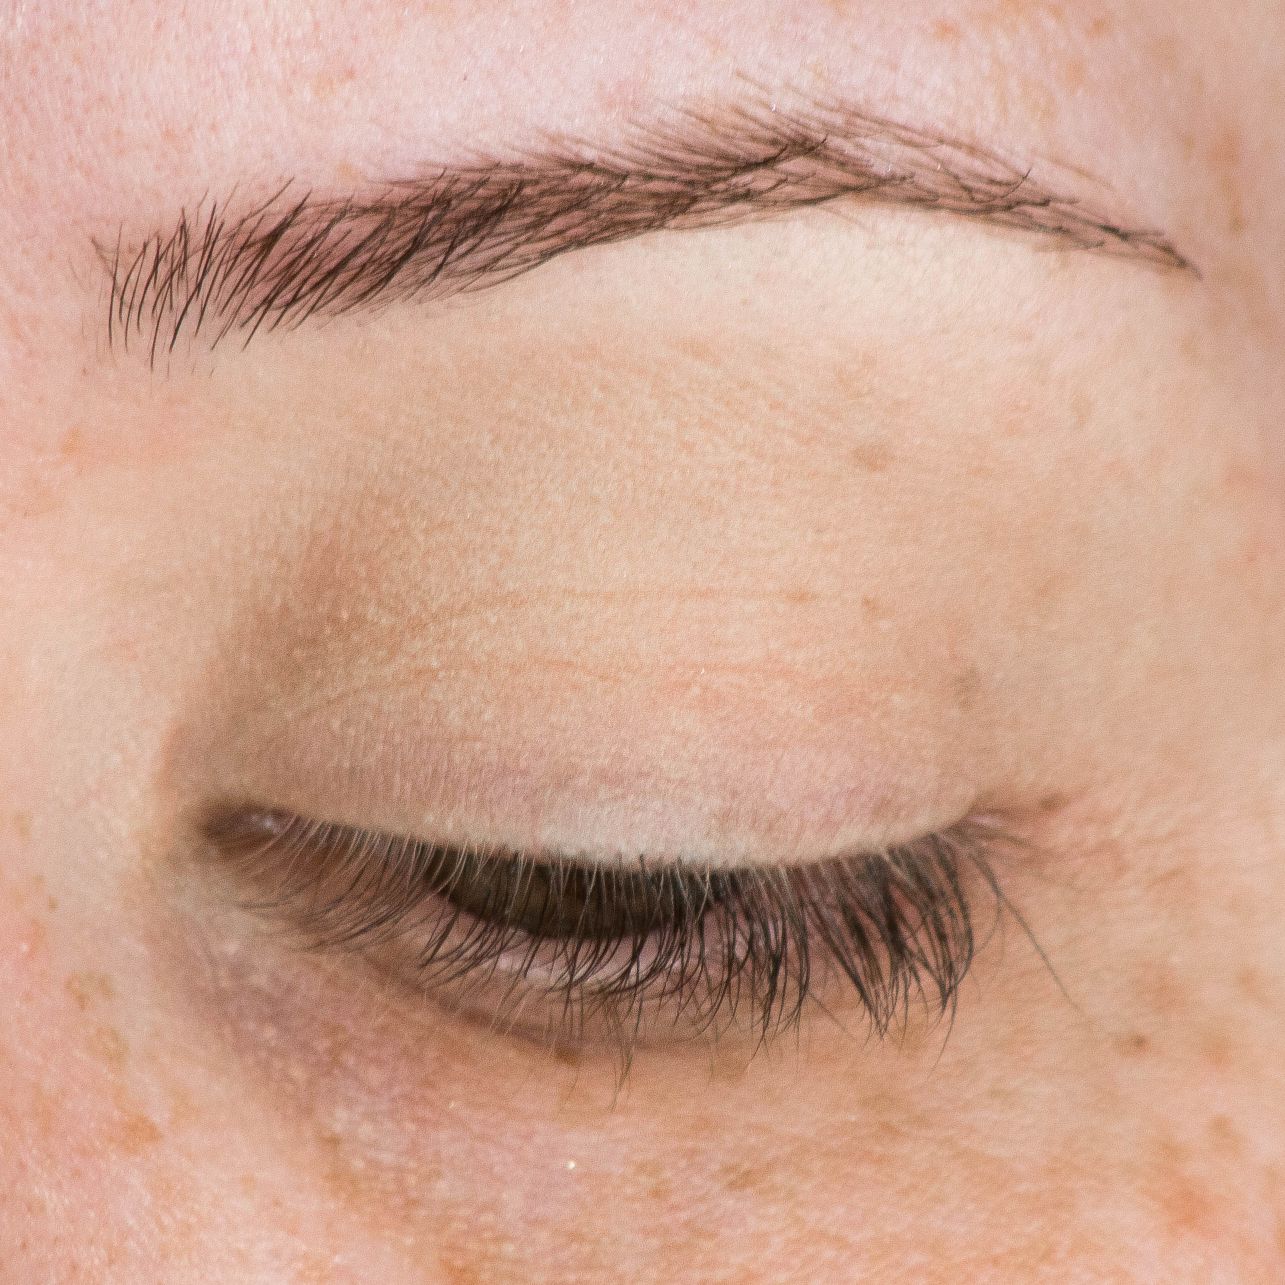
Step 1: Prime the Lid
Do you struggle with your eyeshadows lasting all day long? Chances are you aren’t using an eyeshadow primer.
This step is crucial, not only in helping your eyeshadow to last all day but also neutralized any unwanted redness or veins on the lid. This will also assist in getting the best color pay off out of your shadows.
For this step, I used MAC cosmetics Soft Ochre paint pot. I recommend starting with a small amount on the base of the lid and bringing whatever is leftover up to the brow bone. For best results use your fingers to warm/blend out the product.
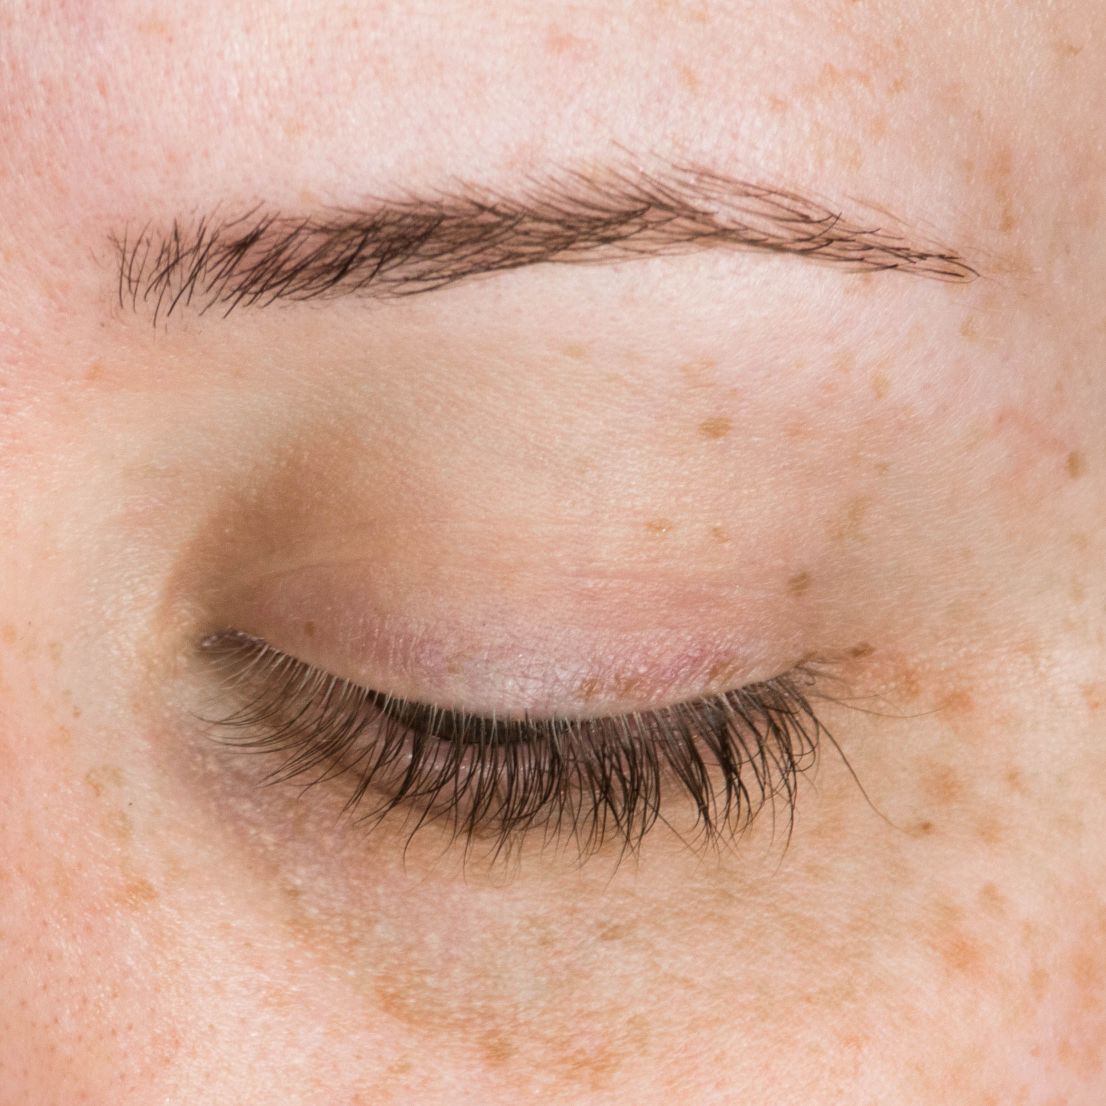
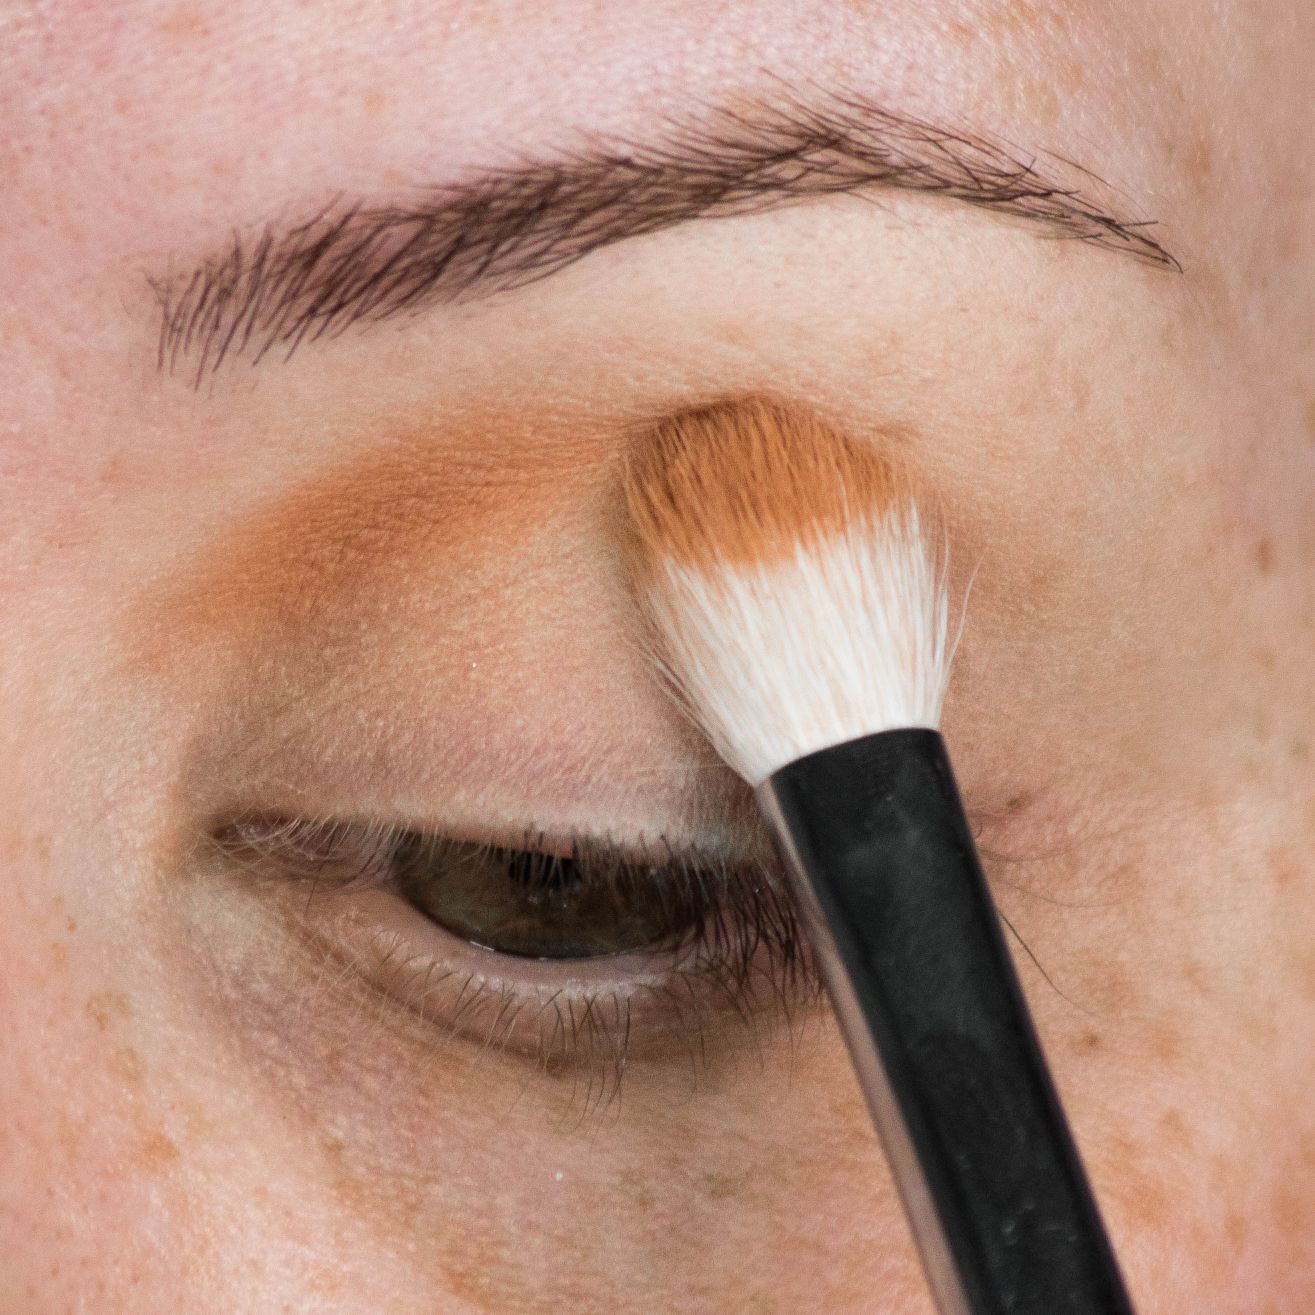
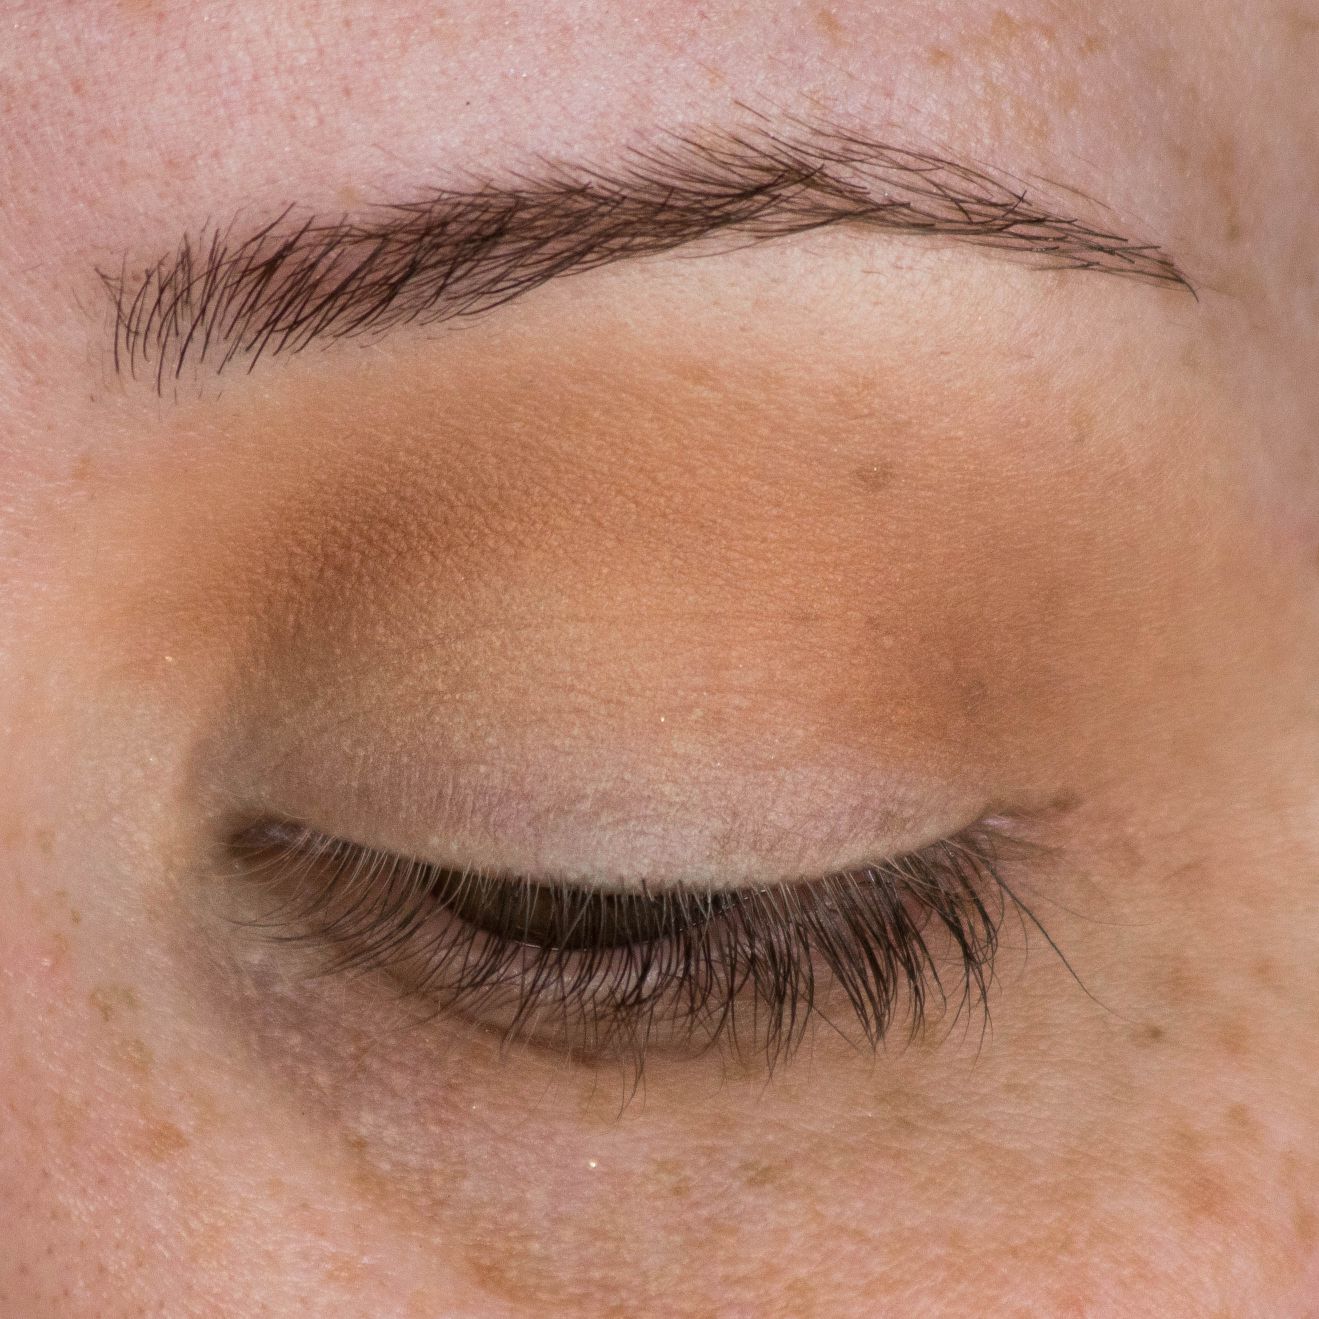
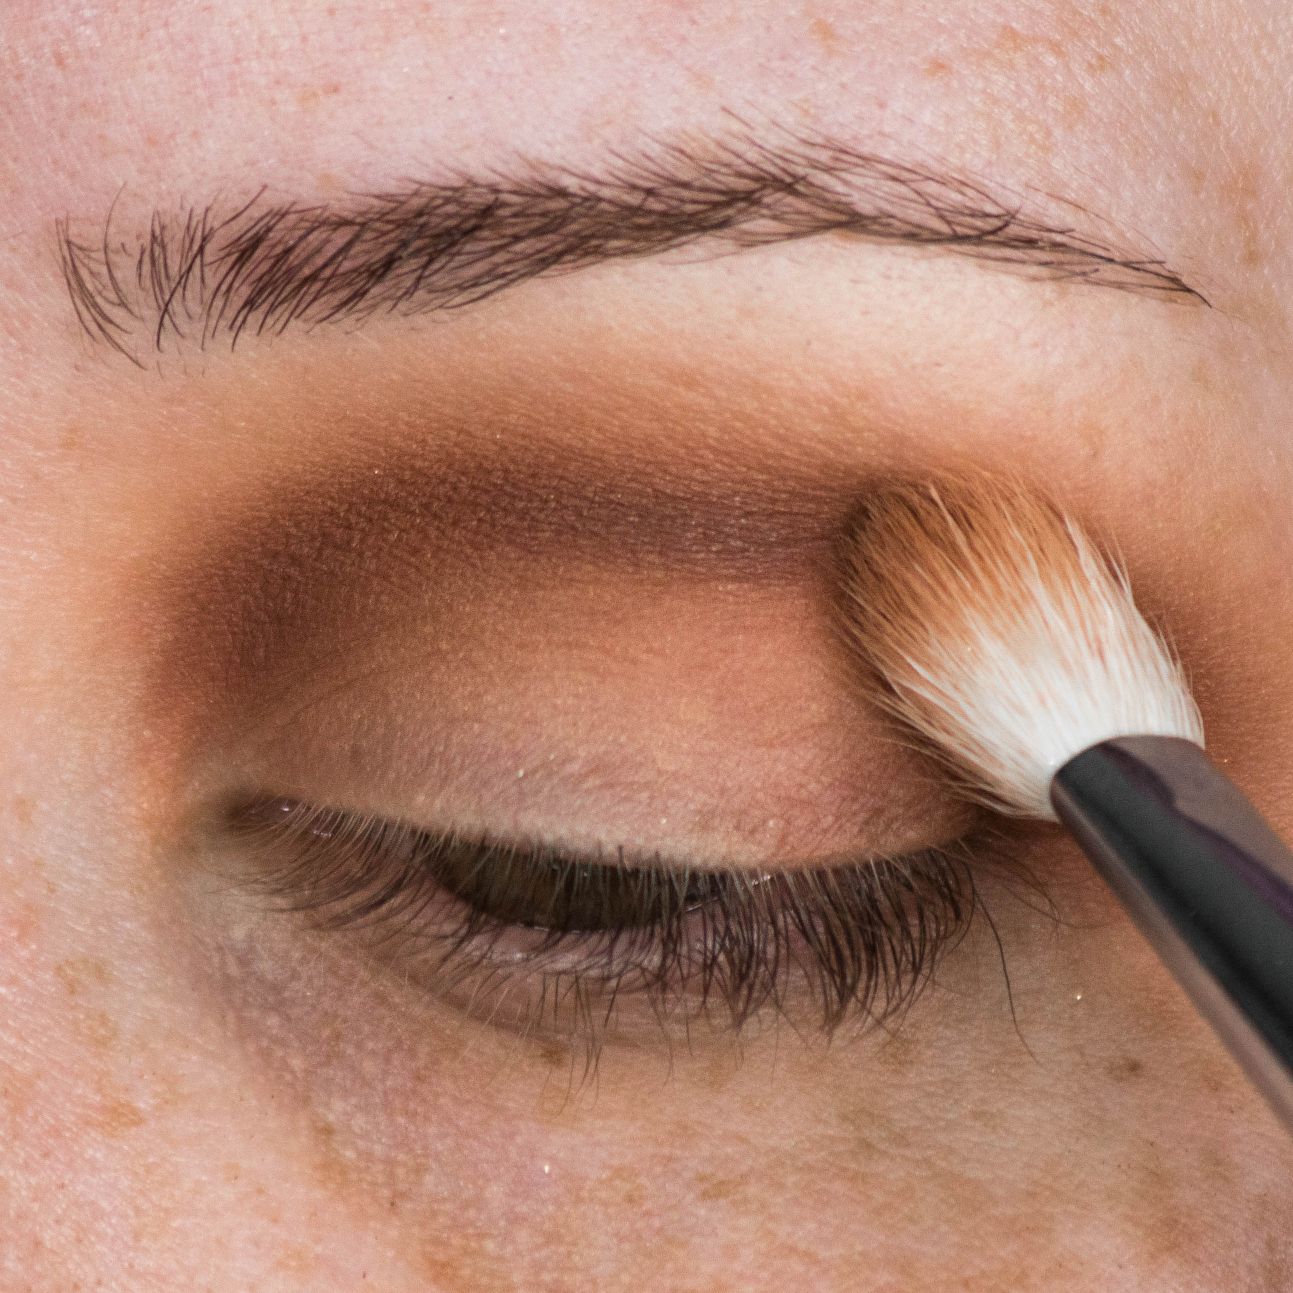
Step 2: Begin to Build the Crease
Taking a fluffy brush dip into a warm mid-tone brown shadow and begin to work it into your crease and blend.
Hooded lids: If you have disappearing or “hooded” lids like myself, you can bring your crease a little higher than normal. This opens up the eye a bit more. Often with this eye type, it is difficult to see the shadow once the eye is open so by adjusting where you want your crease can help to open up the eye.
Blending tip: Once you have applied your crease shadow, take a clean blending brush and begin to defuse the shadow by buffing the edges. Blend up and in, in order to maintain the shape you just created. These steps can take time so don’t rush it.
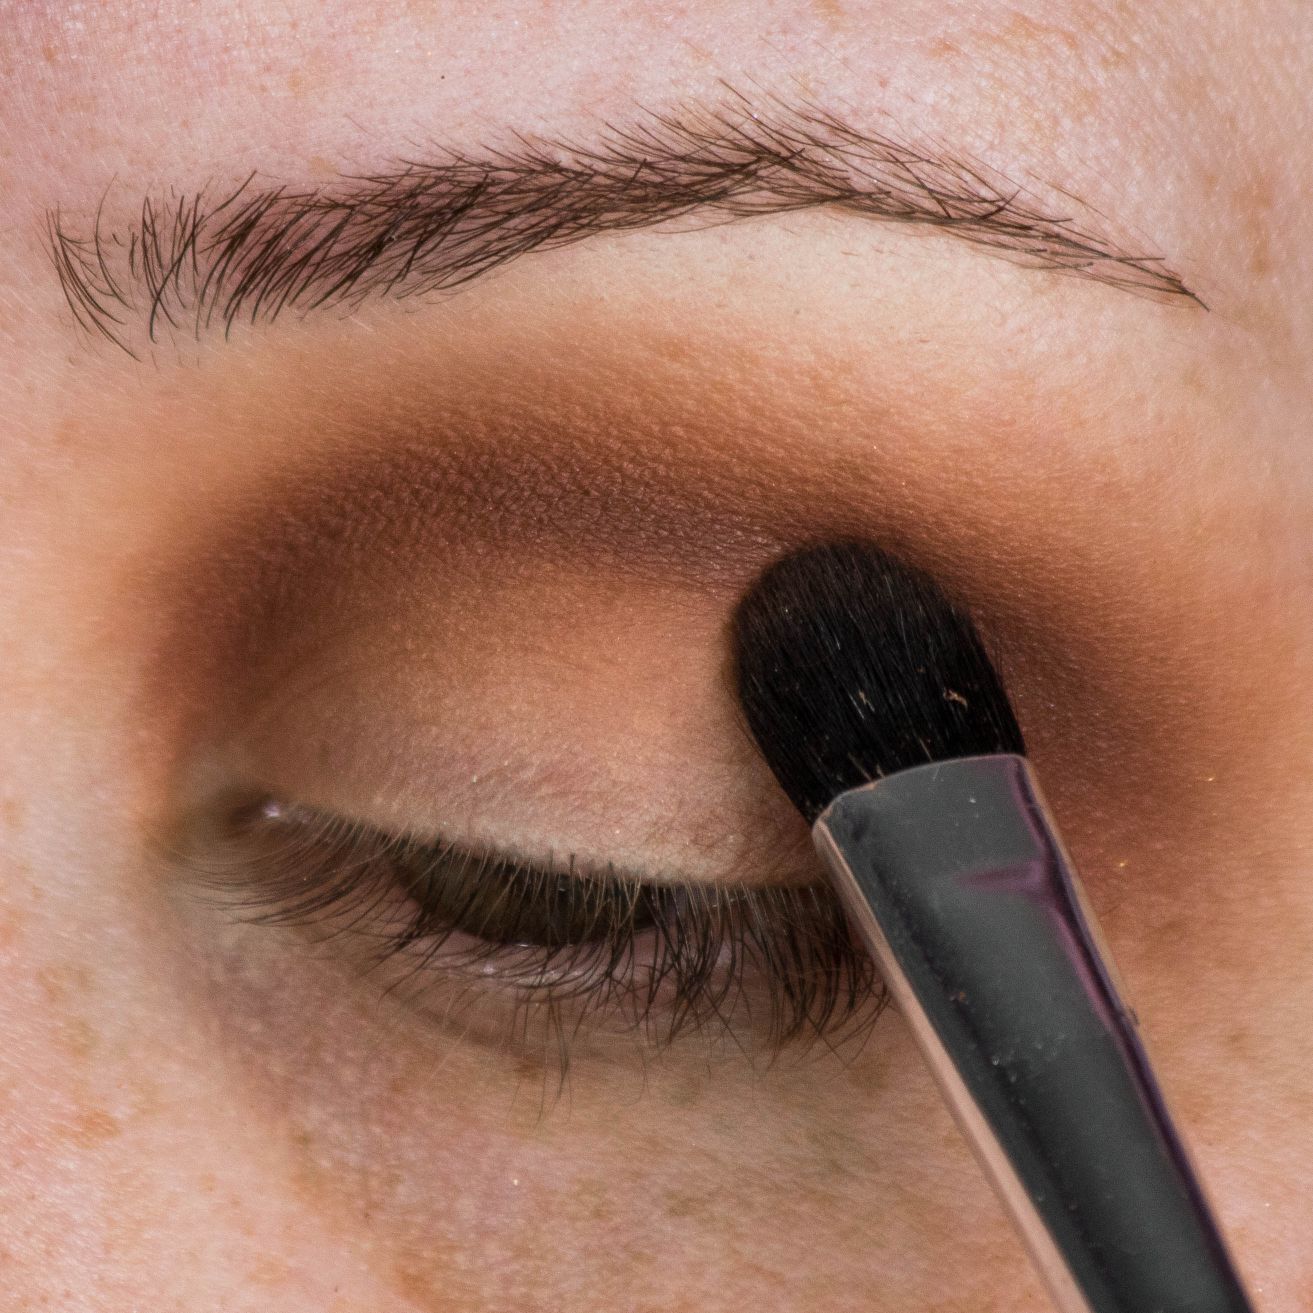
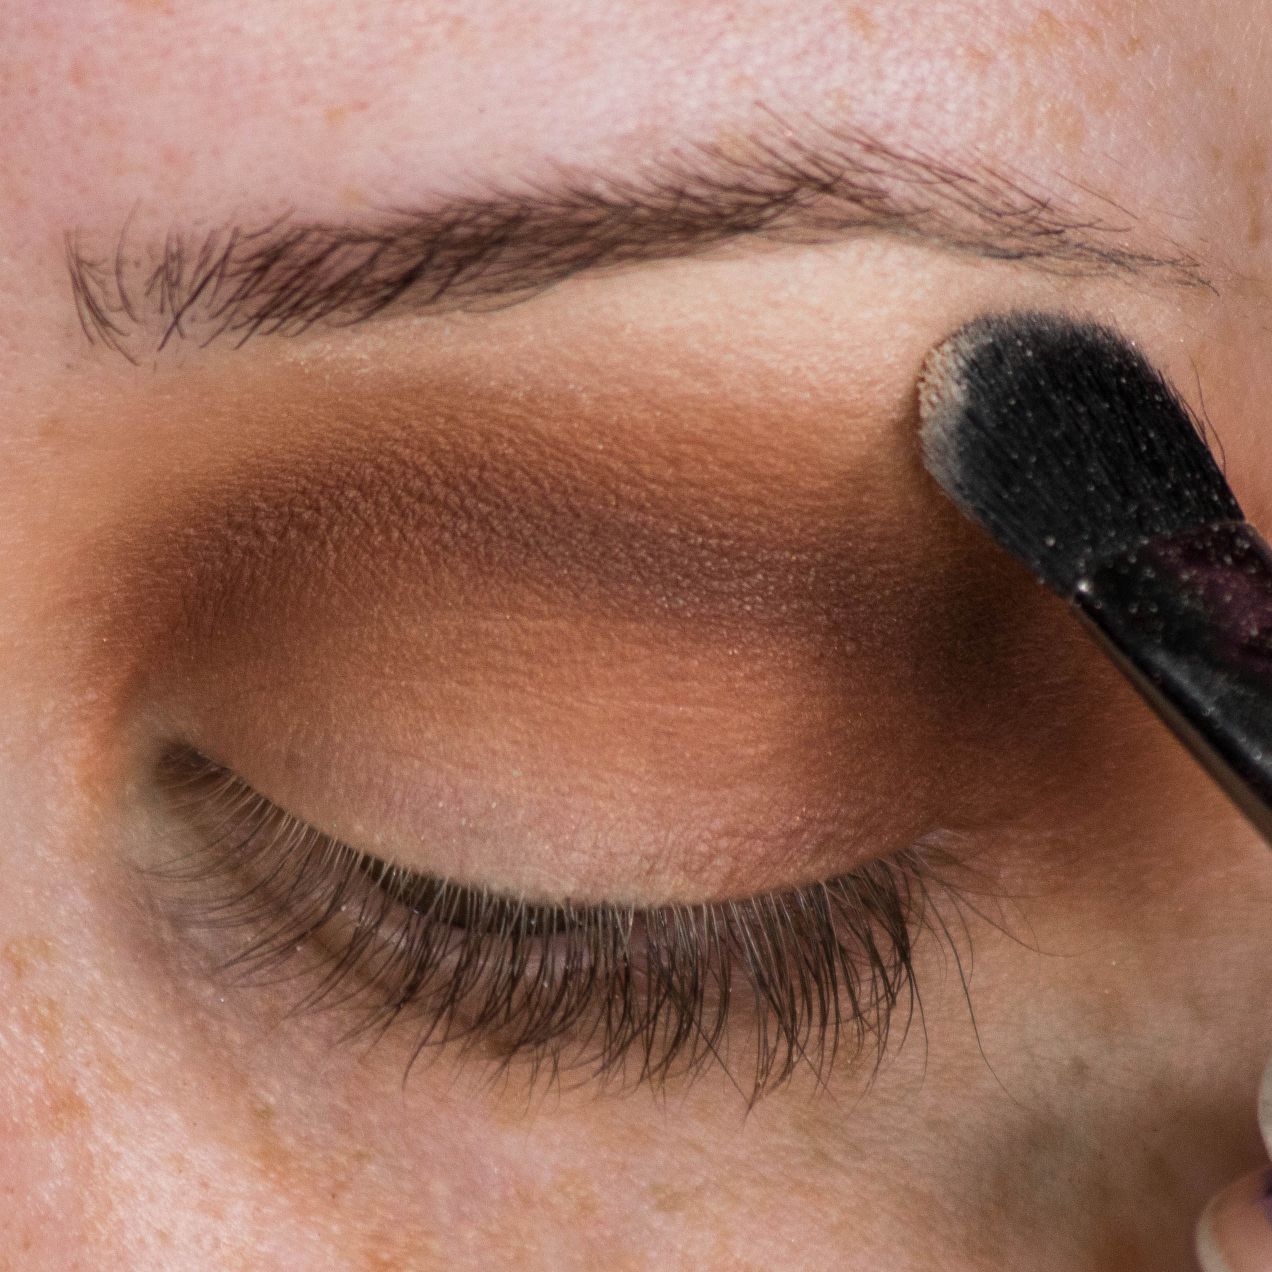
Step 3: Deepen the Crease
Using a slightly denser fluffy brush, take a deeper brown shadow and darken the crease. Apply the color in your crease (or slightly above) and blend.
Alternate between adding additional dark brown and blending (with the brush you used previously for blending the lighter shadow from the previous step) until you achieve your desired darkness.
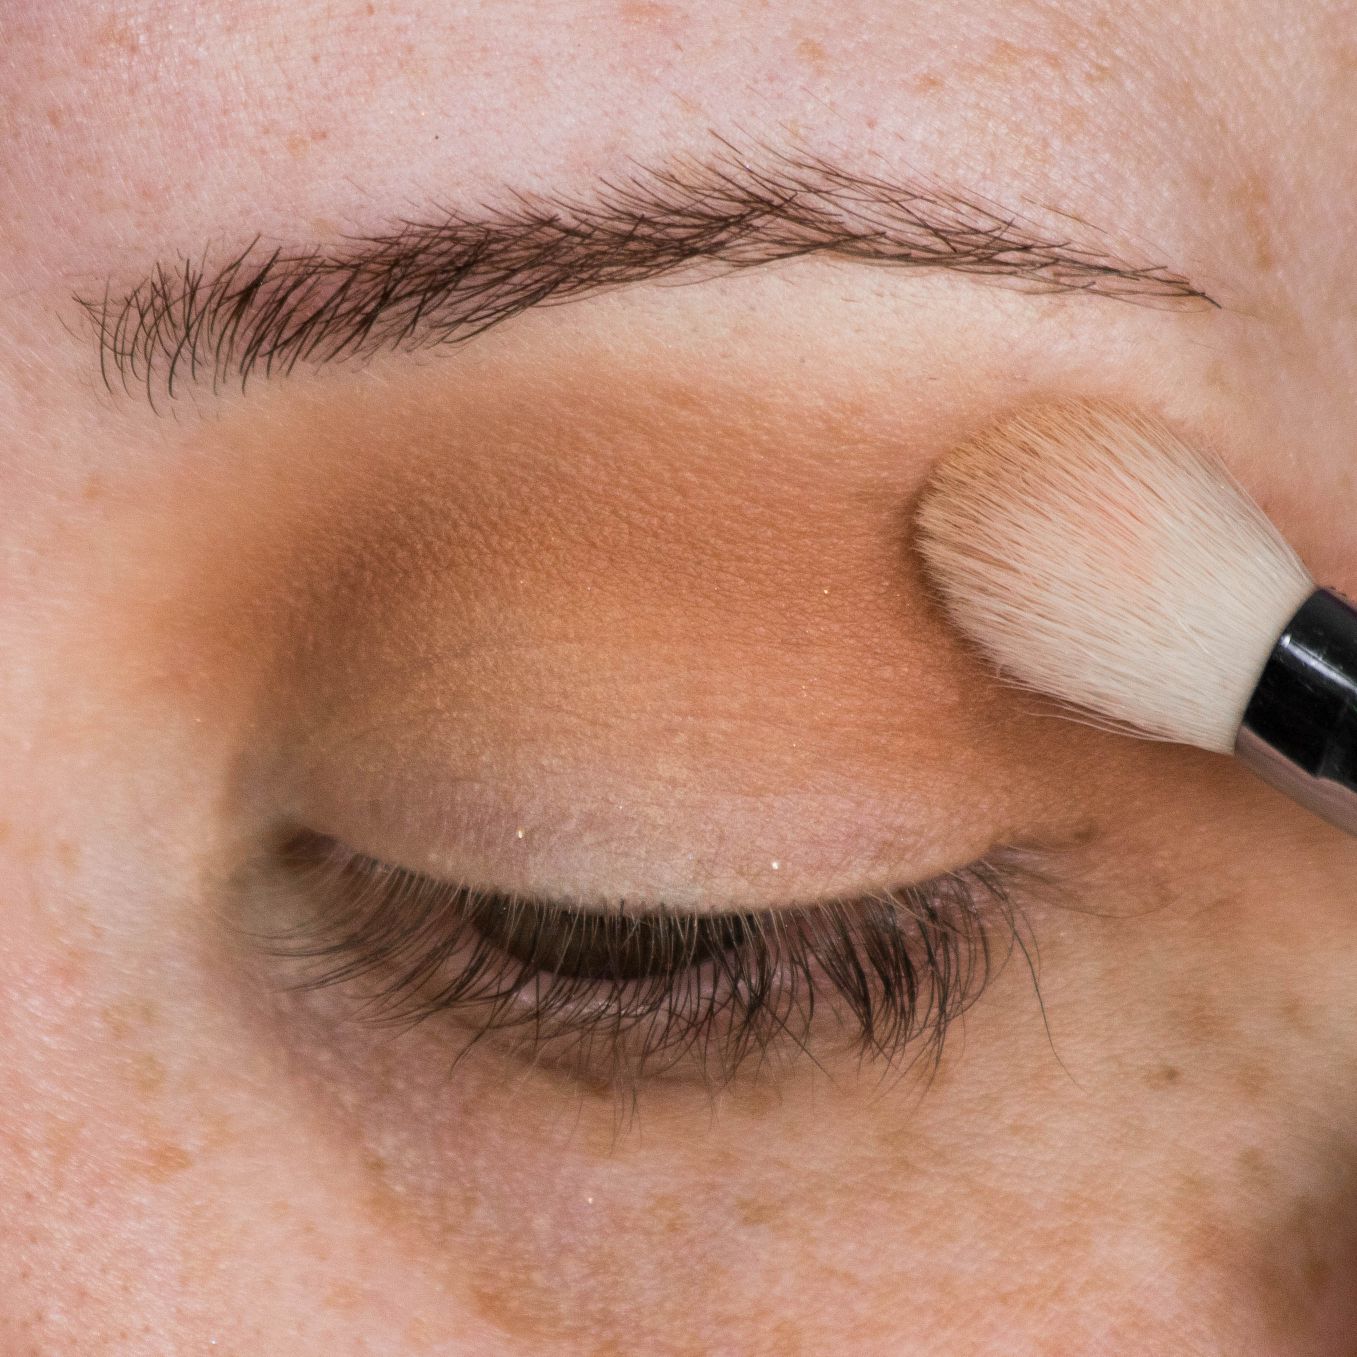
Step 4: Highlight the Brow Bone
Using a clean brush apply a light vanilla shadow to the brow bone. This shade can be used to help brighten things up if you got a little too crazy with the crease shades.
By applying the color and blending down, you can help clean up any parts that got a little too dark for your liking.
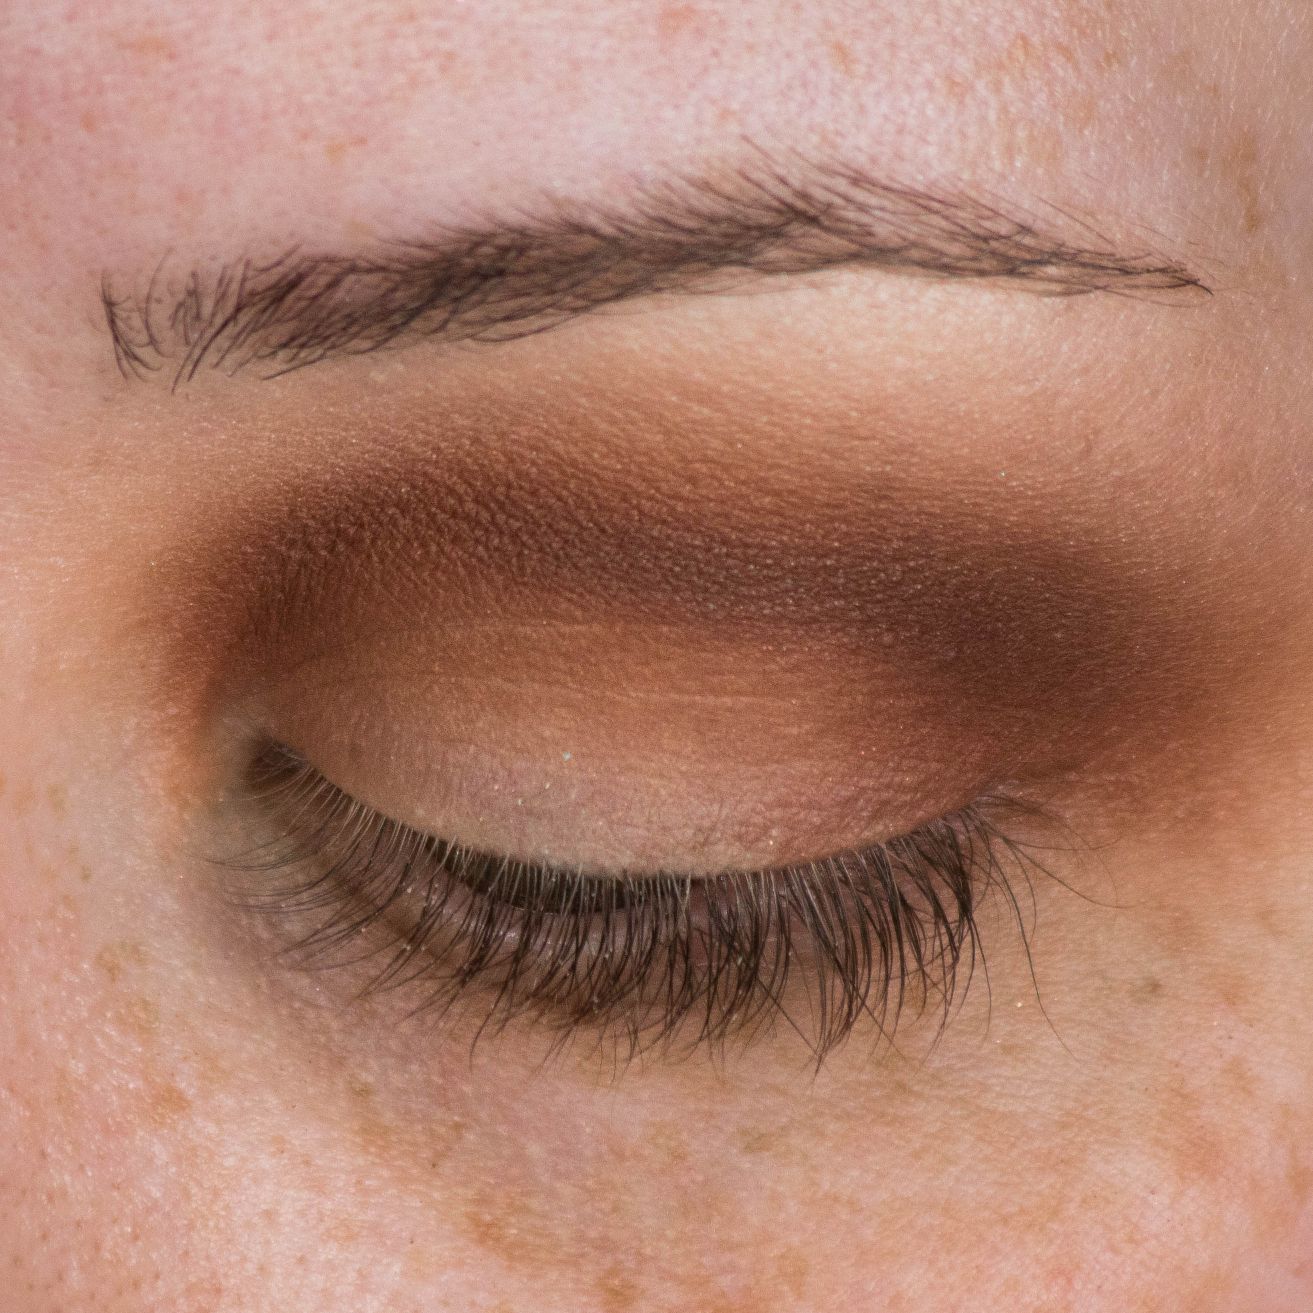
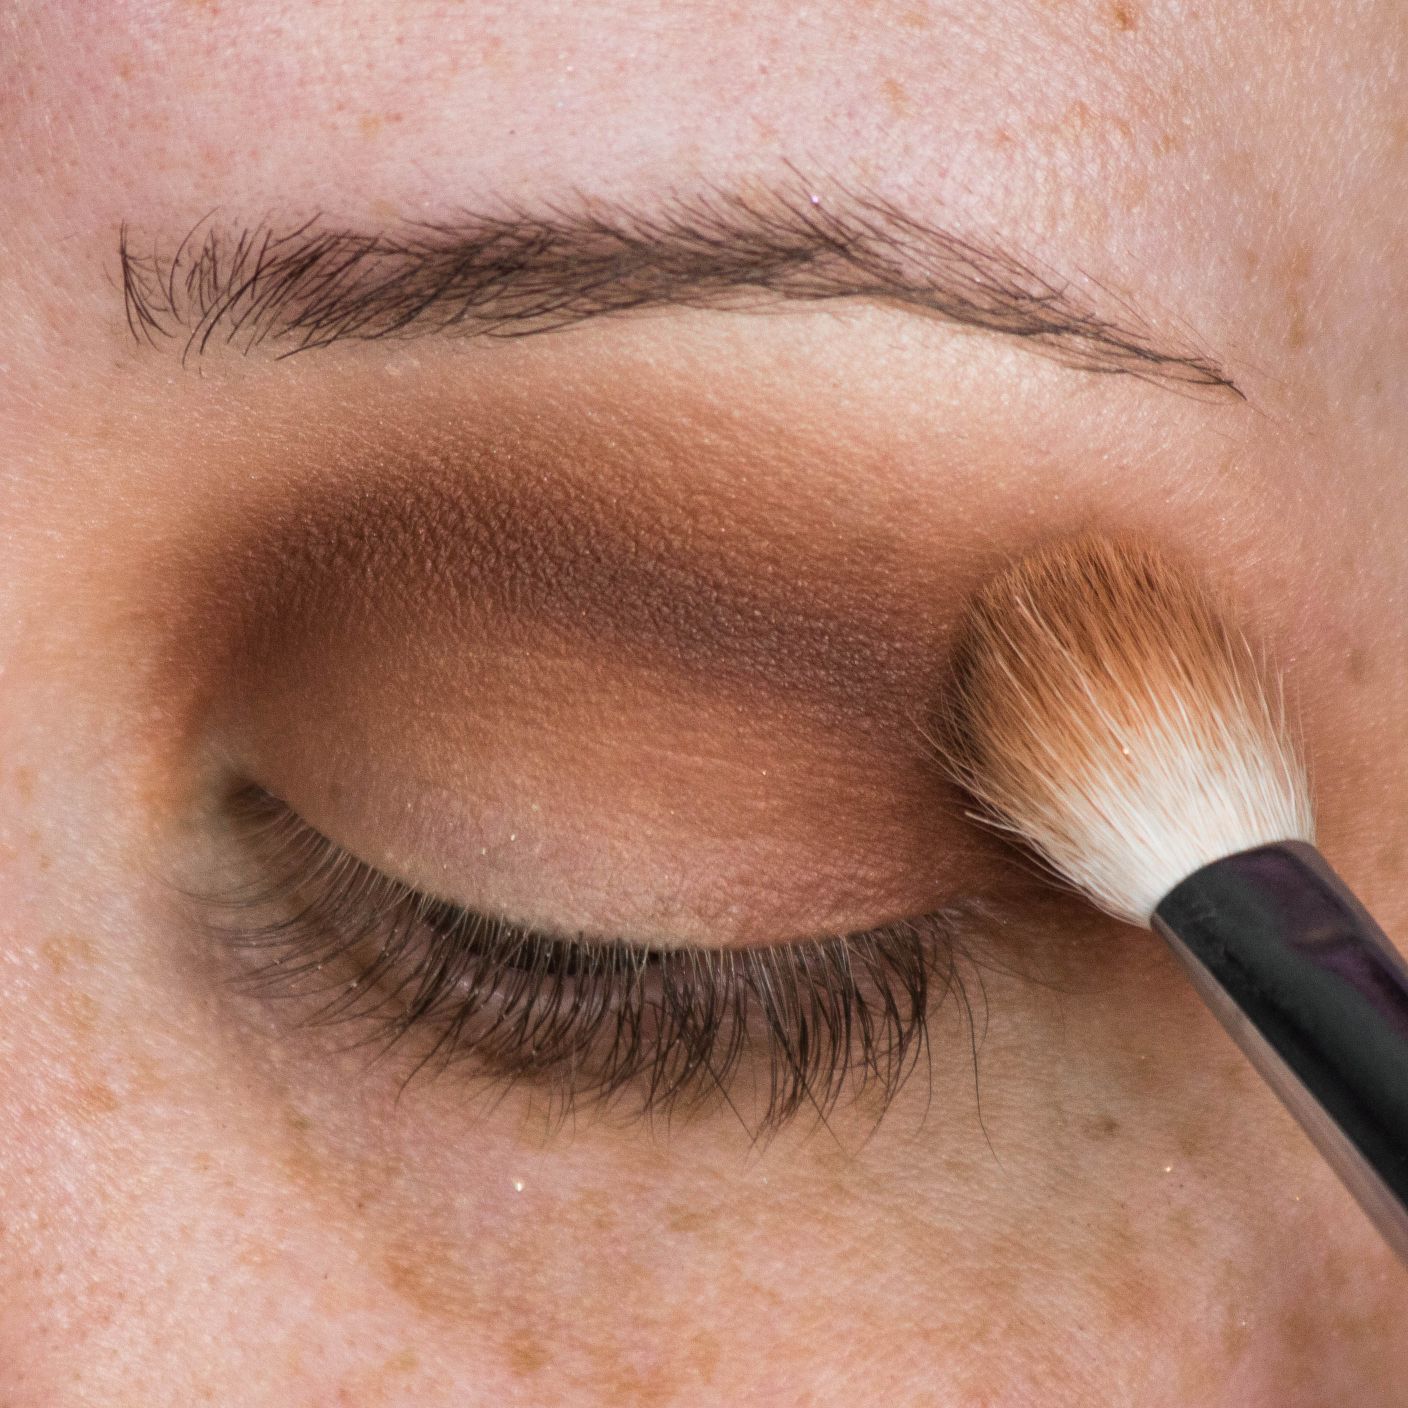
After doing so you can grab that same crease blending brush to diffuse where the two shadows meet.
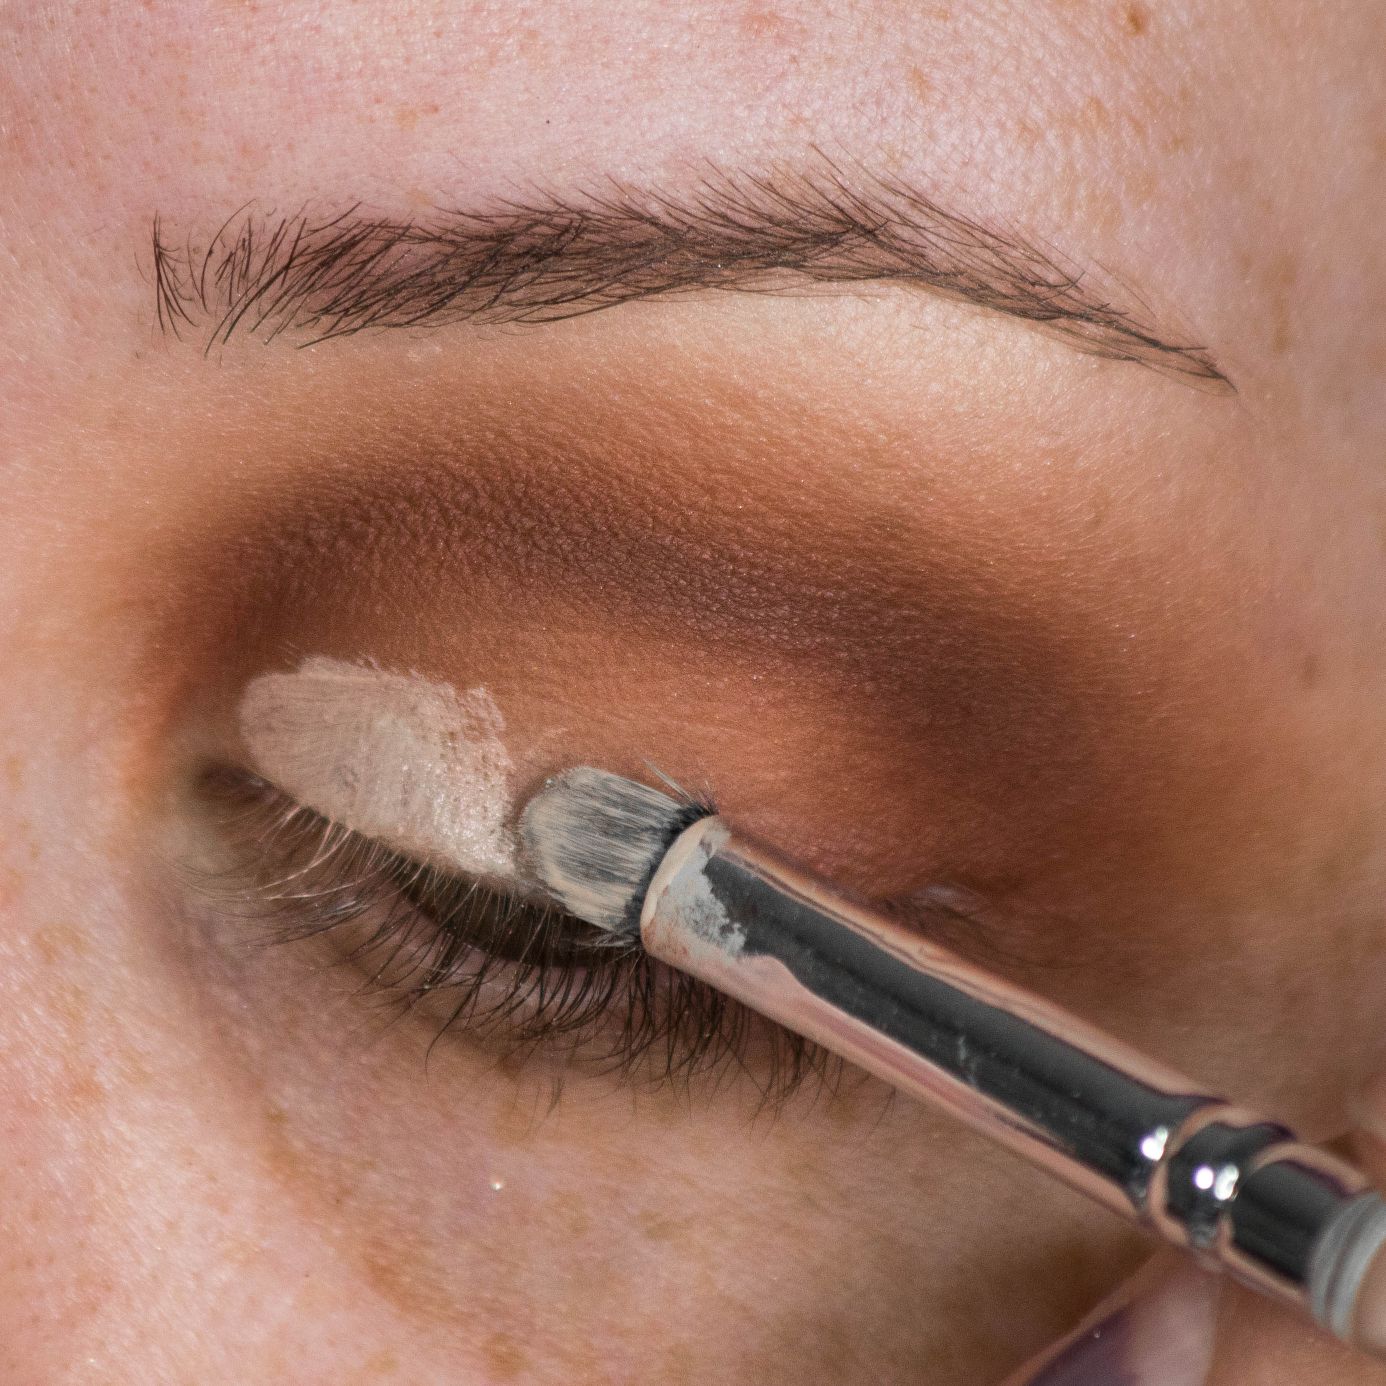
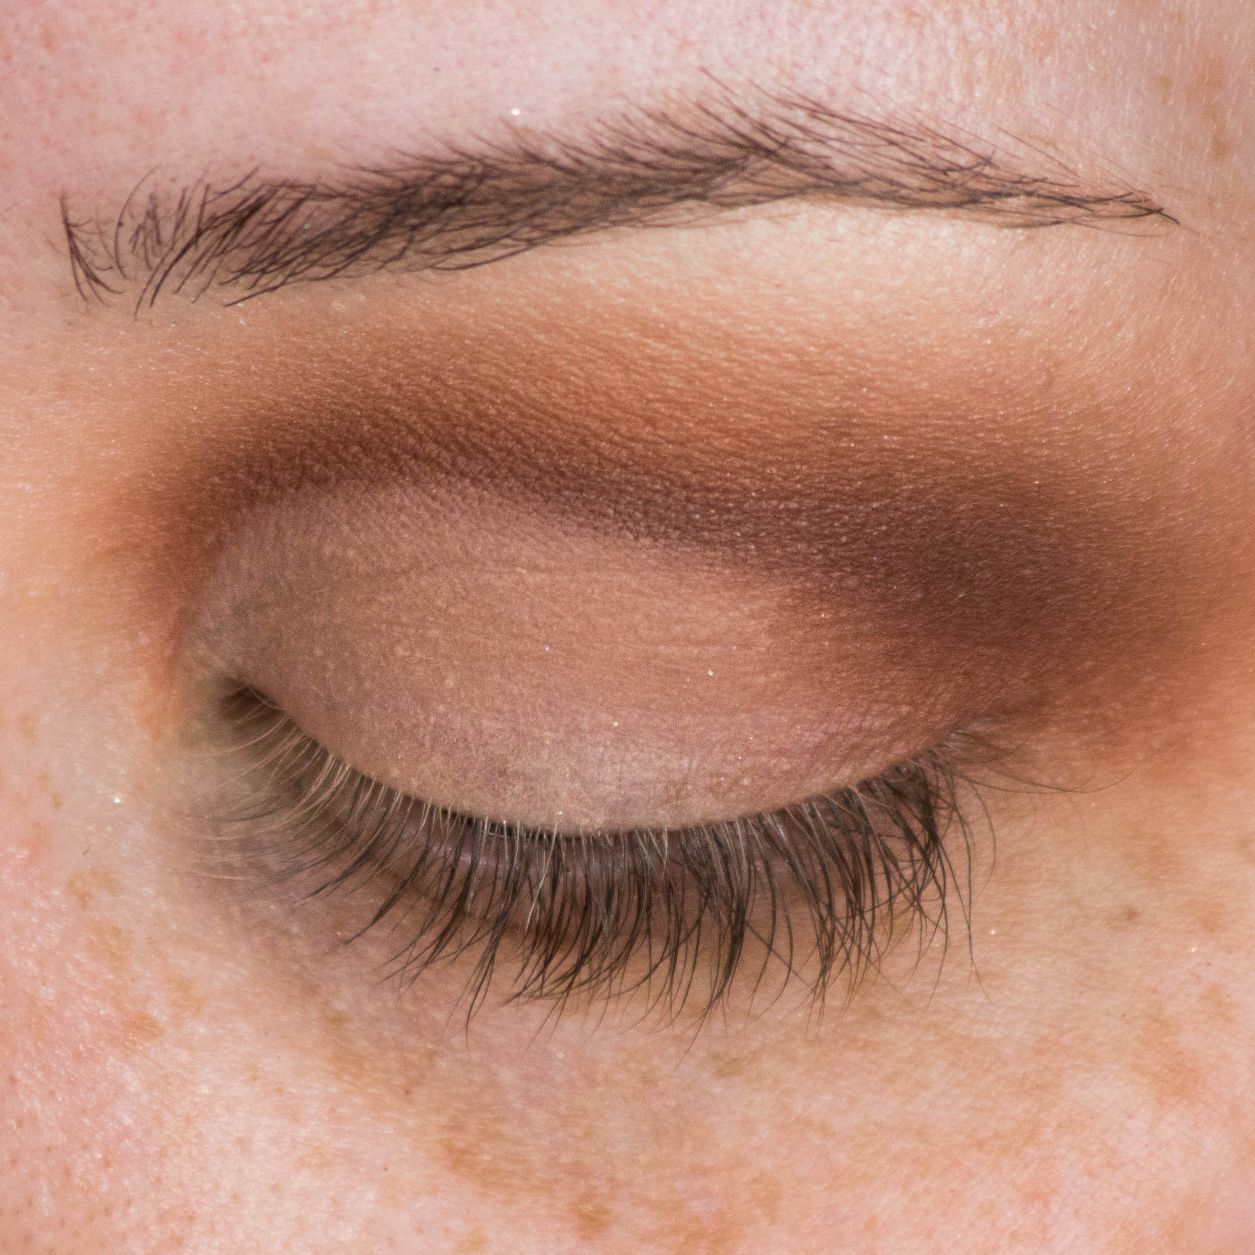
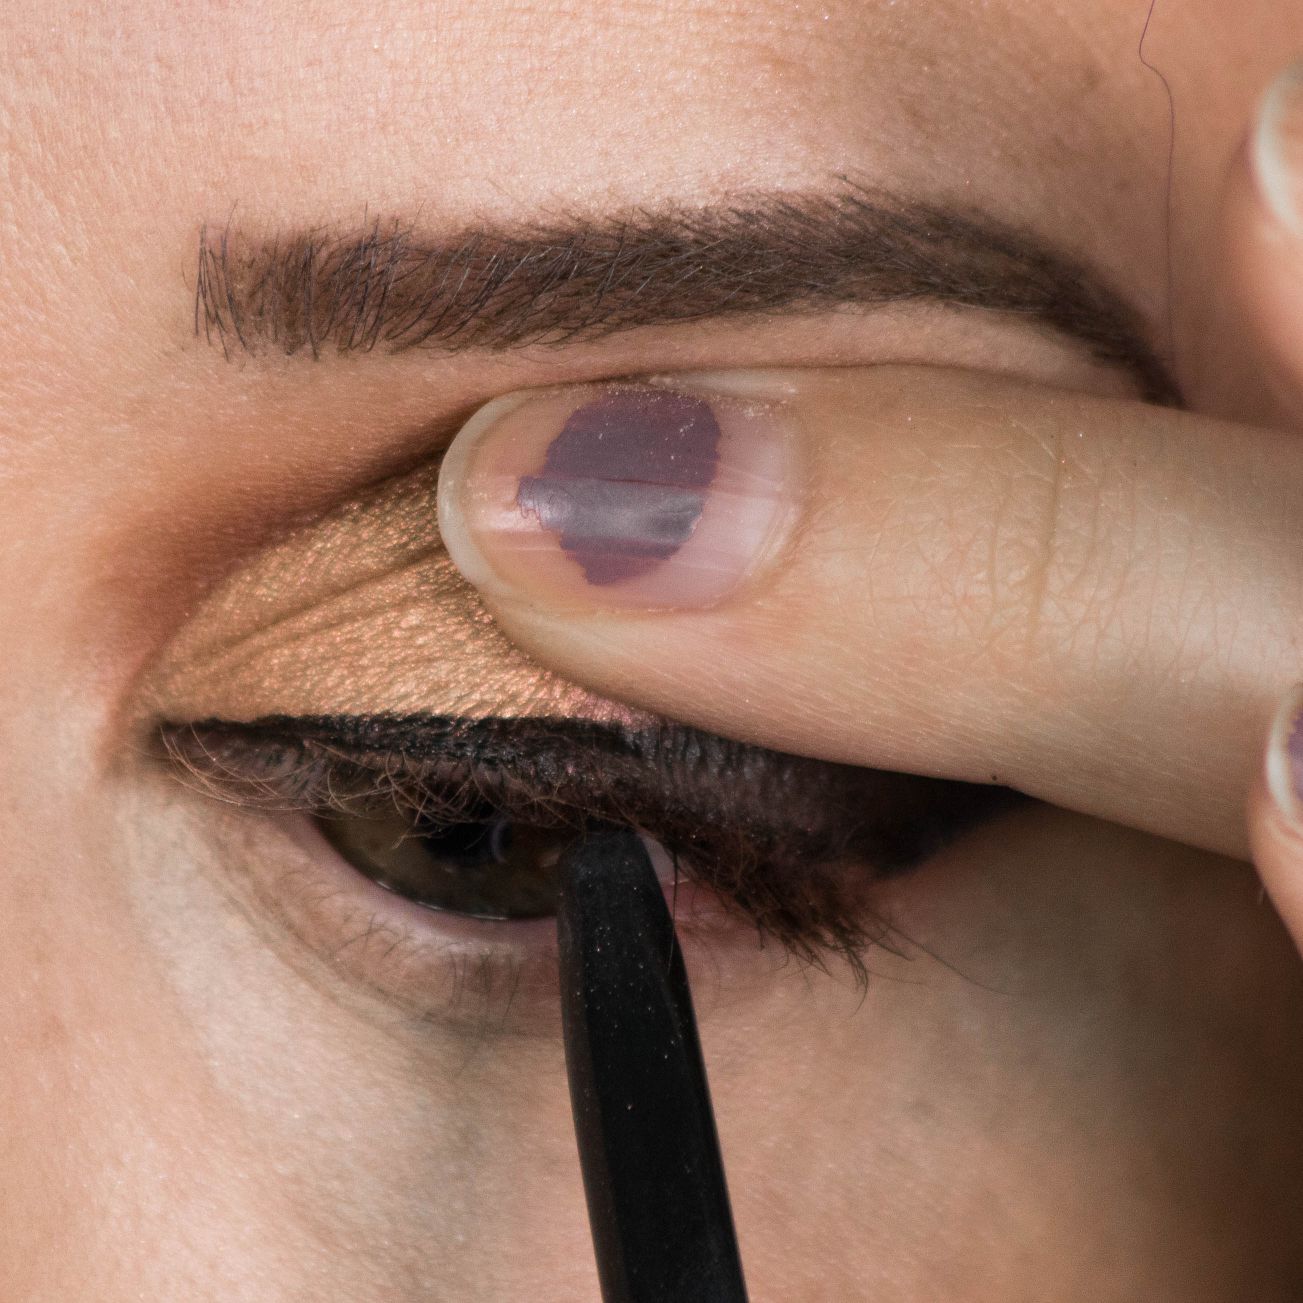
Step 5: Cut the Crease
This is where things really come together. Take a small, clean, flat brush and dip it in either a cream concealer or a bit more of the eyeshadow primer. I prefer concealer as it is easier to work with. As it has a creamier consistency it doesn’t skip when dragging across the eyelid.
Tip: Apply a bit of the concealer to the base of the eyelid to start, then open your eye and close it so that the concealer transfers to the lid. This will show you how high to bring the concealer.
Start small and work your way bigger until you get your desired lid shape/size. Once finished tap your finger across the lid to blend and soften the product so it isn’t too thick.


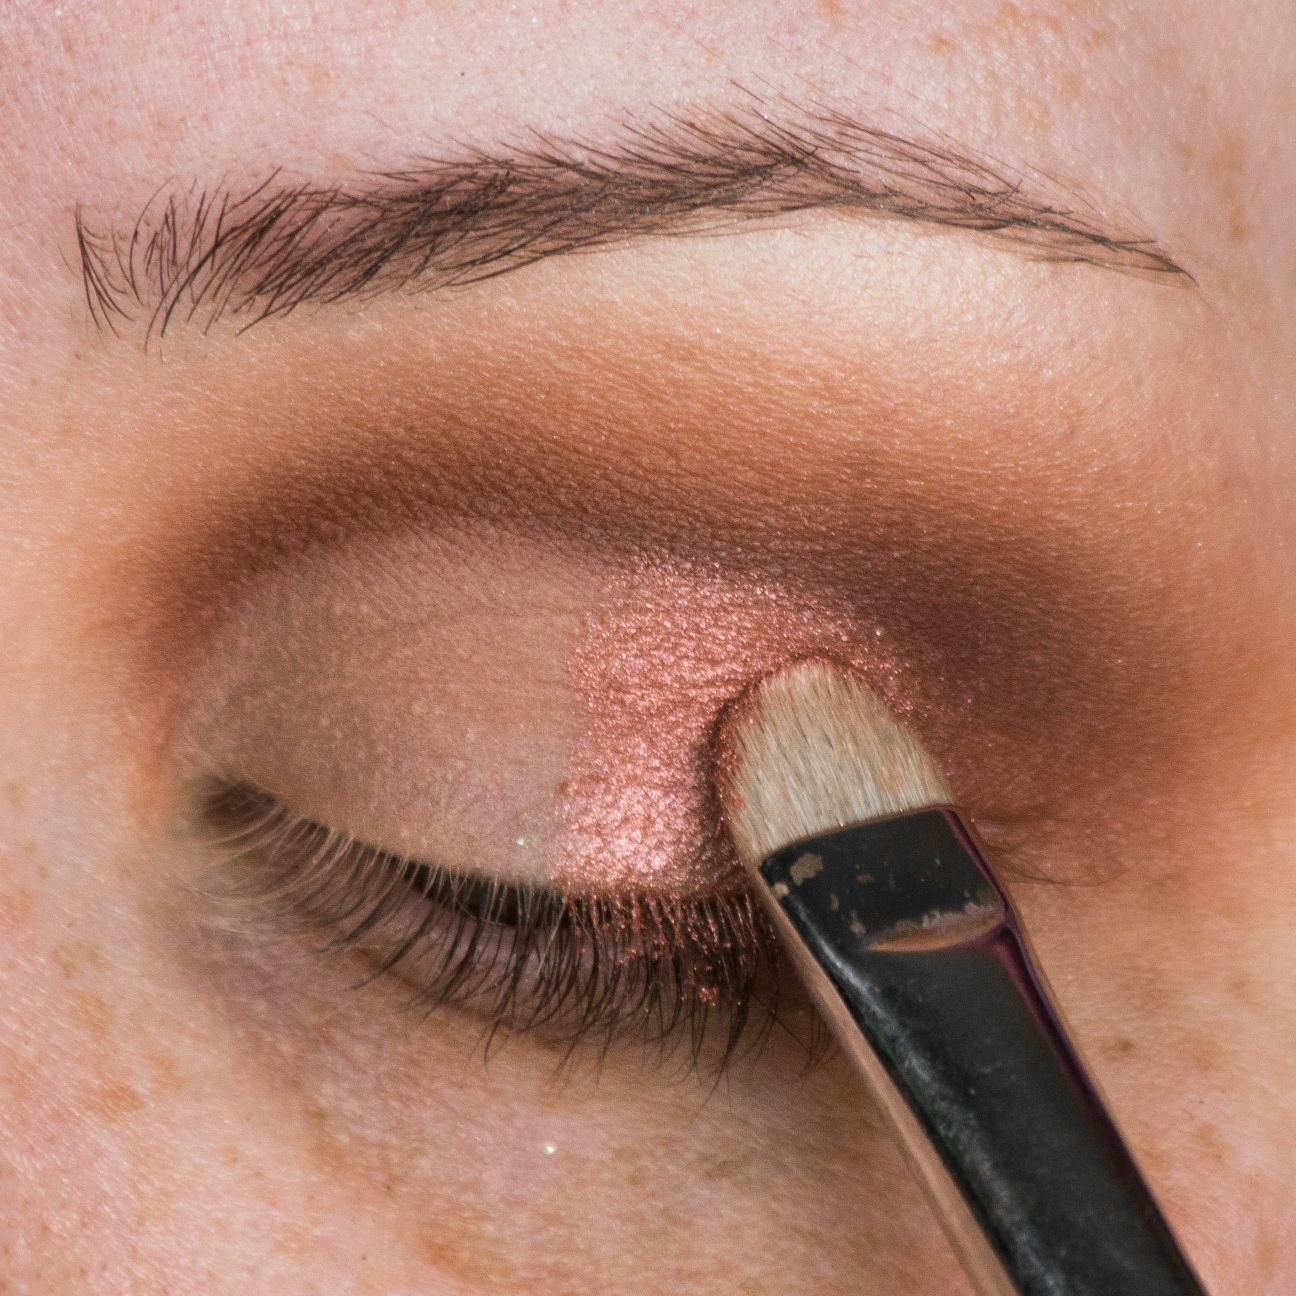
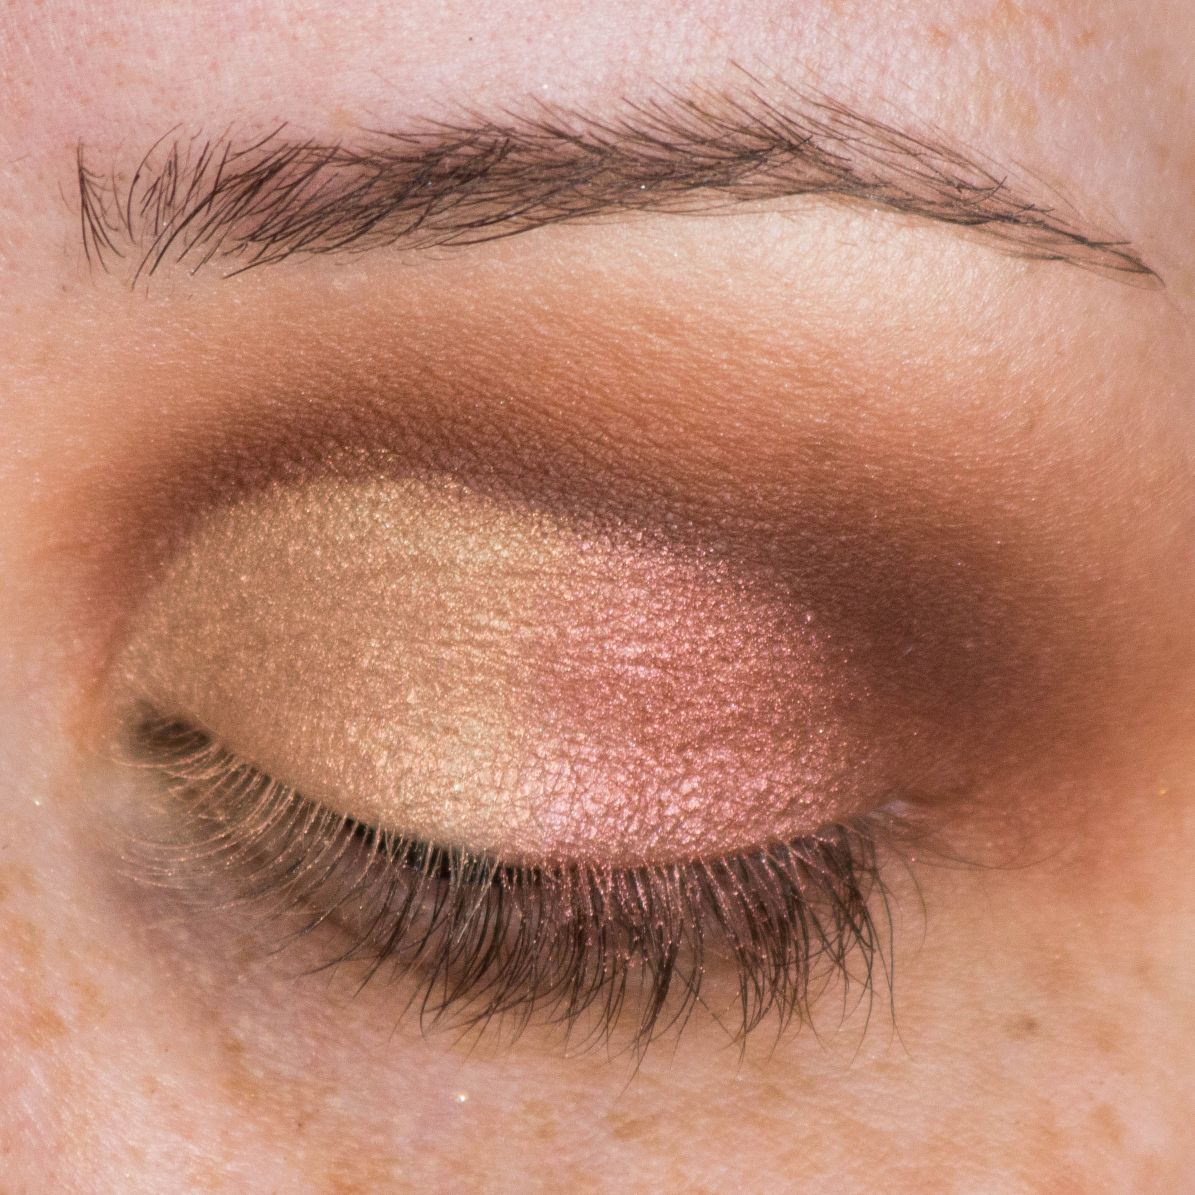
Step 6: Fill in the Lid
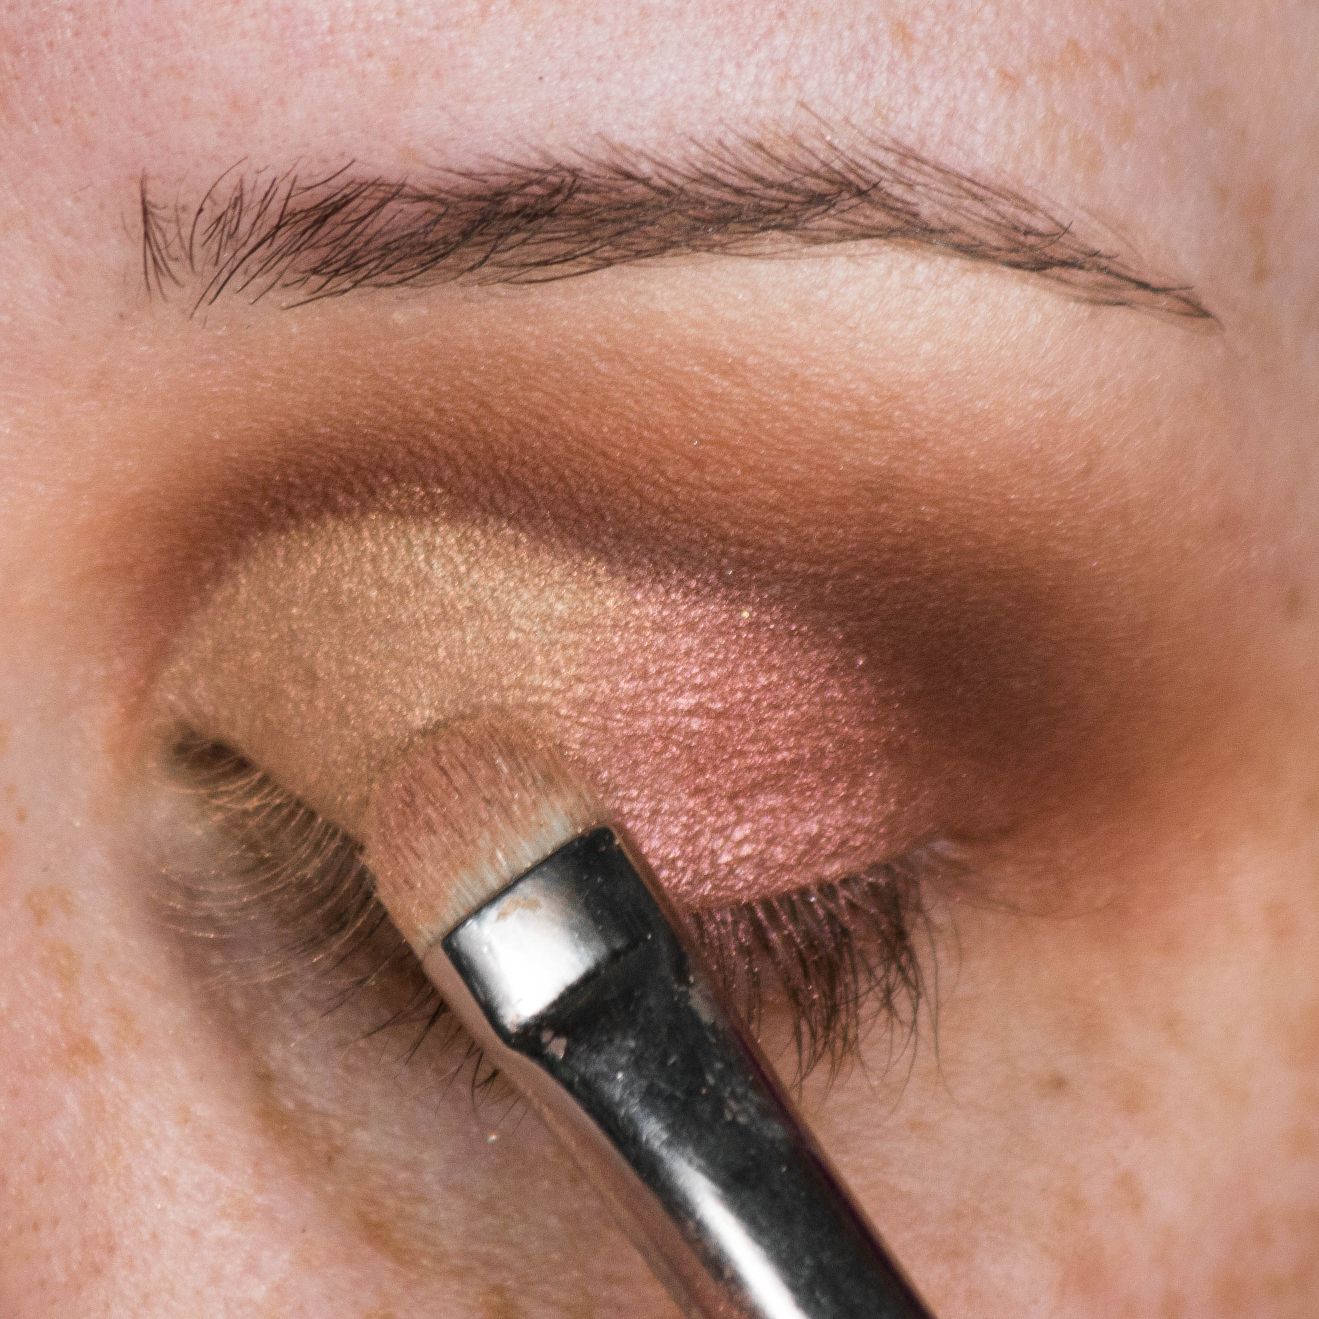
On this step, I got a little fancy and applied two different tones on the lid. This can be left up to your discretion but I found that I needed the brighter gold on the inner corner to give a brighter contrast between the crease and the eyelid.
Using a flat dense brush (or your finger) and pack the pink pigment onto the lid. Should you need something brighter, as I did, you can use the same brush and apply a lighter gold to the inner half of the eyelid.
After take what’s leftover on the brush and tap between the town shadows to blend.
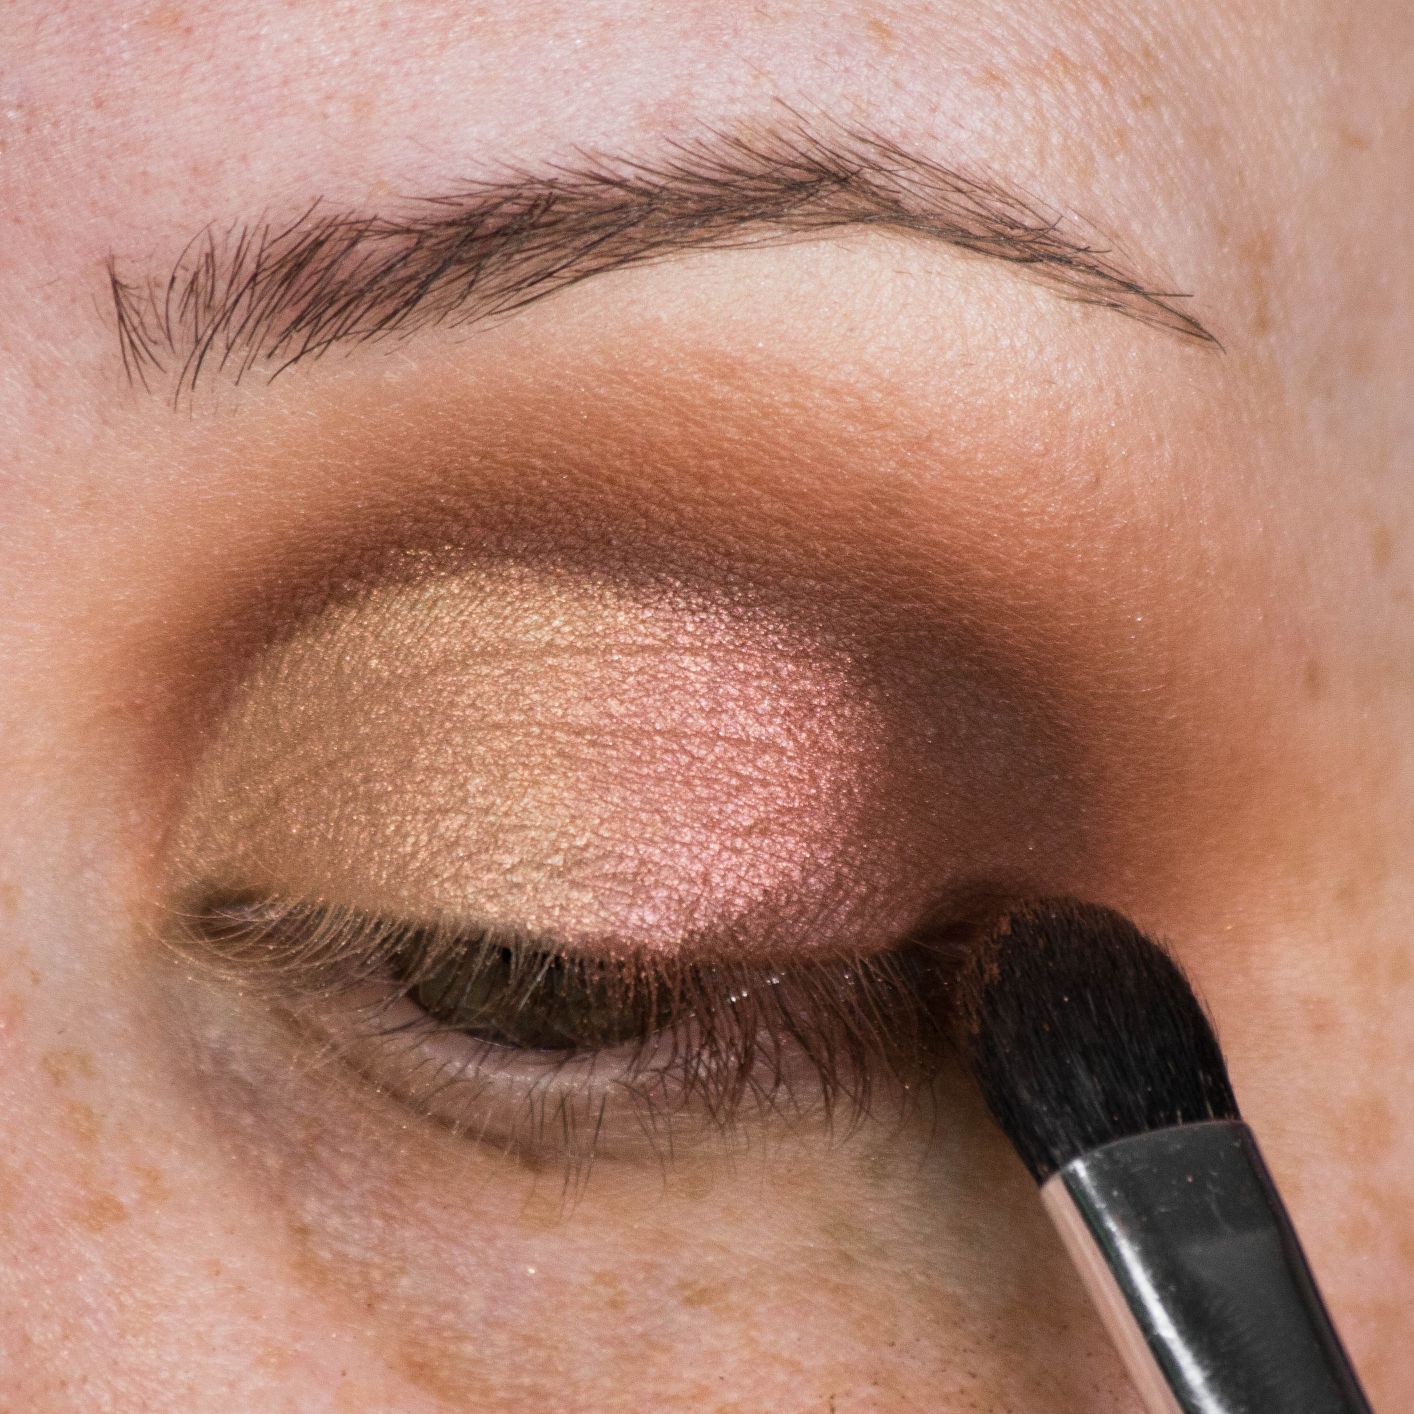
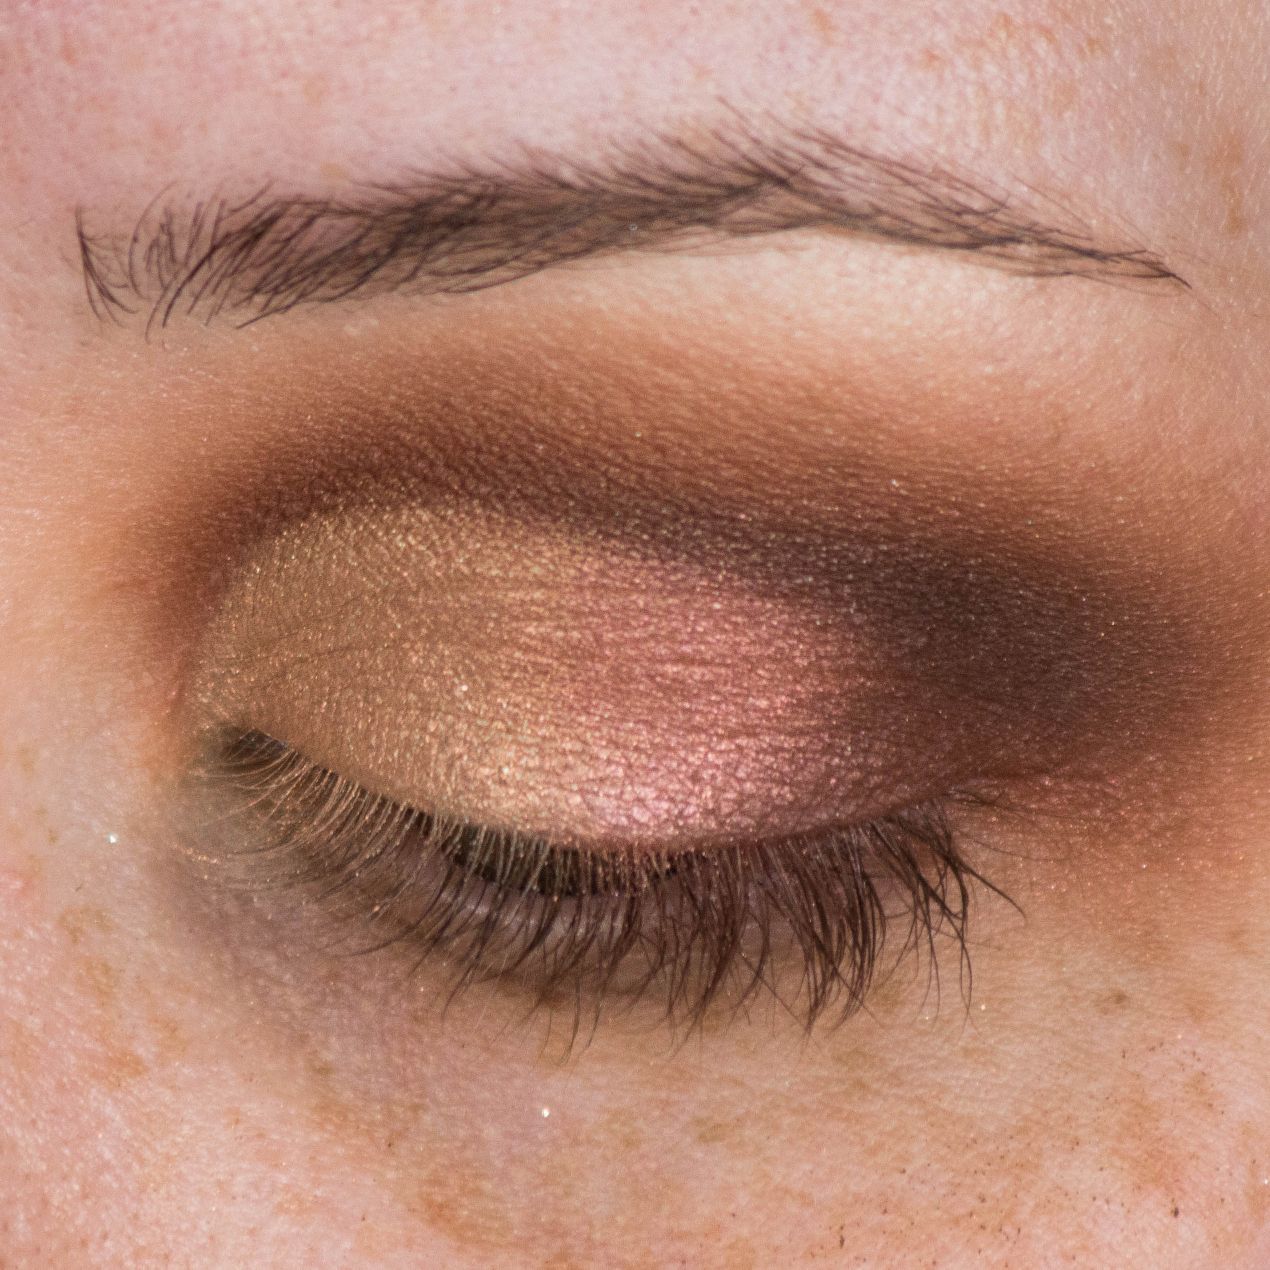
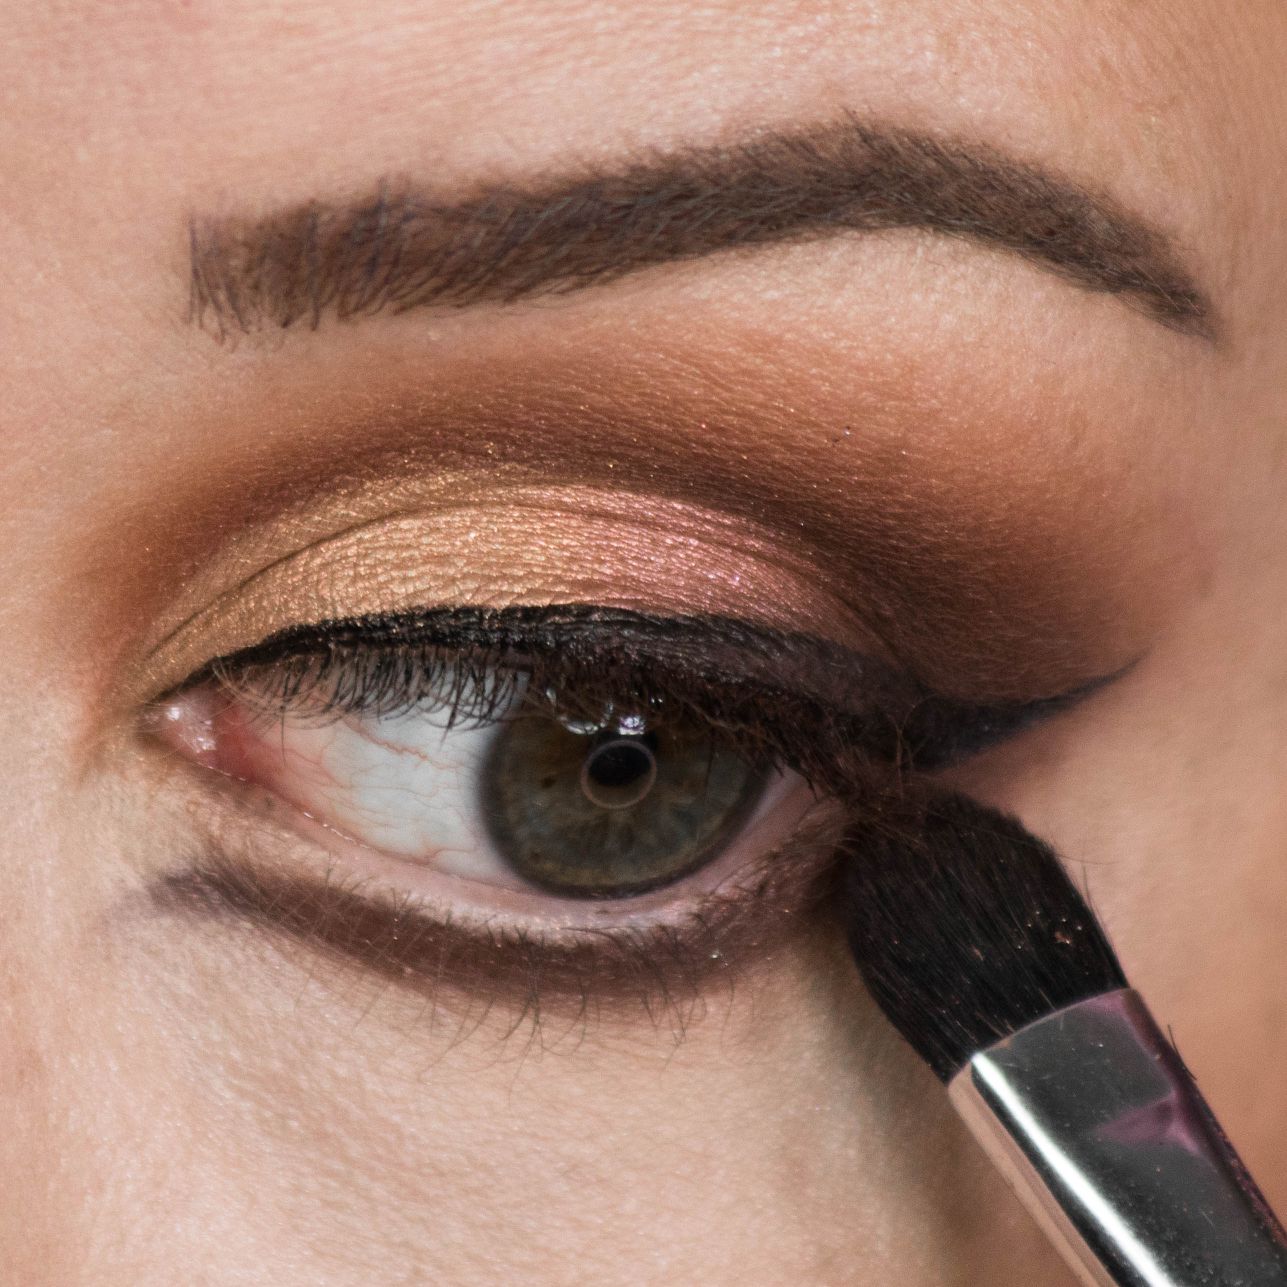
Step 6: Deepen the Crease
Typically after one has applied the lid shadows, there is often a bit of sparkly fall out that can muddy the nice crease we have created.
For that, you may want to go in with one of the blending brushes you used for the crease and sweep it along where the shimmer and matte shadows meet.
Then dipping into the dark brown shadow with a denser brush, darken the outer corner and blend.
Step 7: Line the Lid
A winged liner can be a challenge even for the most practiced makeup artist. So I’ve broken this down into smaller steps so that it might be easier to follow visually.
Now before we get into this I will say that having the right liner is key. You’ll want something with a fine tip and something that is very black and doesn’t dry out easily. For this many choose a gel or liquid liner.
I went for the Physicians Formula Ultra Black long-wearing liquid liner.
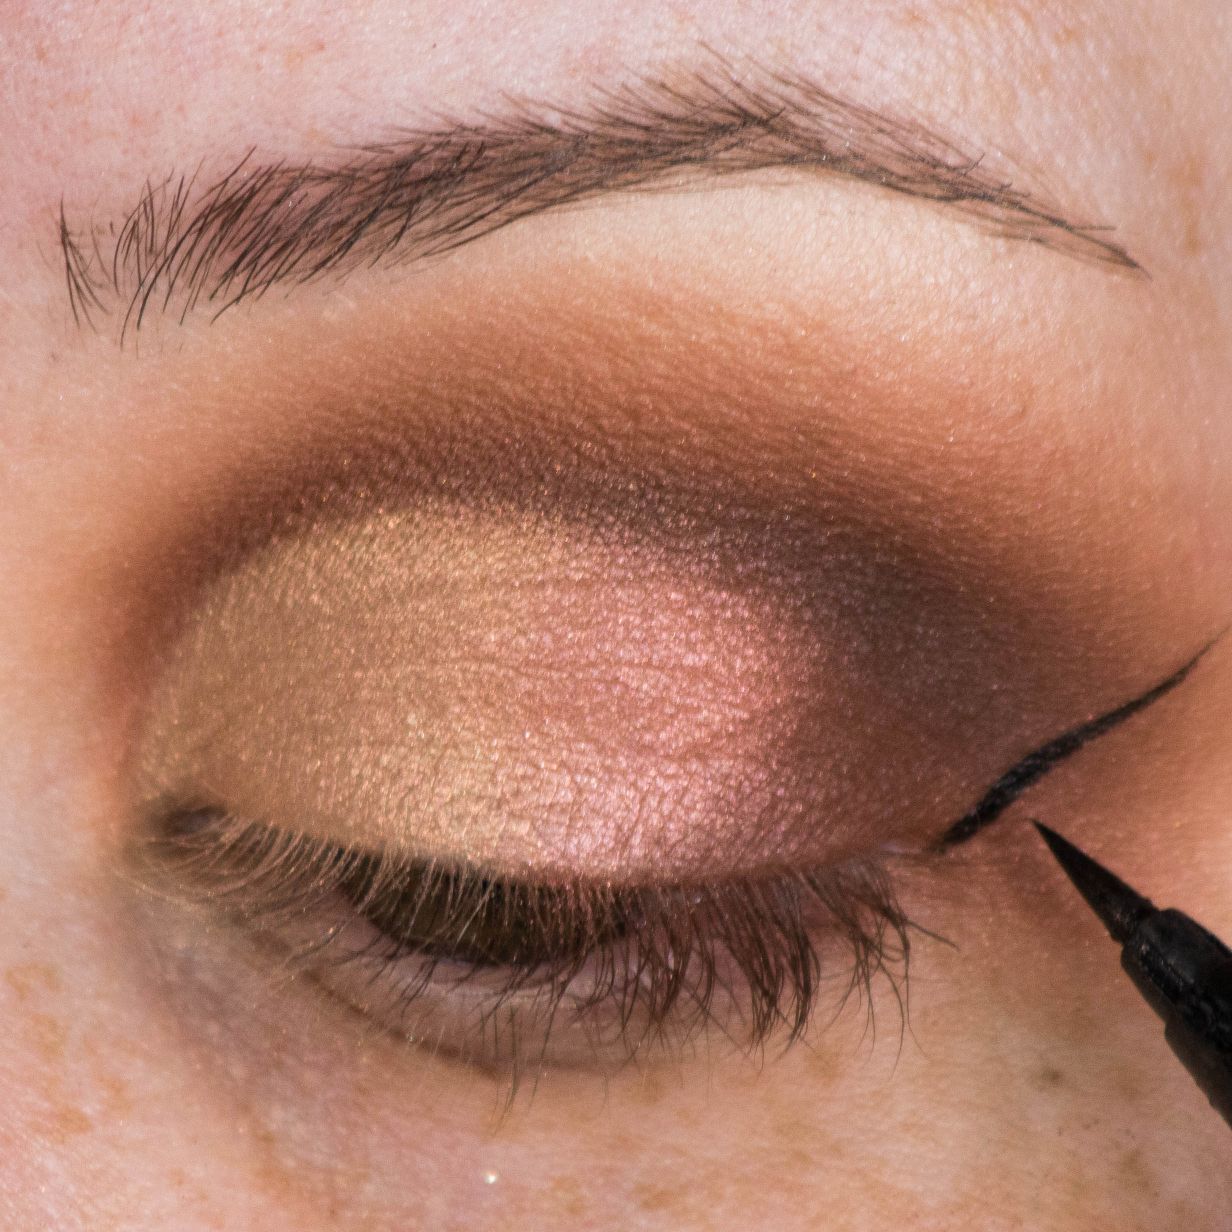
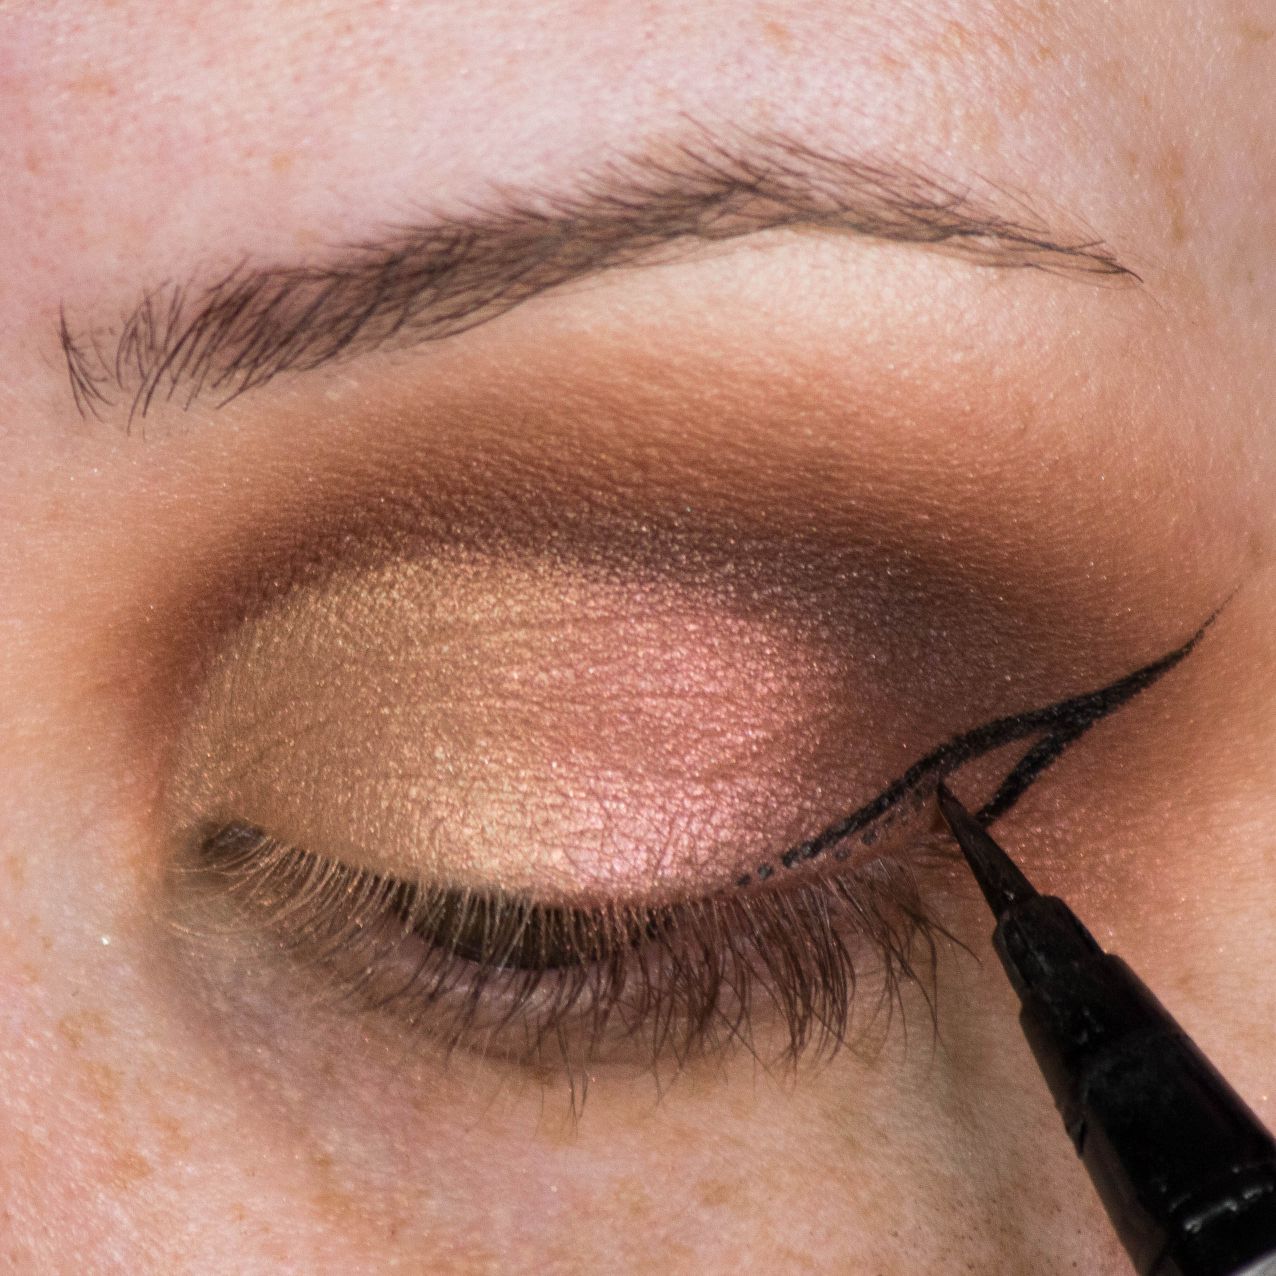
I like to start my liner with the wing itself.
First I create a small flick at the corner of the eye, almost like I’m elongating my lower lash line. Then, I create a triangle by connecting that line back to the lid again.
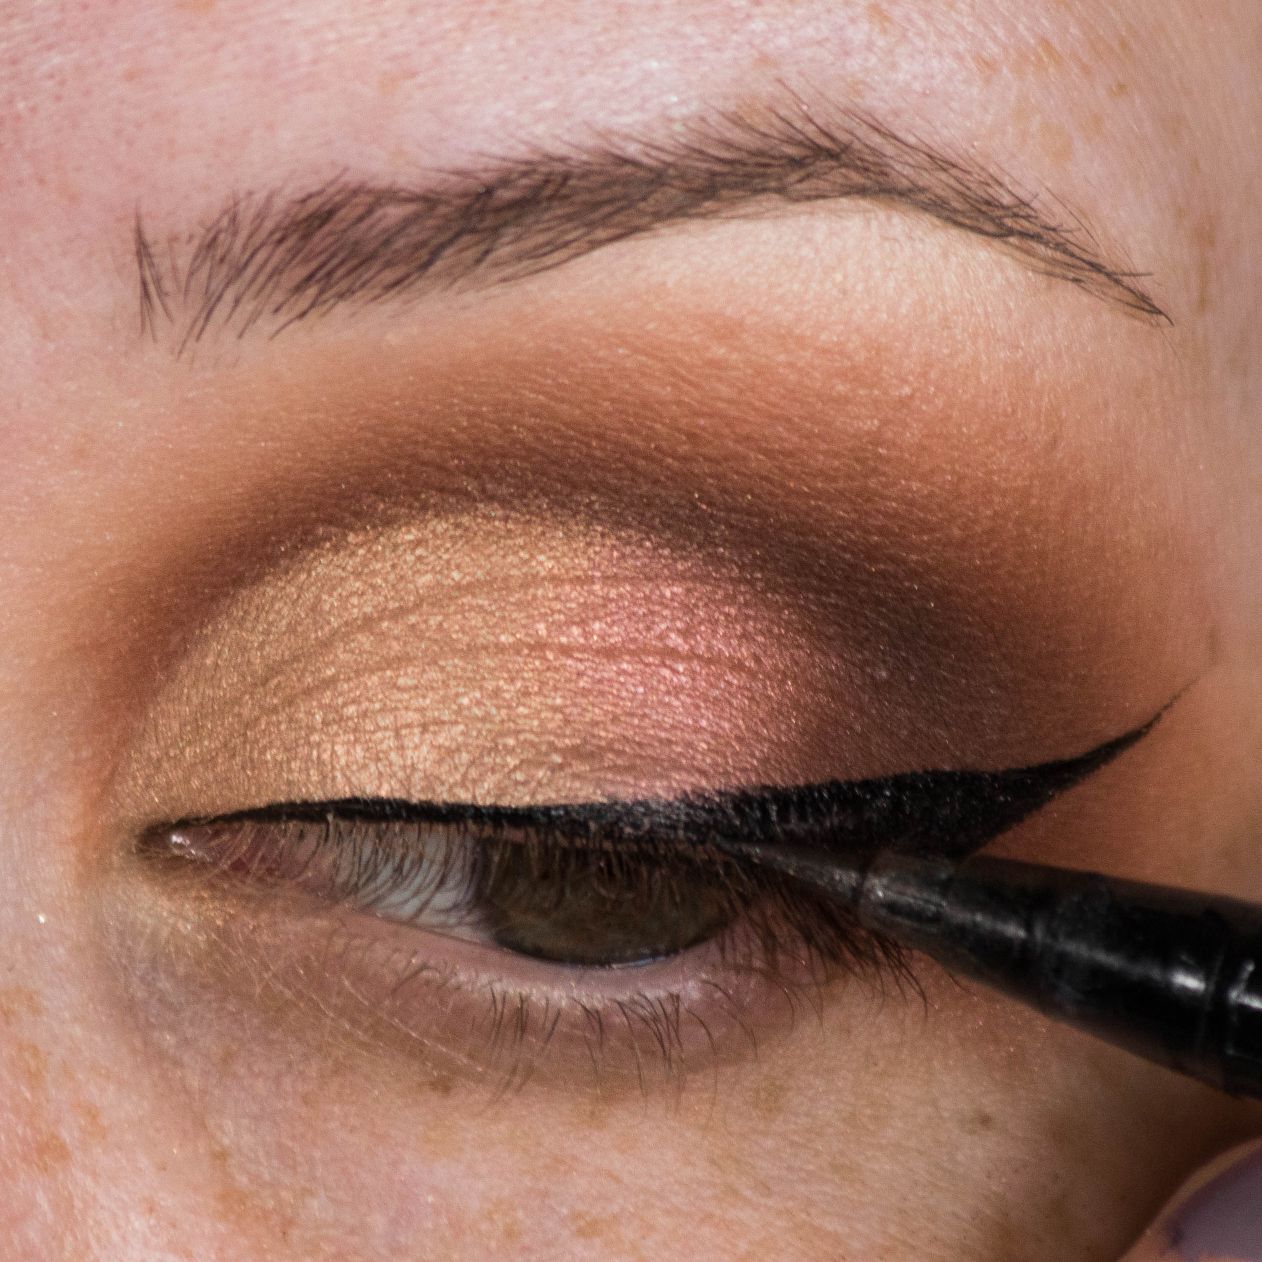
Next, slowly line the lid and fill in the triangle. If you struggle with the wing, don’t fret! That’s what q-tips are made for. Just start small, it’s easier to add than to take away.
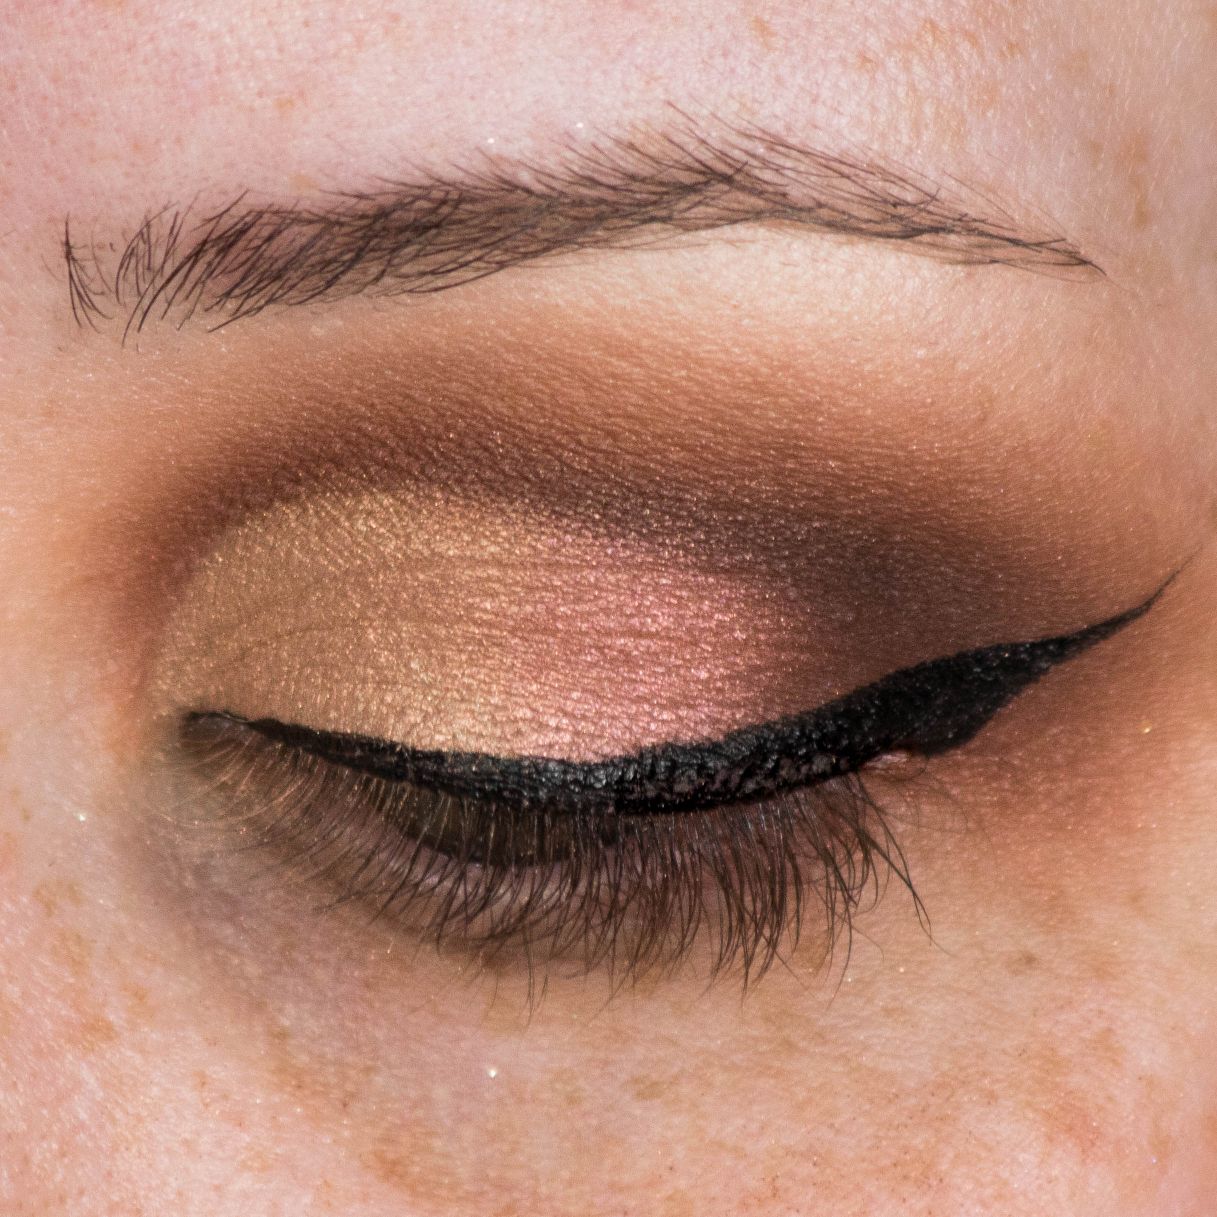
After creating a wing you are comfortable with, it’s nice to take a bit of the same dark brown shadow we used in the crease to soften the liner. This helps to tie the look together since we made everything else very smoked out.

I also like to take a waterproof black pencil in the upper waterline. This helps to blend the false lashes in a later step as well as thicken up the appearance of the lash line.
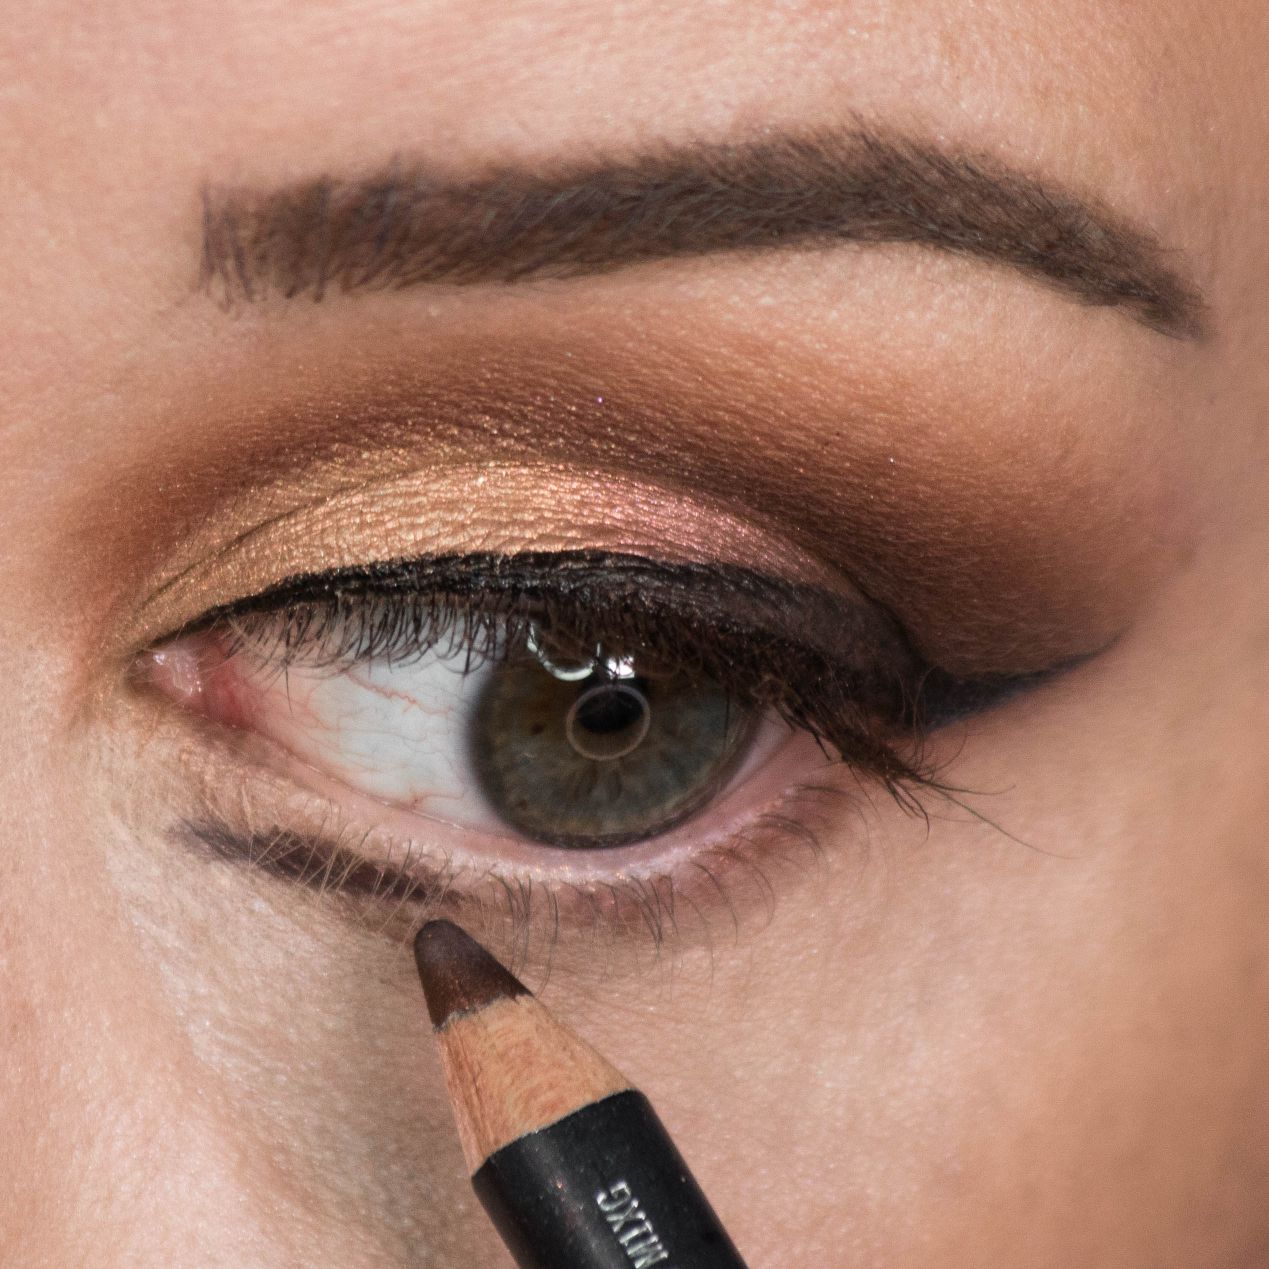
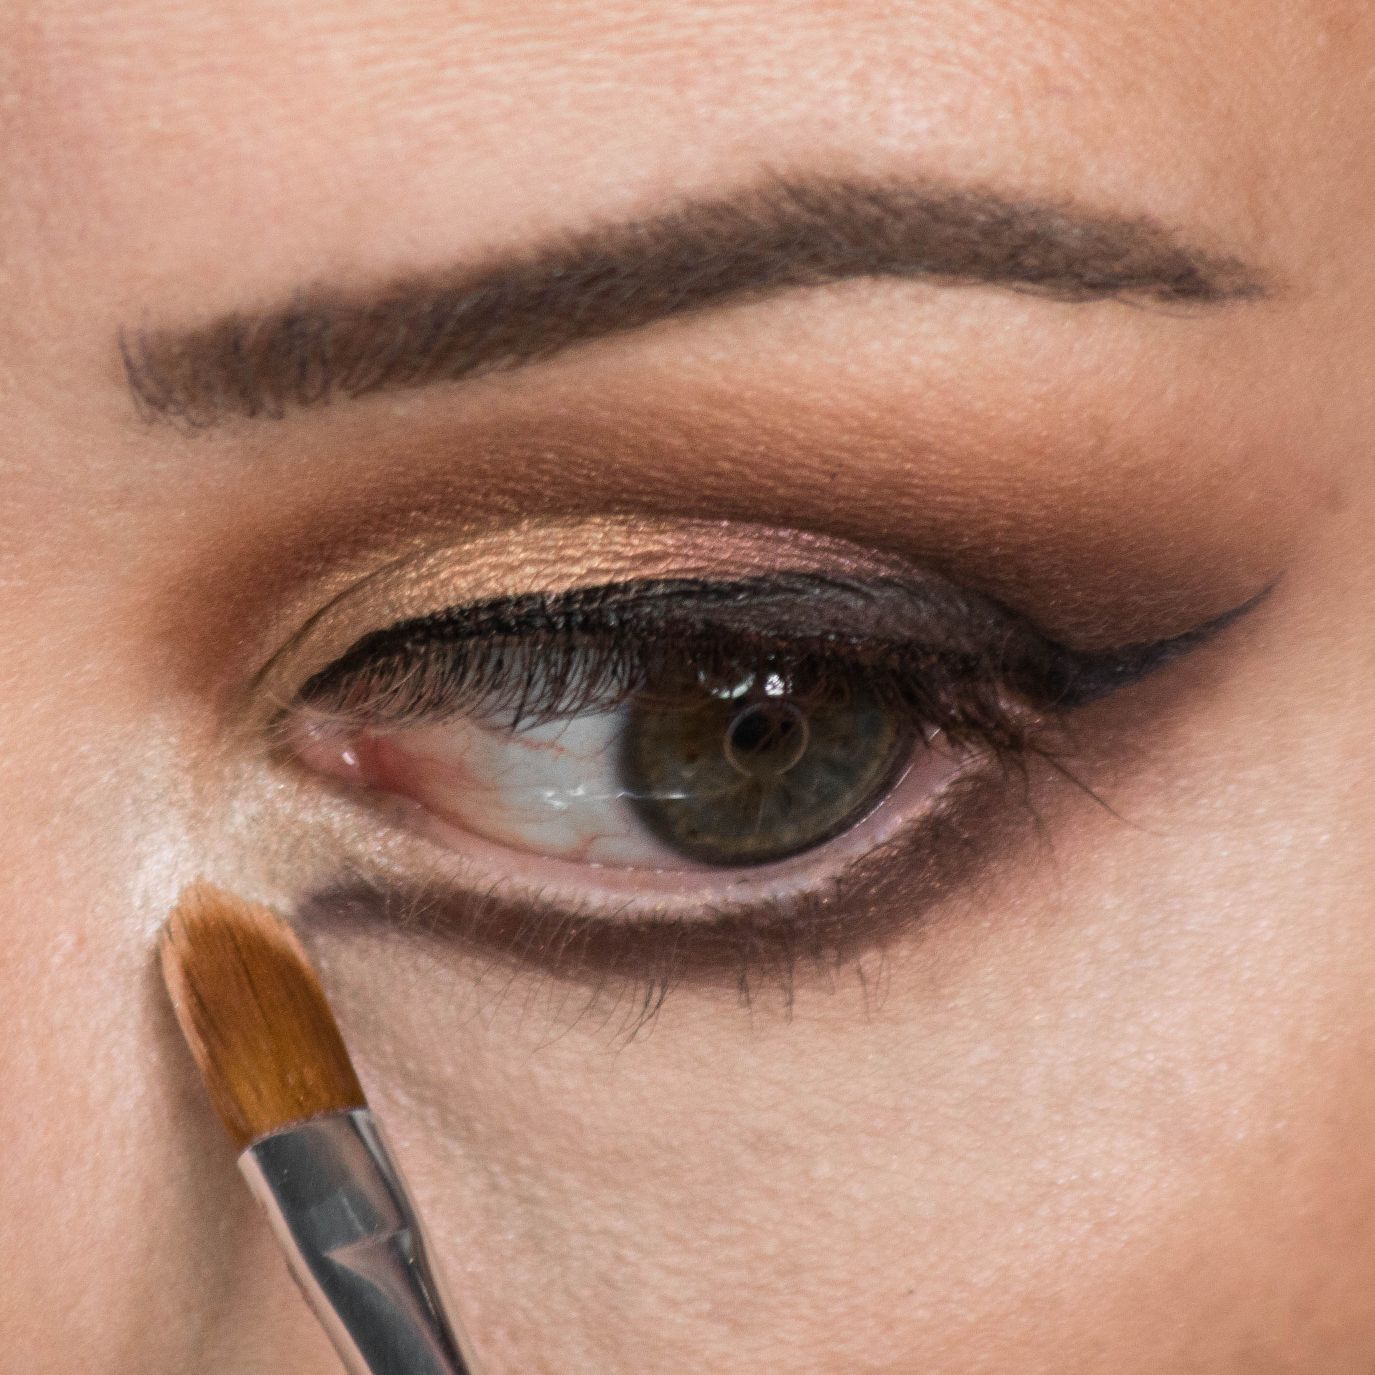
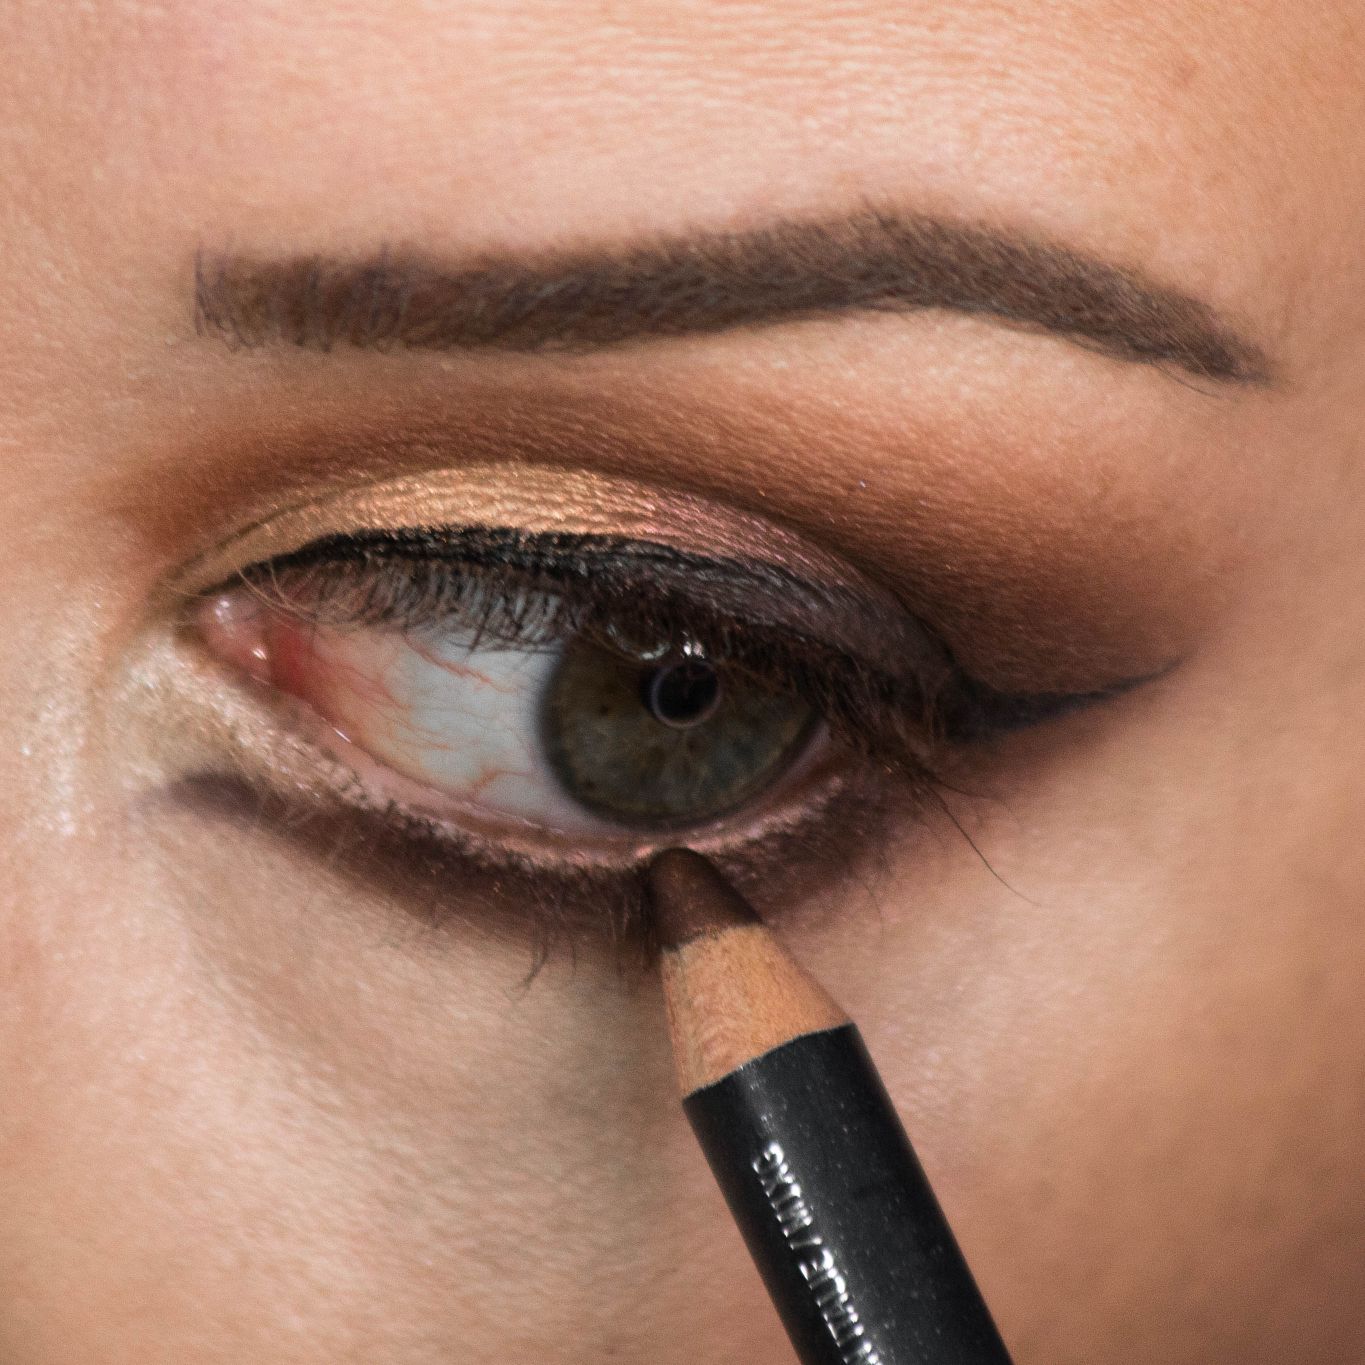
Step 9: Define the Lower Lashline
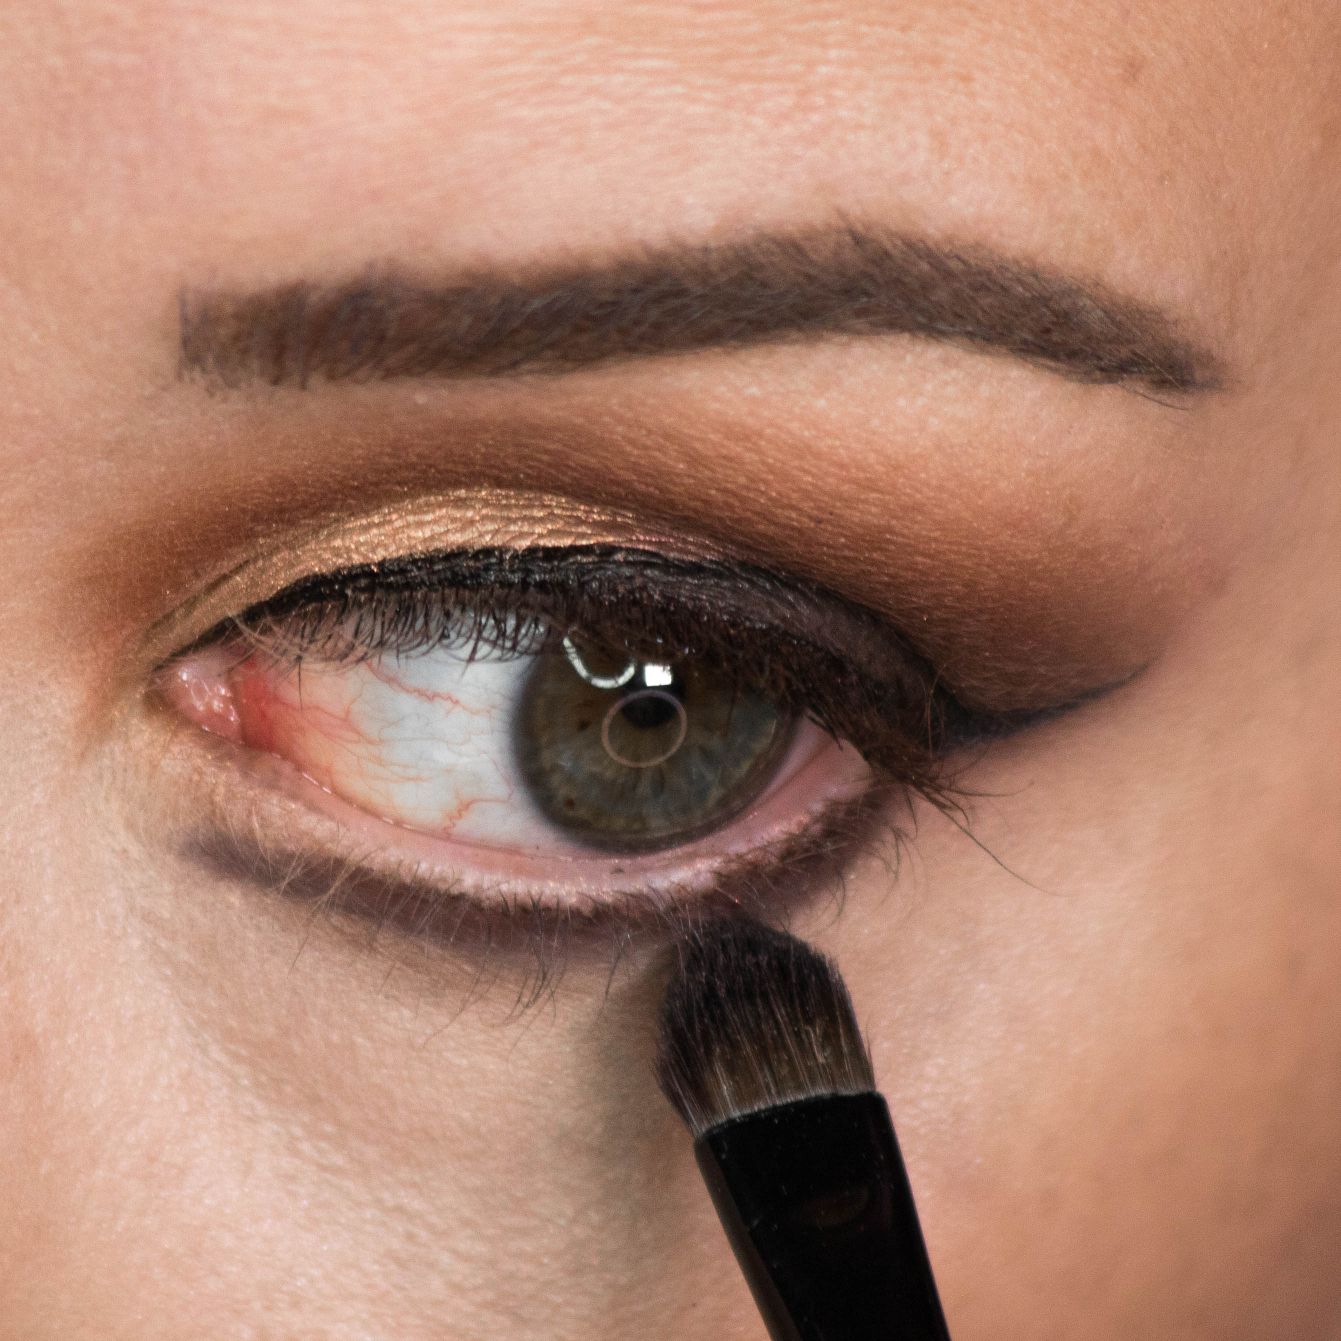
Using a soft brown pencil, line the lower lash line making sure to leave space in the inner corner. The little V shape we leave open will help to open up and brighten the eye up since the majority of it is quite dark.
After lining, take a clean brush to soften. You can also use the same brown shadows you used on the lid to blend the liner and connect it to the rest of the eye.
Step 10: Highlight the Inner Corner
Taking a bright gold and a small brush, fill in the open space on the inner corner of the eye/tear duct area. Once done add a bit of brown liner to the waterline.
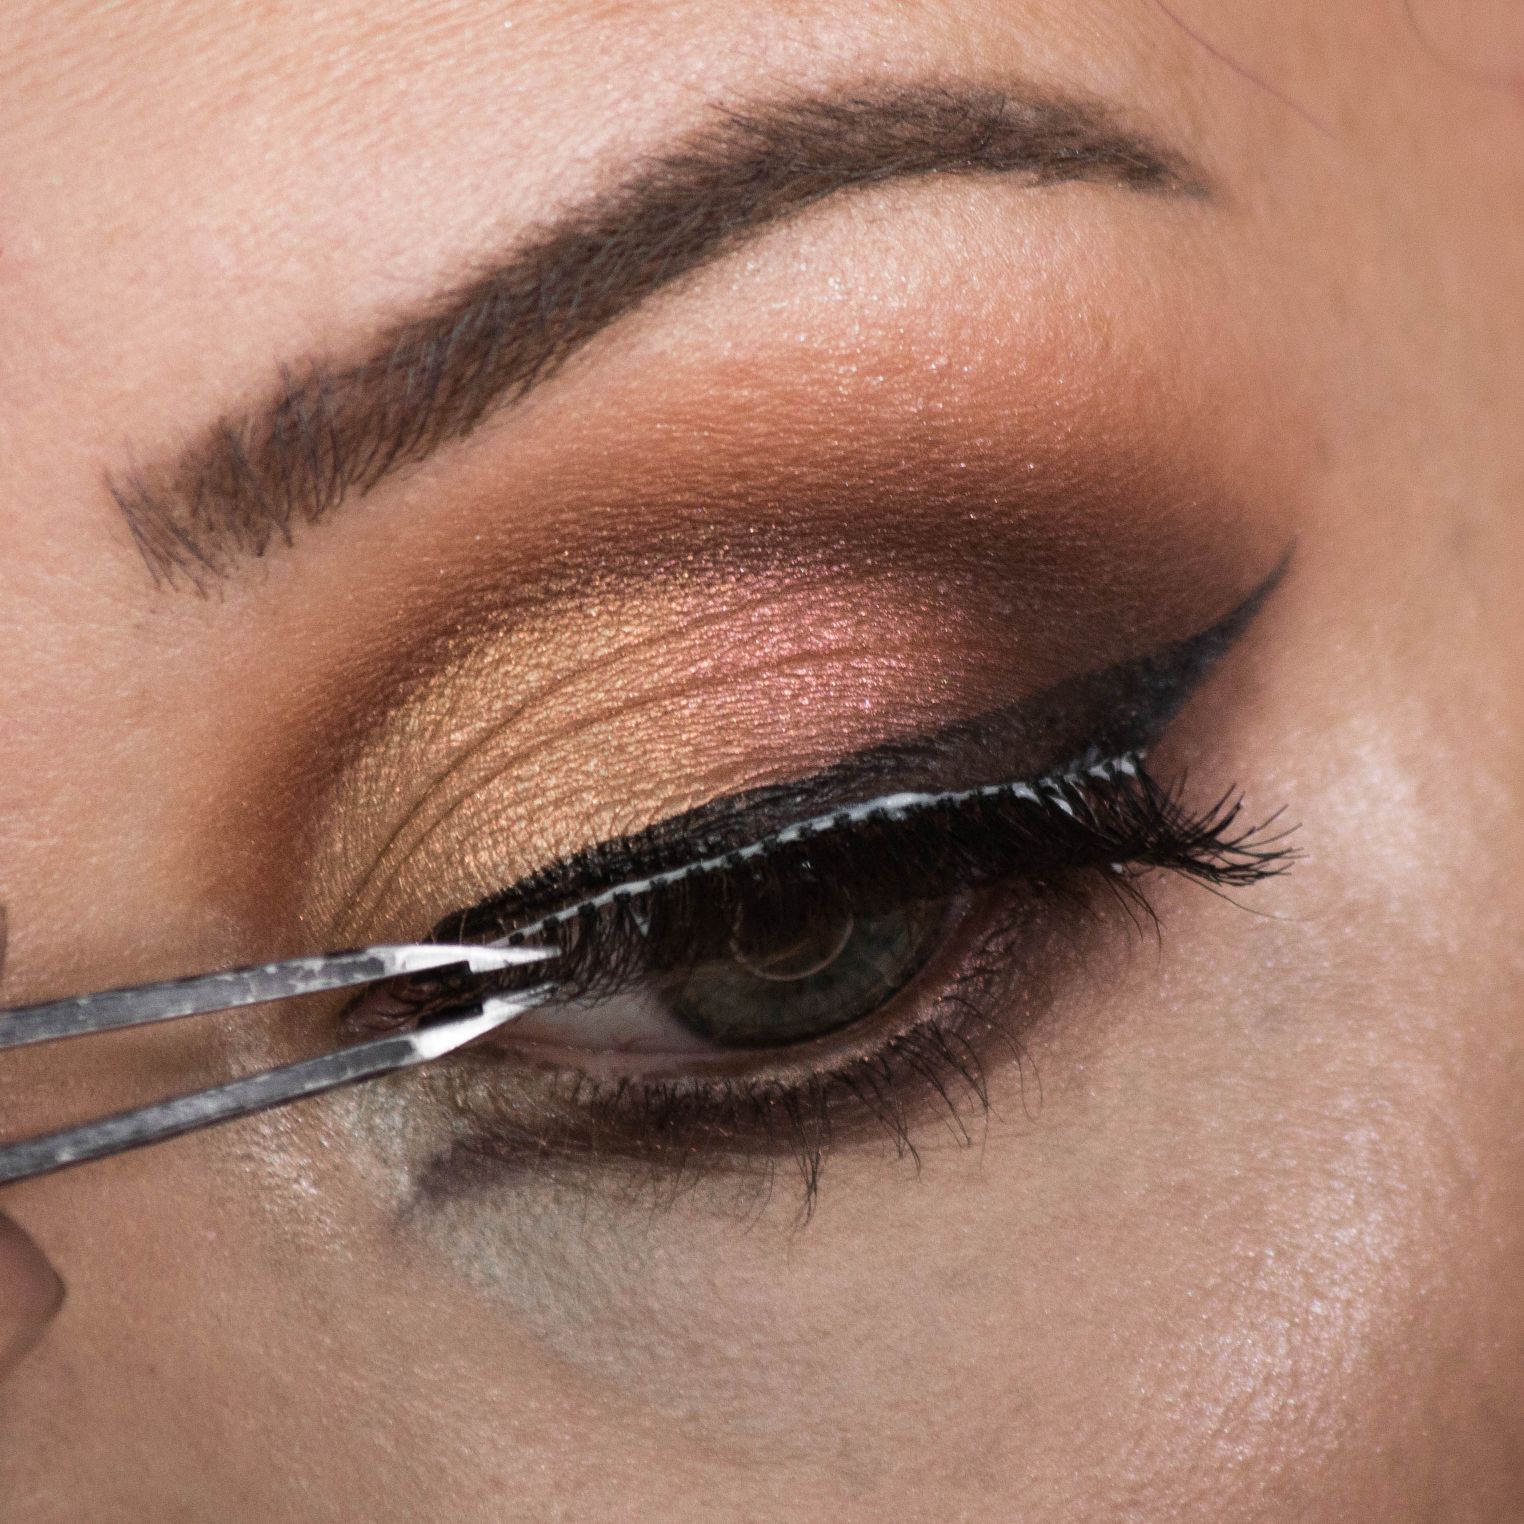
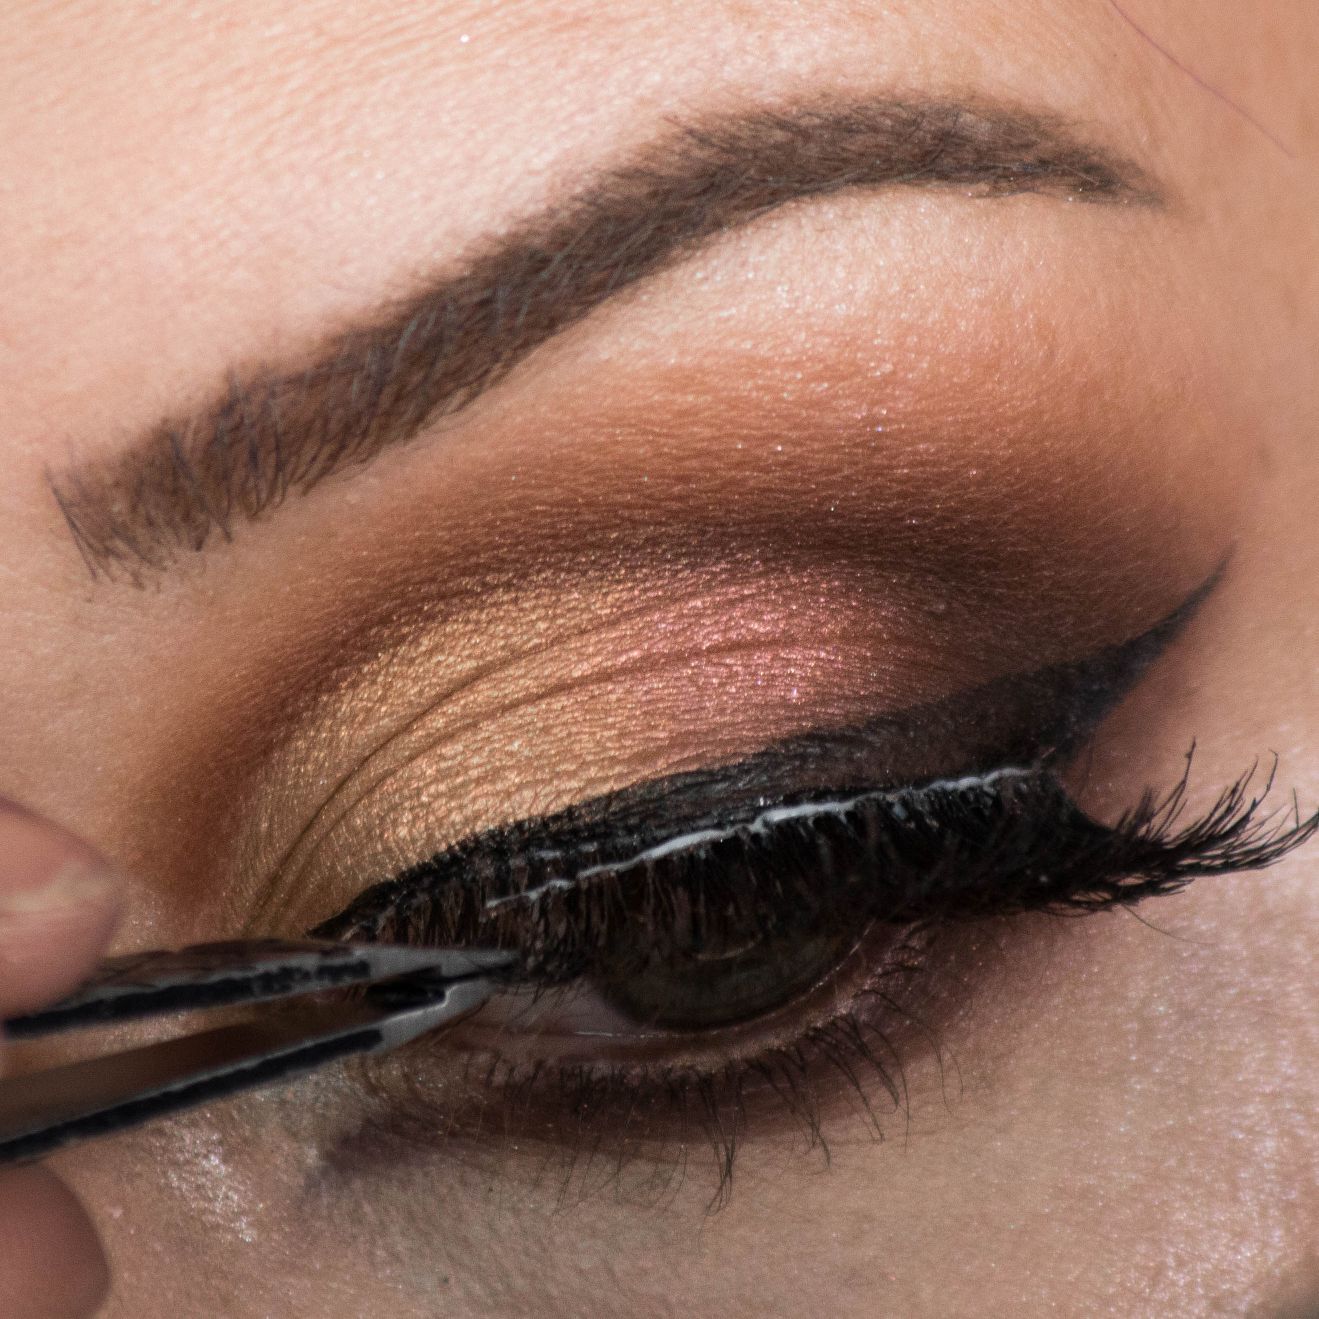
Step 11: Lashes!
I chose to stack two different sets of lashes to get a LOT of drama out of this look. Of course, this is going a little overboard, but I found the combo more comfortable than most dramatic lashes as the band can be SUPER thick.
But if you’re willing to spend a little more there are well made dramatic lashes out there for $36.00 and up. I was able to create a similar look for $20.

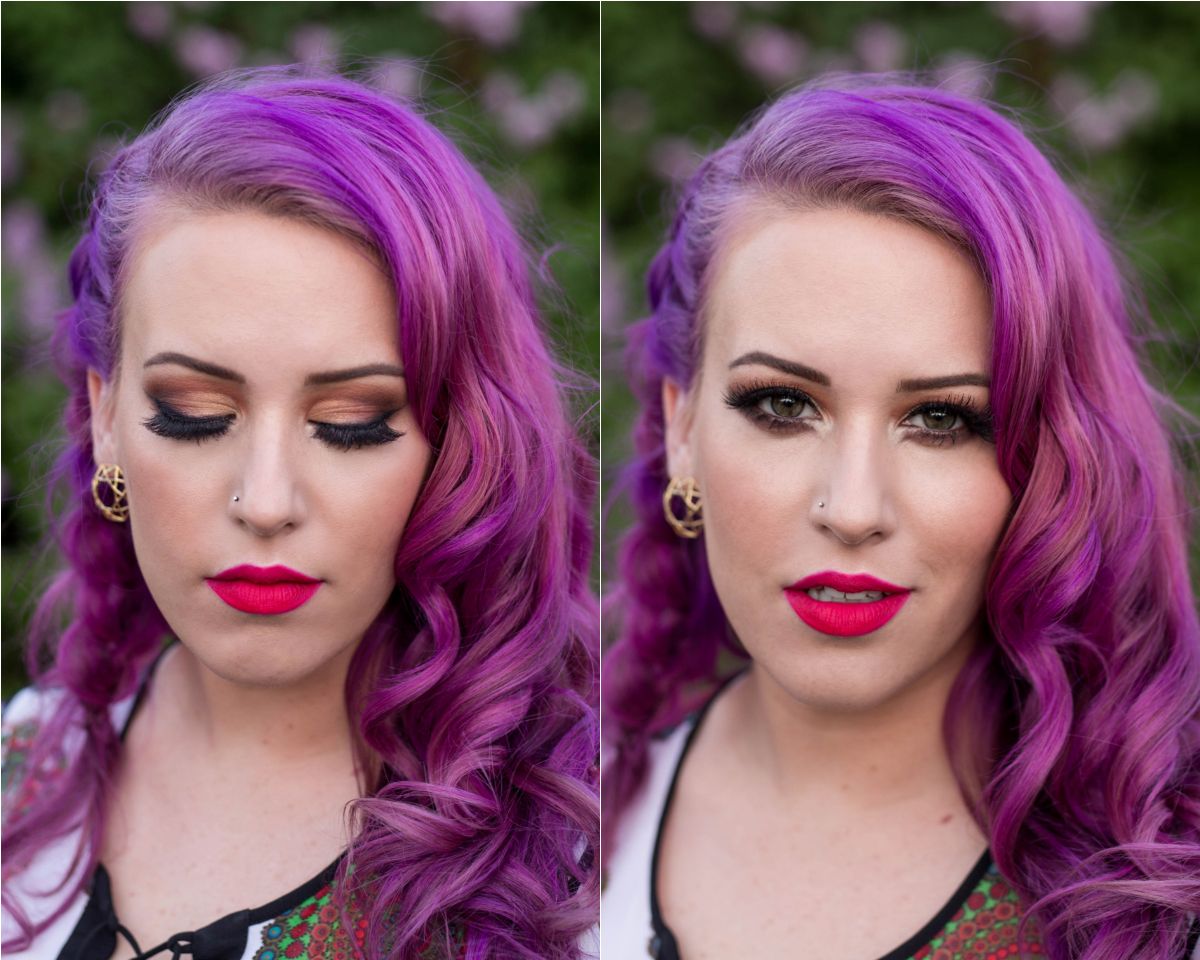
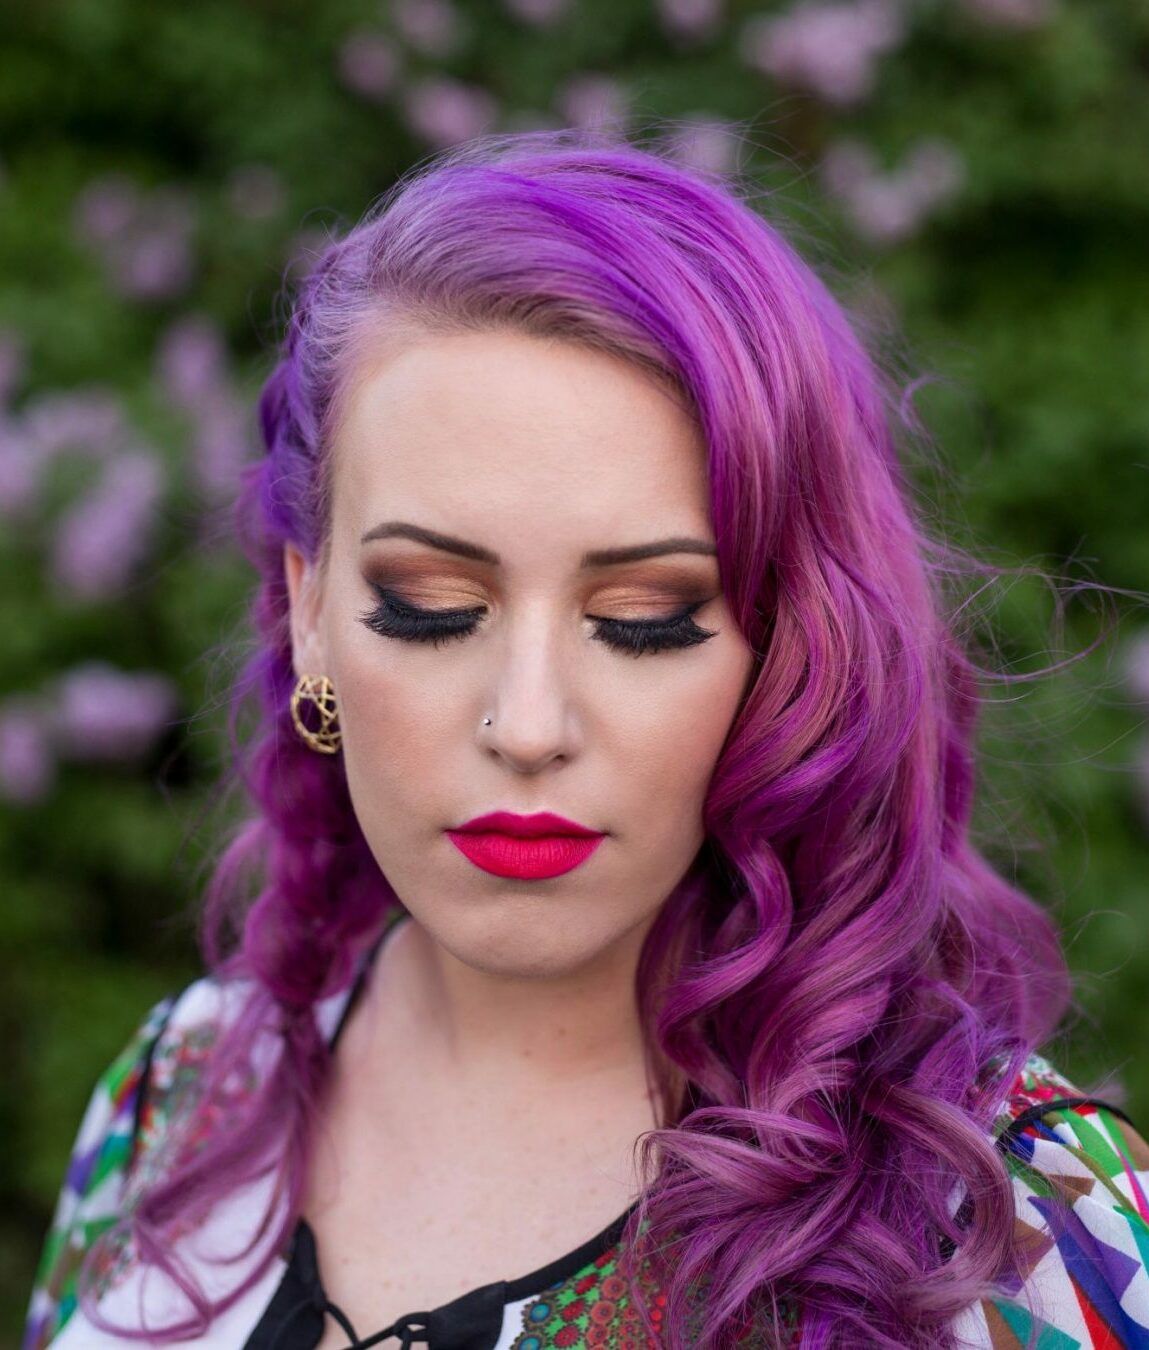
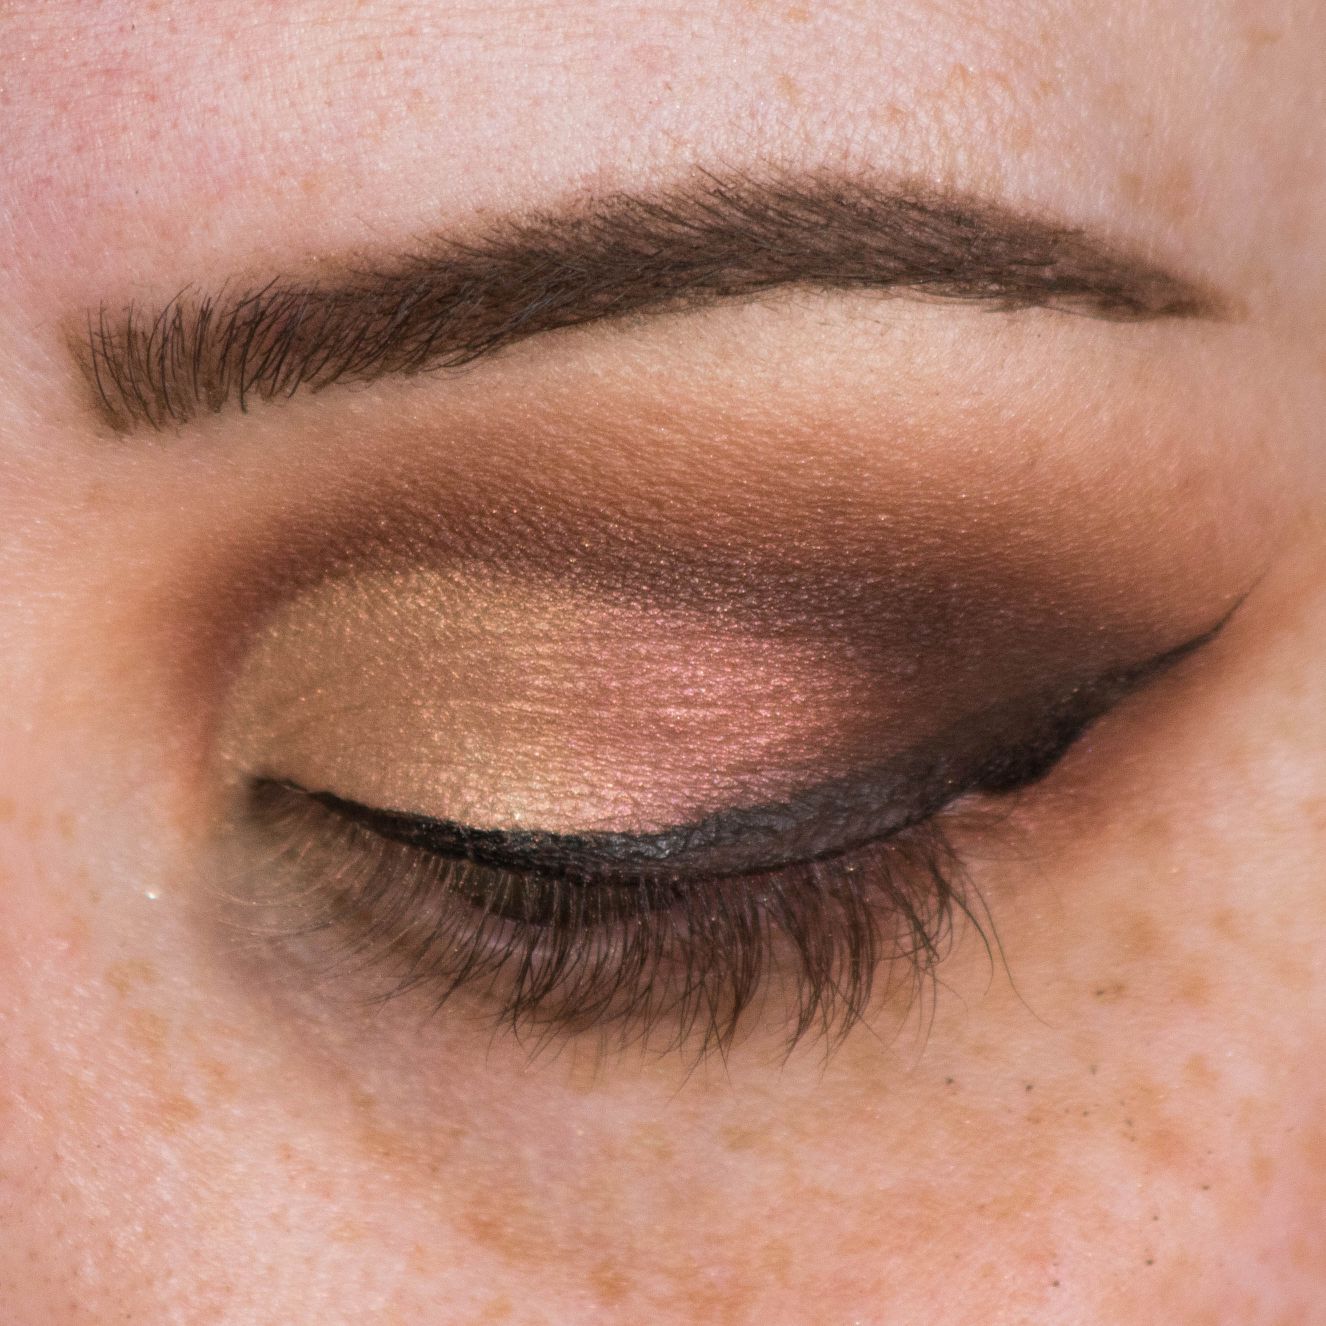
Step 11: The Finished Look
Don’t forget to take a step back and see that you are looking even and blended! Expect to spend a little more time on a look like this, give yourself and little R & R one day and practice.
Besides, half the fun is enjoying that time you get to yourself to feel beautiful. Good luck ladies!