
There’s an old saying – “I’d rather have roses on my table than diamonds on my neck”. Well, if you’ve reached the flowers step of your wedding planning, you might be reaching for the diamonds instead.
Fresh wedding flowers and greenery can be insanely expensive. Especially when you consider that a garland may only last a day or two. While traveling down the flower journey for my wedding, I decided on a different route – silk flowers.
Originally, I was looking for options to rent some silk greenery. What I discovered was that I could pay the same price to buy materials and put them together myself. I could get the look I wanted and later sell them to another bride who values something handmade. As an added bonus, I could make them on my own time so I wouldn’t be scrambling in the days before my wedding.
How did I do it? I shopped around. A lot.
I scoured eBay, Hobby Lobby, and kept my eye out for sales. My diligence paid off and I found a couple of styles that suited my wedding and budget. My goal was to secure at least two types of greenery to create a fuller and more natural-looking garland.
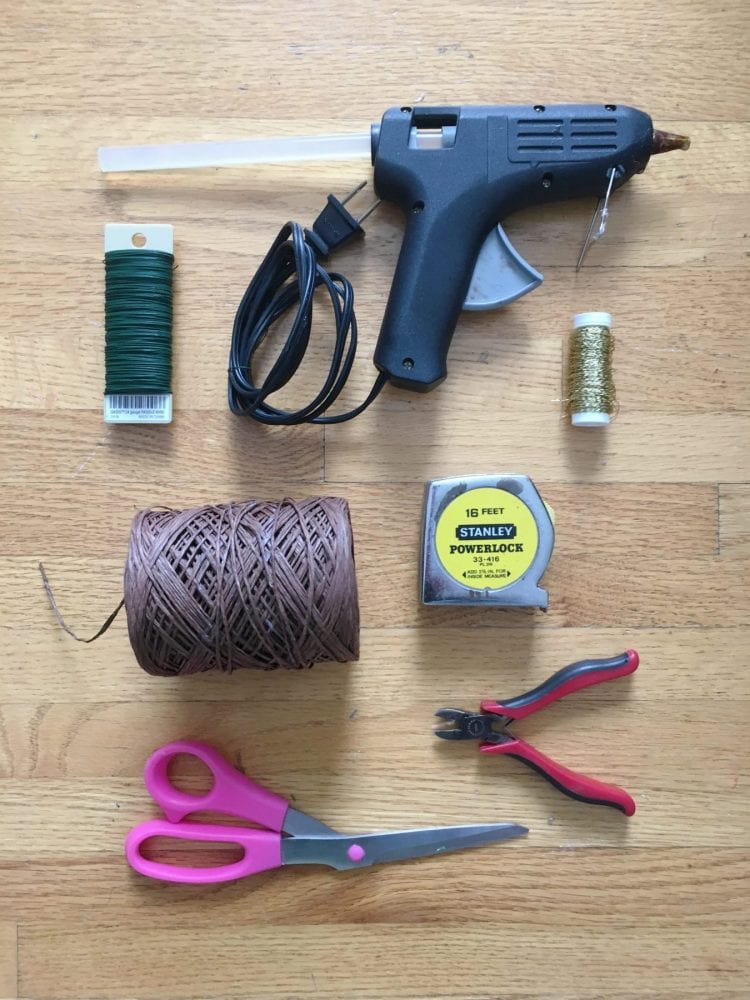
What You Will Need

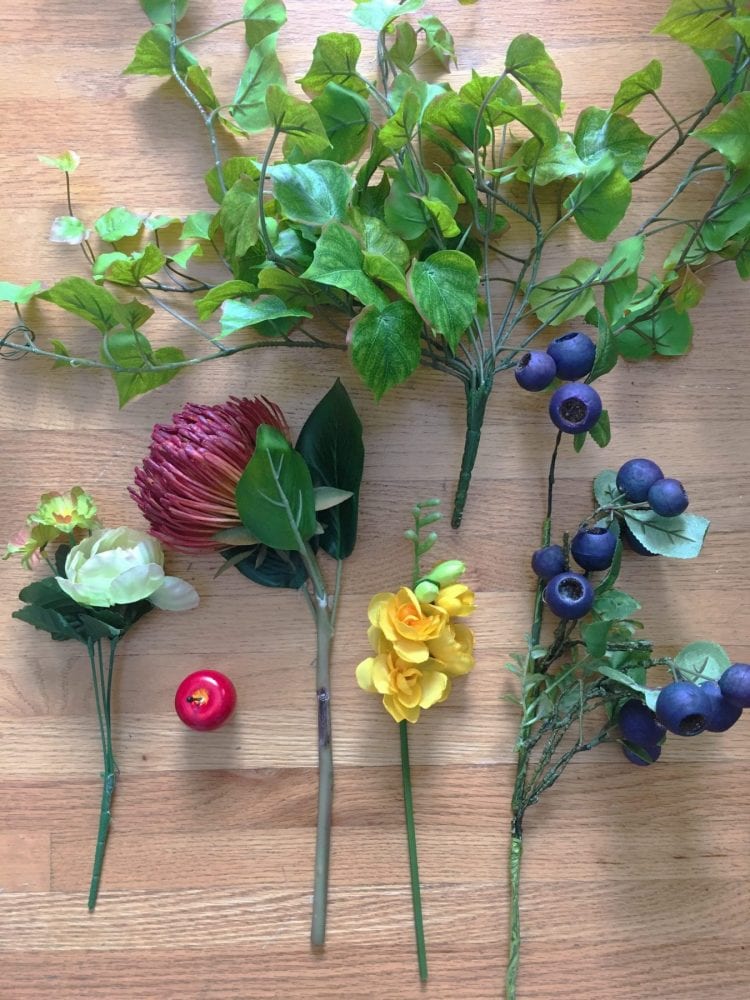
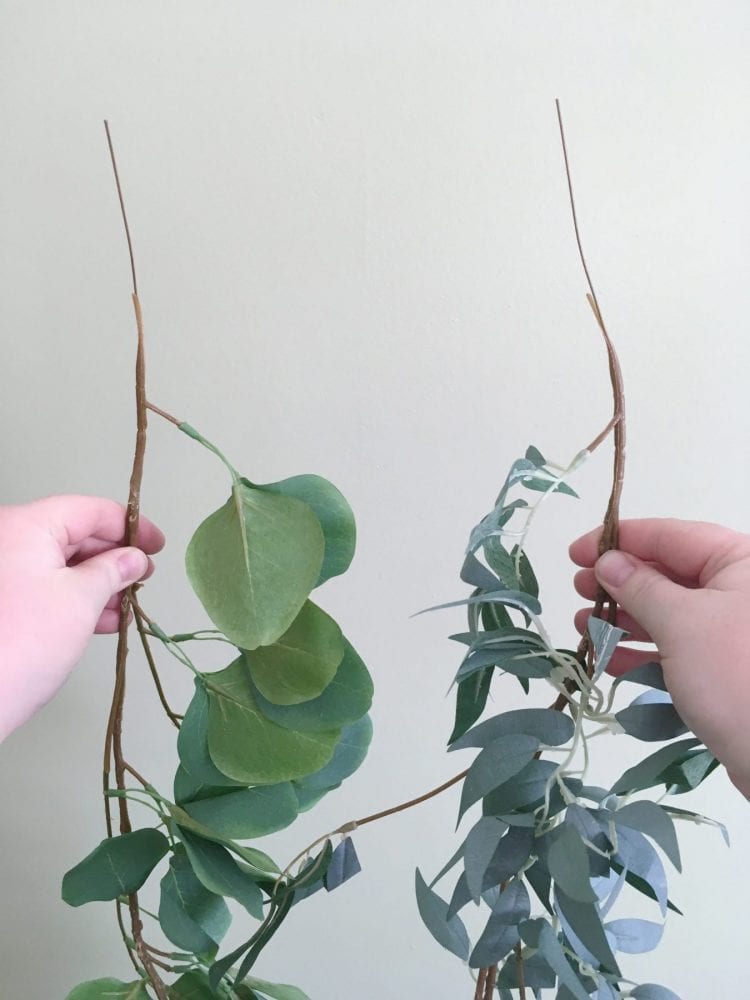
- Synthetic greenery (aim for more than one type to add a more natural feel)
- Silk Flowers (optional)
- Binding wire in a color to match your stems (usually green or brown)
- Scissors
- Wire cutters
- Tape measure
- Glue gun (for broken elements)
Start Here: Cutting Your Greenery to Length
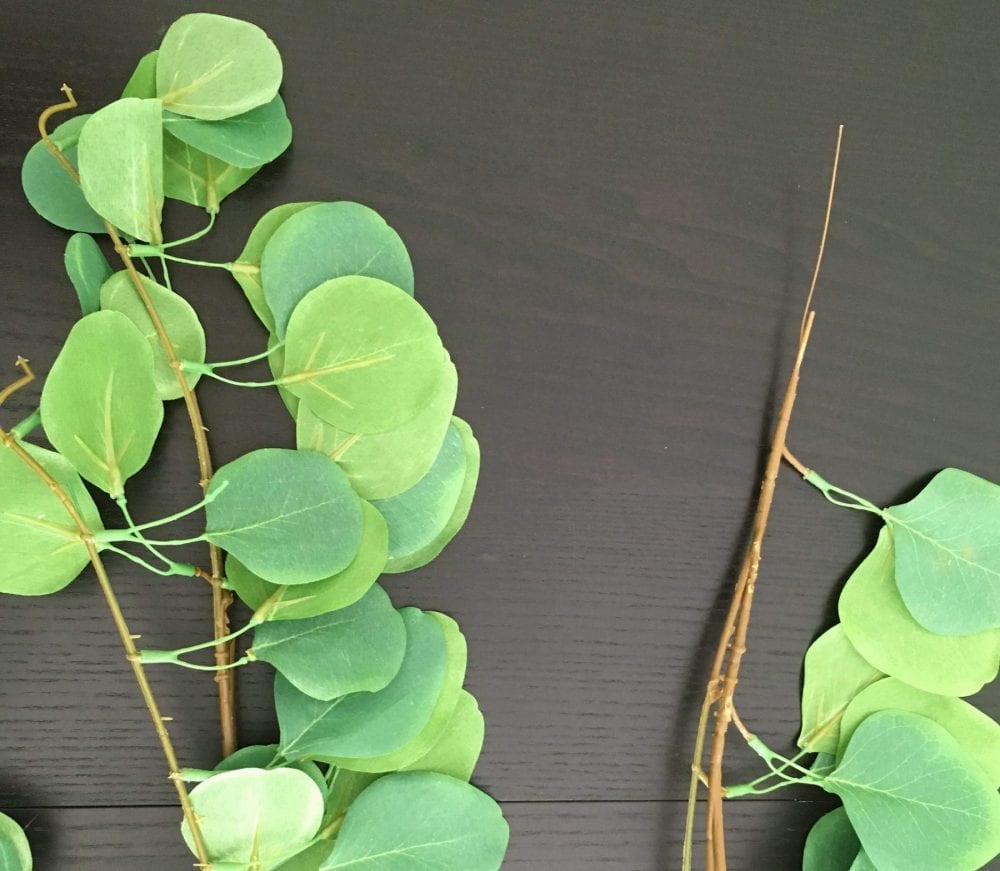
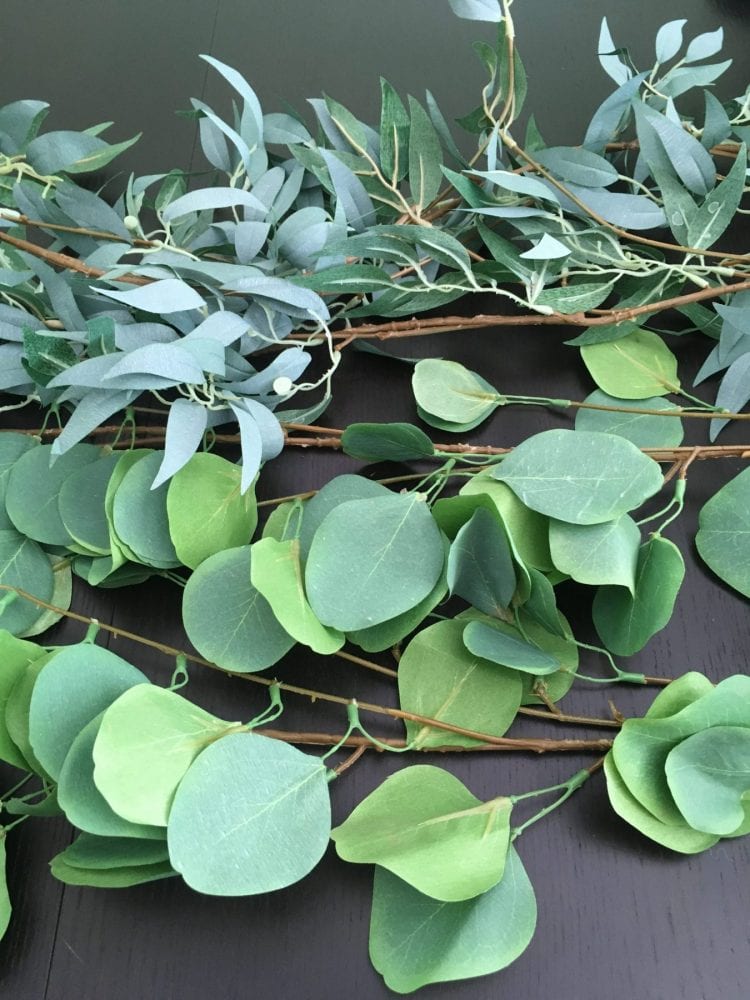
Greenery garlands usually come in leaves that go in one direction. So if your intent is to have a spray going two ways, it’s best to pick a middle point and cut the side lengths to what you need.
A good example would be if you had 8-foot tables, and you wanted a 6-foot length of garland that flows out from the middle. You need to cut two lengths that are just over 3 feet each.
You should cut just over the halfway mark because you want to be able to overlap the cut ends to better hide them.
How much farther is determined by the style of greenery you choose and how easy they are to blend together.
If you have shorter sprigs of greenery, you should be overlapping them at equal intervals, creating two lengths that can be blended together in the middle. This applies for garlands going in one direction, and two.
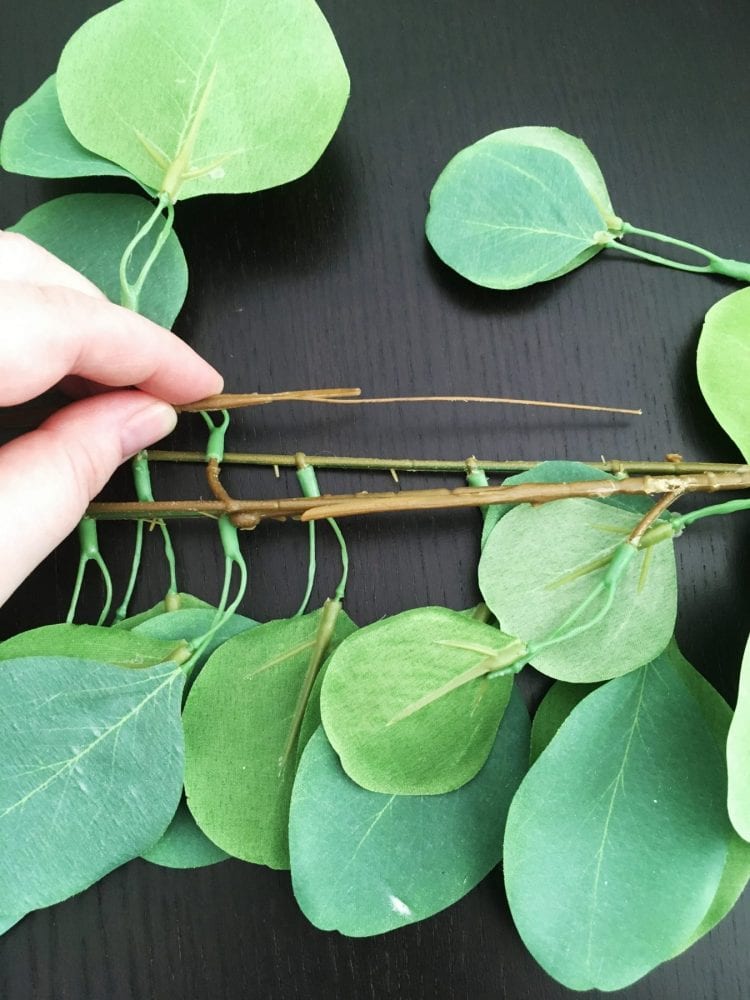
How to Bind Your Greenery
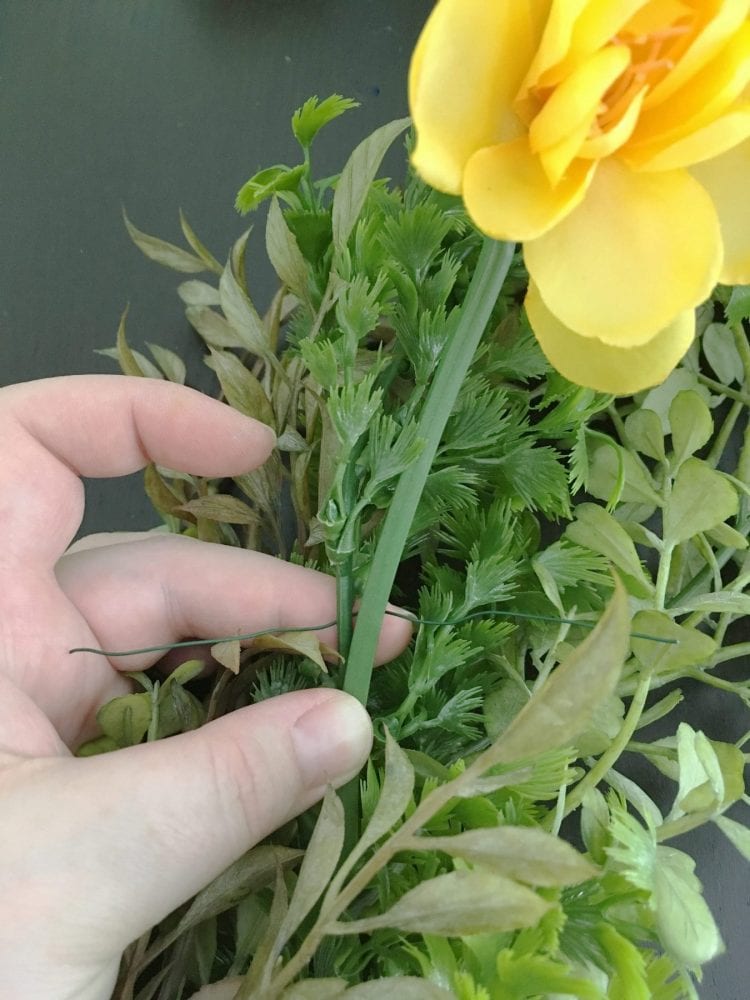
Binding your greenery is easy, you just need to be aware of how you are connecting them. The best way is to find the main branch or vine inside the greenery. You don’t want to wrap binding wire around your leaves and vines – you want to connect lengths at their strongest points and keep the leaves out of those connection points. This way you will hide the wire, and it will look like one seamless length.
Repairs May be Necessary
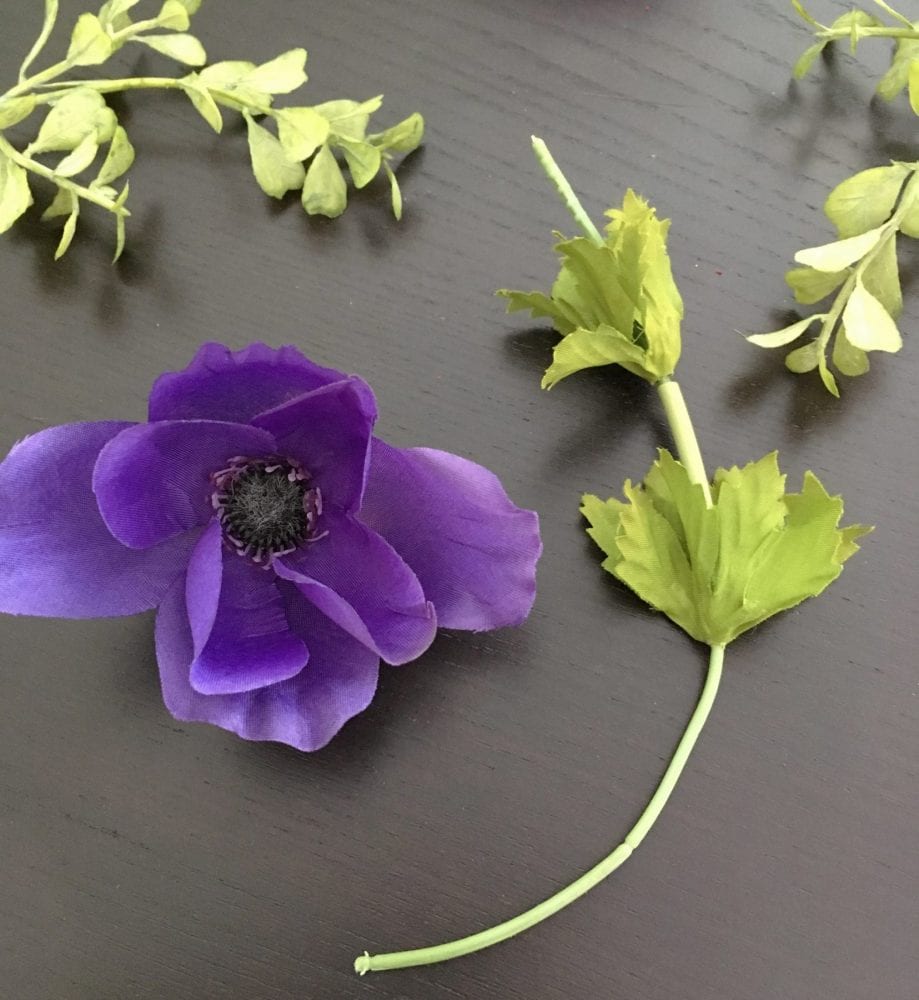
 When I was creating my draping flower garlands, I wanted some them to go all in the same direction with flowers and some to be double ended for my aisle runners. Early on, I noticed early that some flowers can come off their stems.
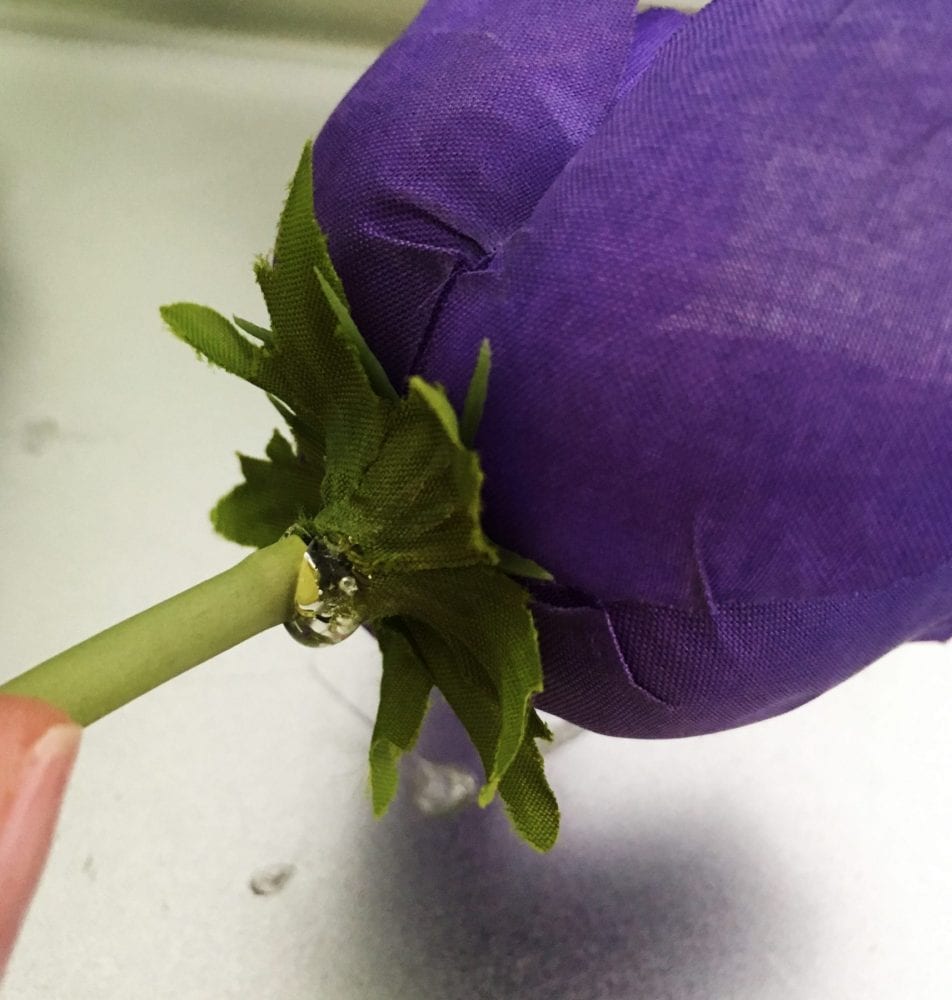
For this issue, my trusty glue gun came in handy. I just put a dollop of glue on the end of the stem and pushed the blossom back on. I even went back in and reinforced some of the other blooms, just in case.
Determining How Long Your Garlands Should Be
When it came to the aisle runners, I wanted two garlands that would span the full length of the aisle and could be un-rolled in no time. If you want to do the same, you need to calculate how many rows you are going to have.
A rule of thumb is 3 feet for every row of chairs. This allows space between the back edge of the chair and room in front of it for your guests to move around. I know roughly how many people will be attending my wedding, and it worked out to eight rows of chairs.
You also want to add 3 feet over each row, so you have a nice natural looking flow of greenery. If you make it exactly the length of the aisle it tends to look too short.
3ft x 8 (for rows) + (3ft x 2 for aisle ends) = 30ft total length per side
I bought 12 x 5-foot greenery lengths of each type. I knew I wanted these to be double ended, so I wove 3 x 5-foot lengths together in both of the greenery types.
REMEMBER: bind together each type of greenery individually and weave them together once they are all the correct length. This allows for consistency and keeping the garlands the same final length.
Weaving Greenery
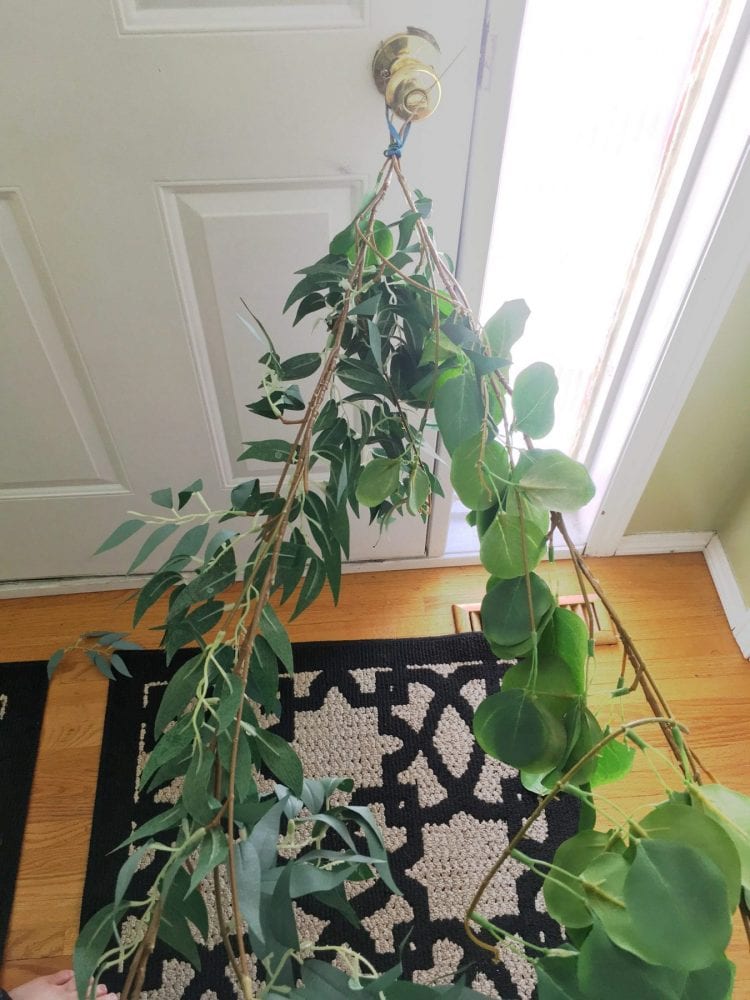
Once I finished creating the single long garlands, I connected the wire ends together and hooked them to a doorknob (or whatever thing you want to anchor them to).
Then I pulled them tight and twisted them from the other end (Hint: a friend might be helpful at this stage if they are super long). This way I was keeping them the same length, and it cuts WAY down on weaving them together later. I hooked the twisted end to another anchor, and this gave me access to unpin the loose leaves and bind the main branches as I went down the full length to keep it woven together.
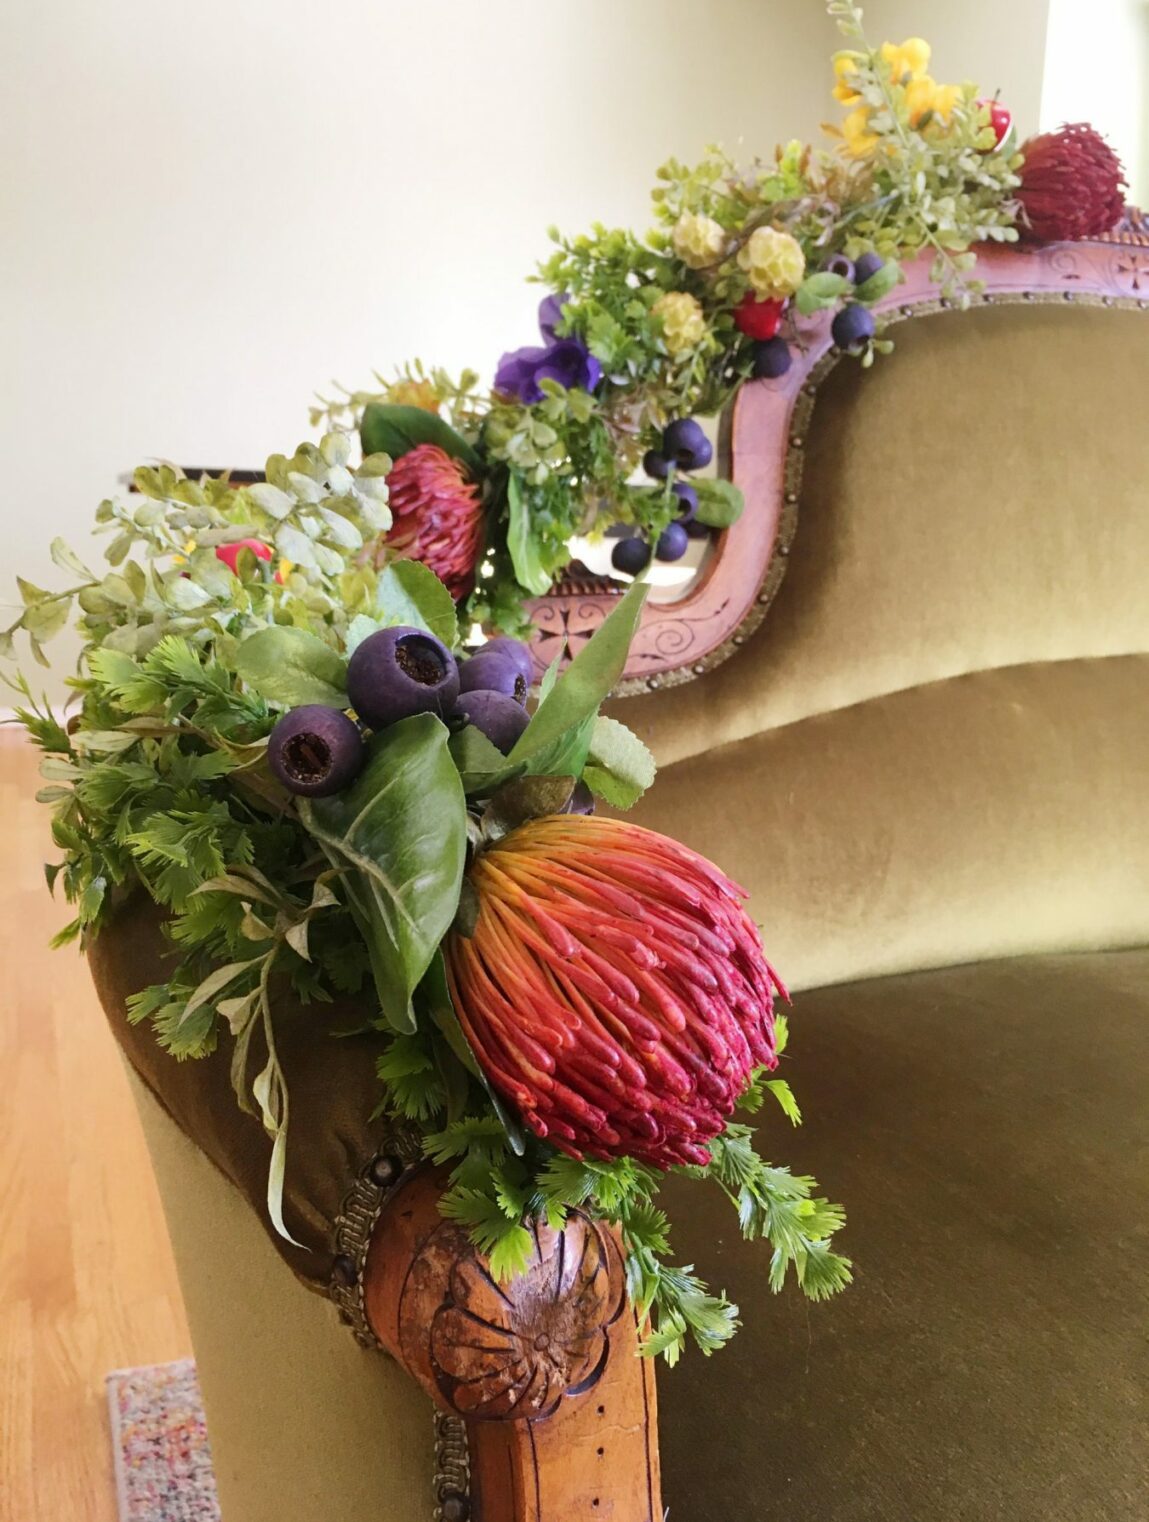
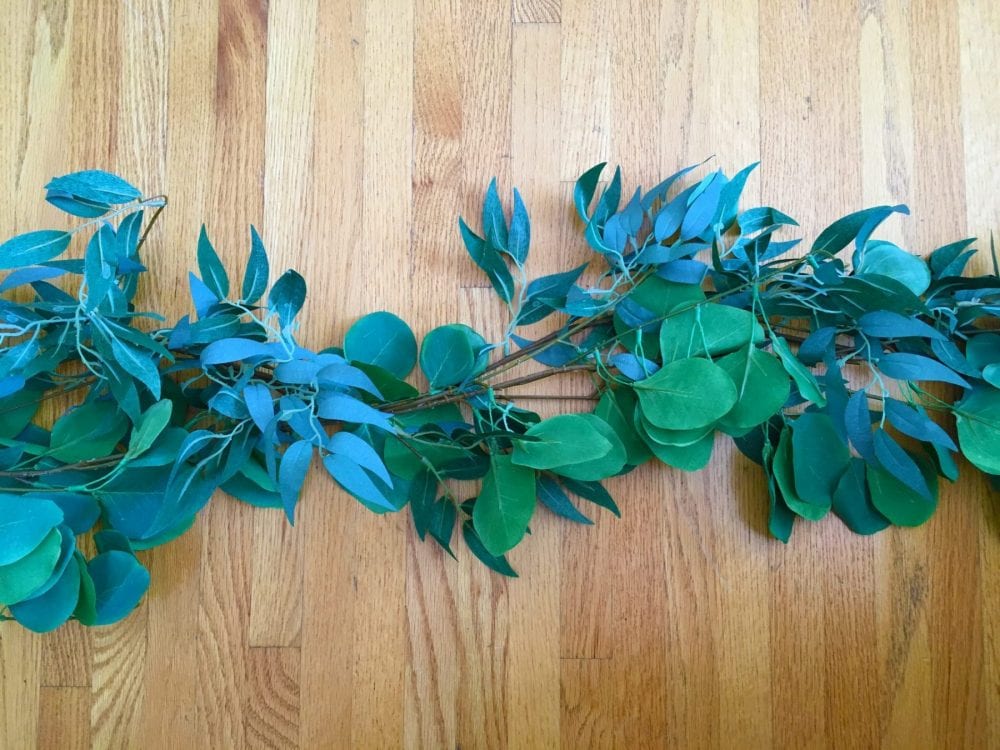
The Finished Product
All in all, it took me about 4 hours for one doubled ended greenery garland and 2 hours for the single directional flower garland.
THEY LOOK AMAZING

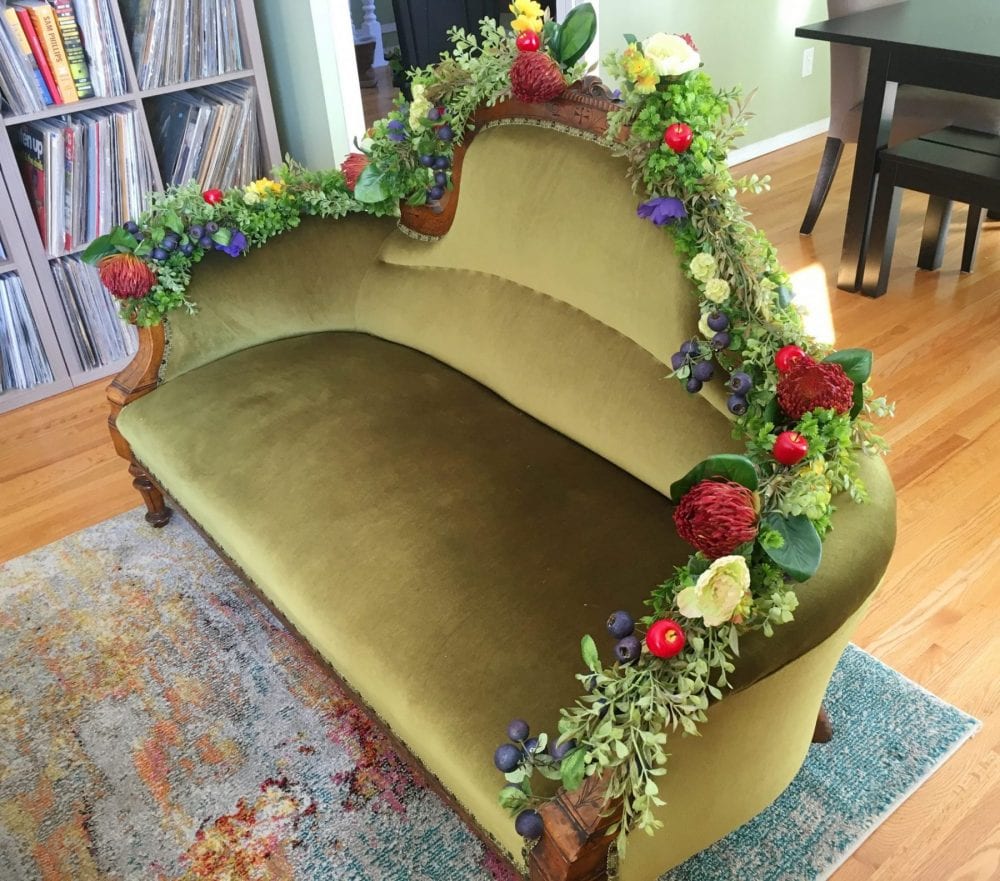
And the best part is they are low maintenance, beautiful and RESELLABLE. Although, I may keep one around for the holidays and mix it with some fairy lights. This is an easy project, with lots of applications beyond your wedding day and it is SO much fun.