
Not everyone is down with the natural look. When it comes to blending in, it’s not always every girl’s MO. So if you’re one of those stand out girls looking for a next level glam eye look, then search no further. Today I’m going to give you a step-by-step guide on how to achieve this “eye-popping” purple eye makeup look.

So without any further ado, let’s get into it:
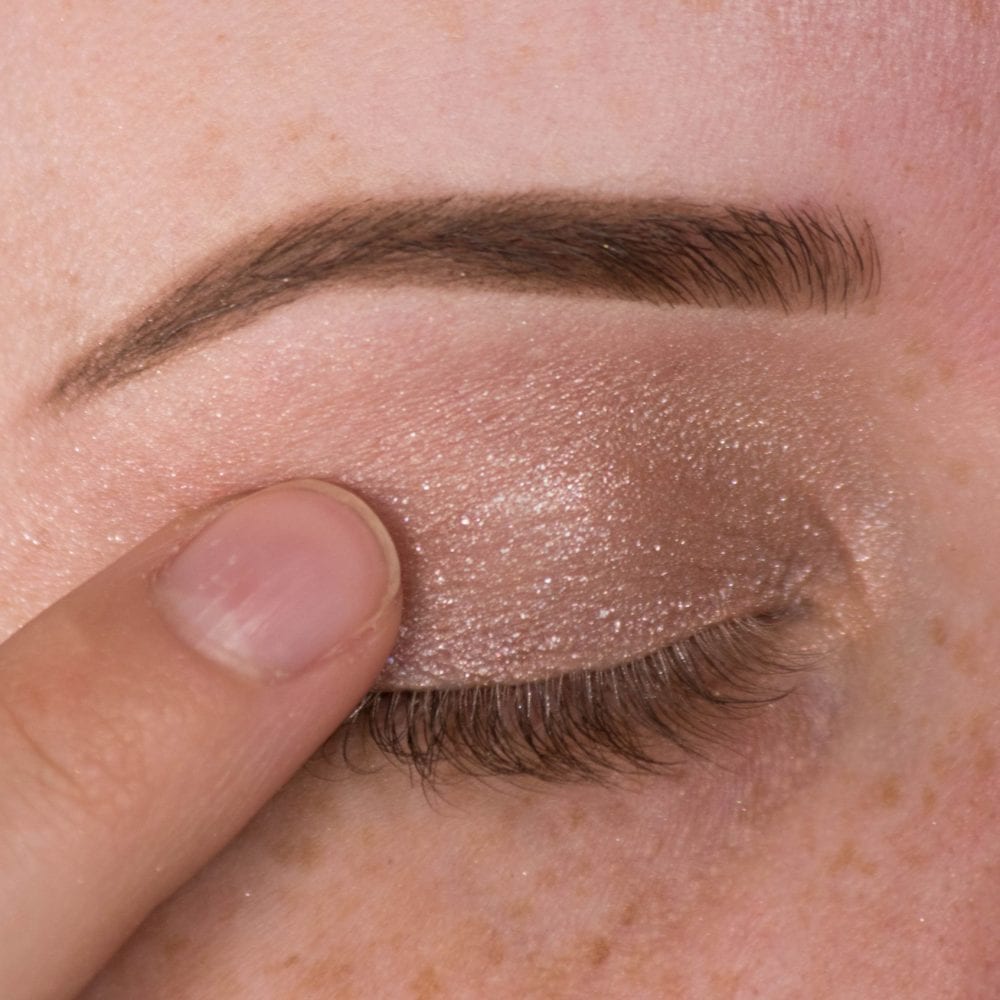
Step 1: Prime your eyelids
Using either your fingers or a flat head brush, apply your desired eyeshadow primer across the eyelid all the way up to the brow bone. After applying use your finger to diffuse and blend the product so that it is even placed all over the eyelid. This will help your eyeshadow to last all day and to make the most of the pigment of the eyeshadow
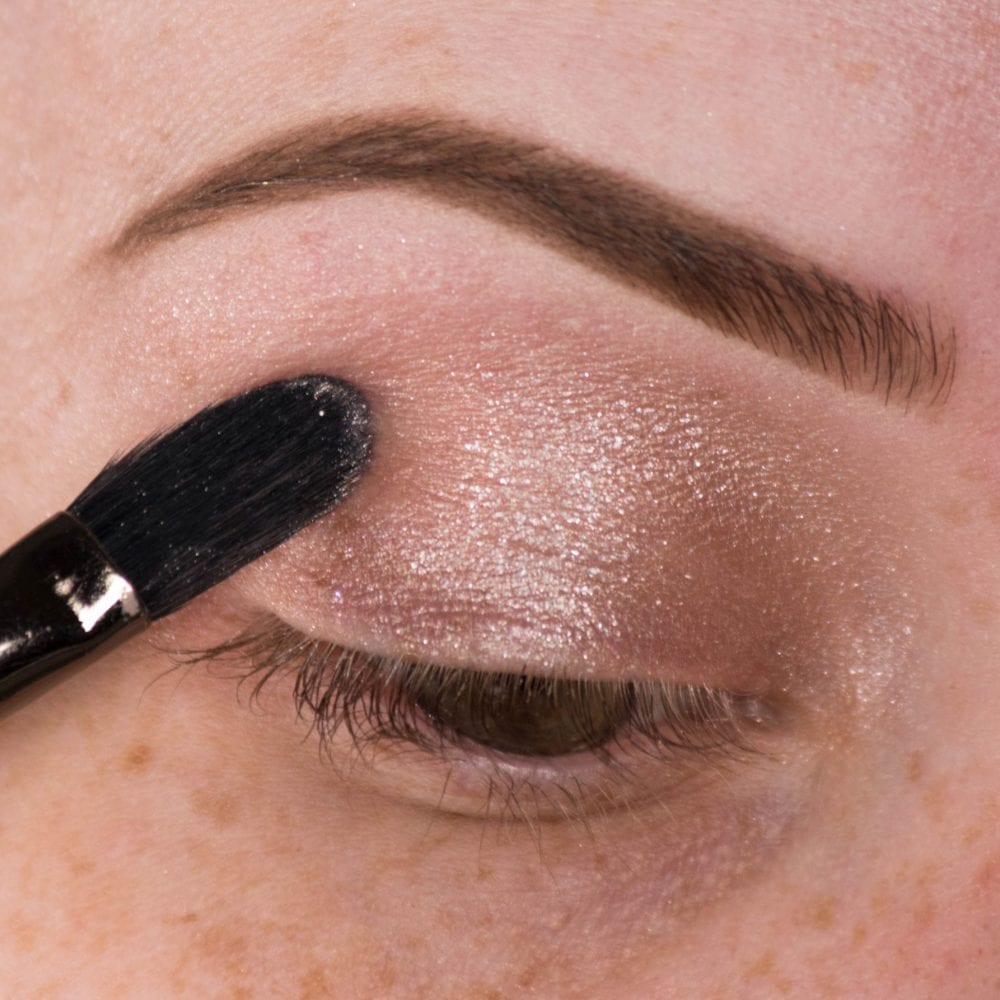
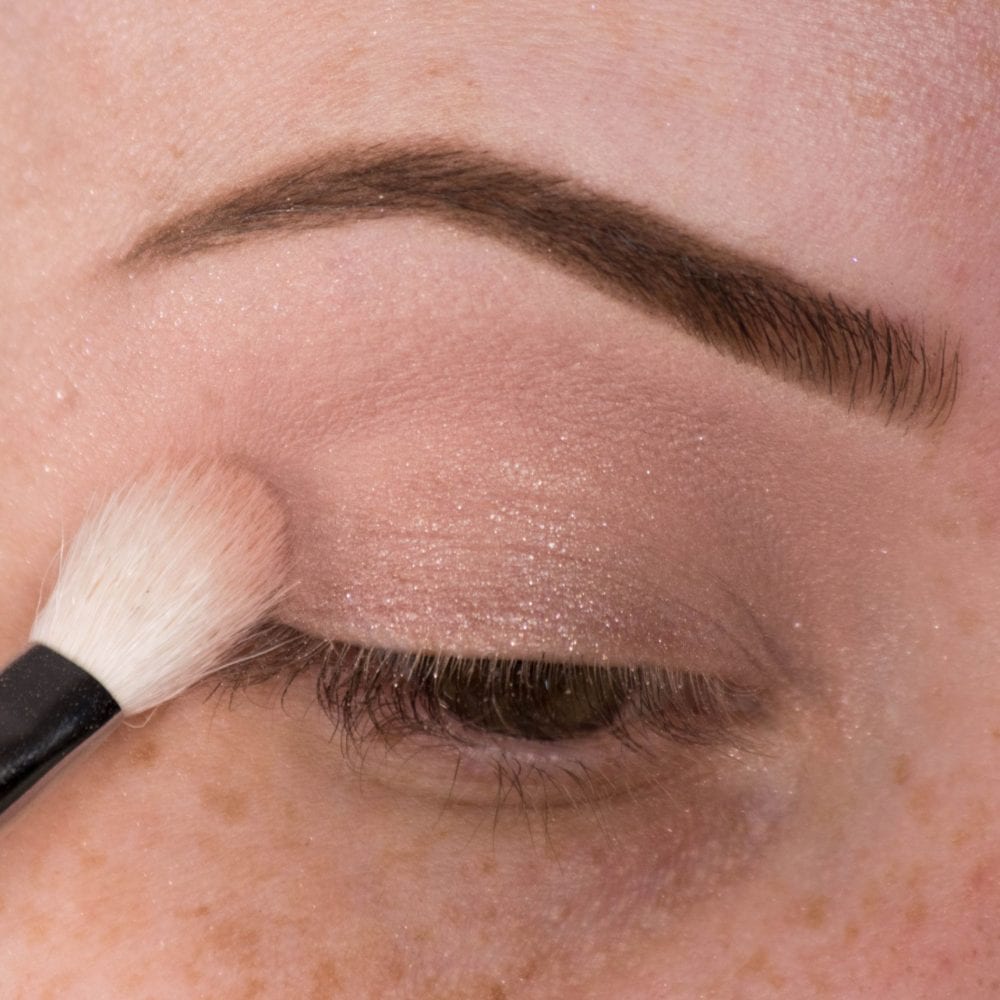
Step 2: Apply your base shadow
Using a domed fluffy brush, apply a neutral light vanilla shade all over the eyelid to set the eyeshadow primer. This will make for easier blending in future steps. Ensure when applying this shade that you do so evenly across the whole lid up to the brow bone.
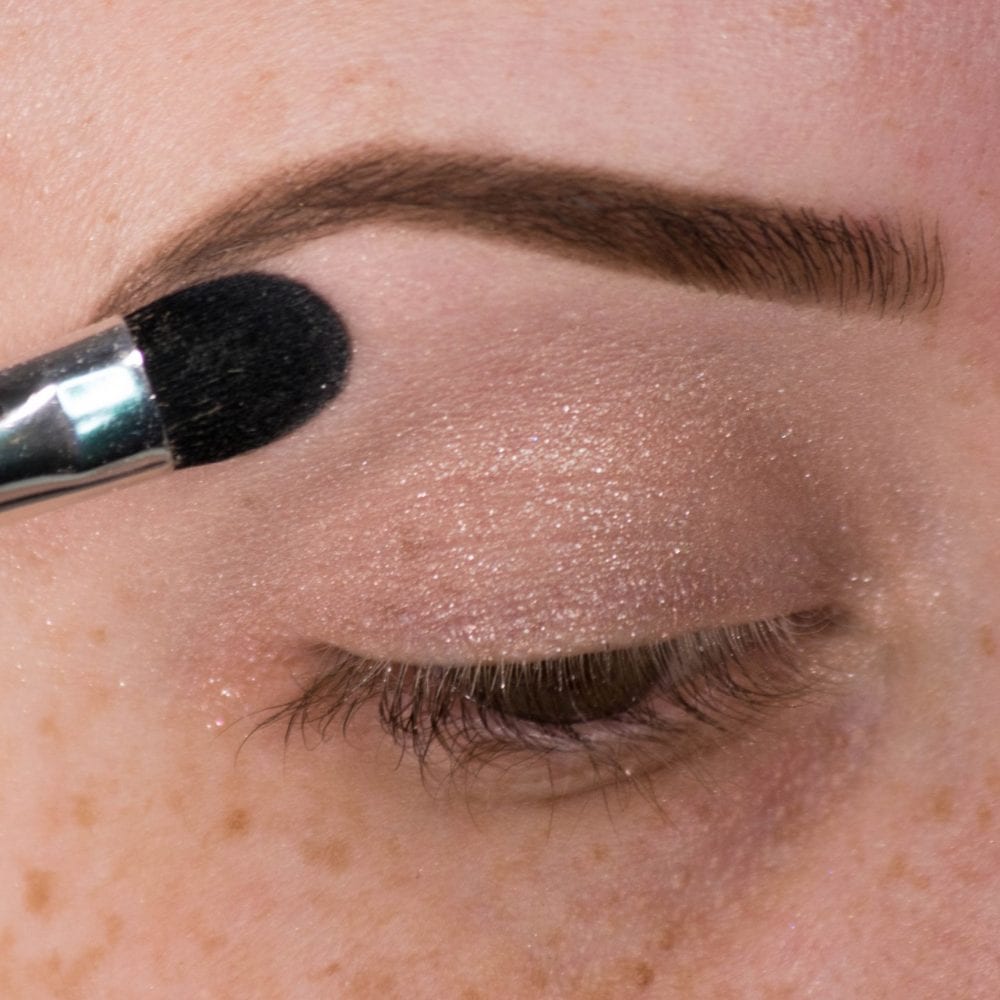
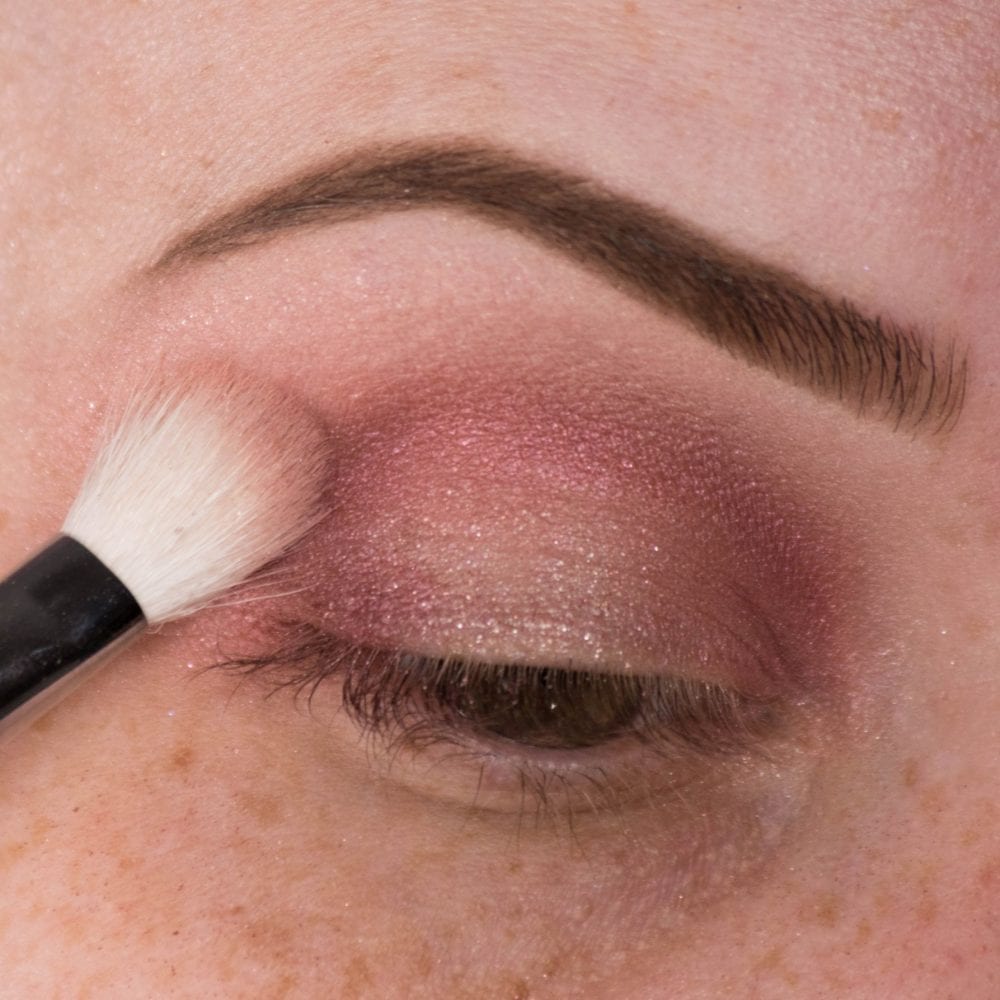
Step 3: Apply first crease shade
Using a fluffy brush and a matte rosy shadow, apply the product to the crease. Using a swiping motion apply the product just under orbital bone where the eyelid starts to sink in around the eyeball. This color is intended as a transition shade and will assist in blending in future steps.
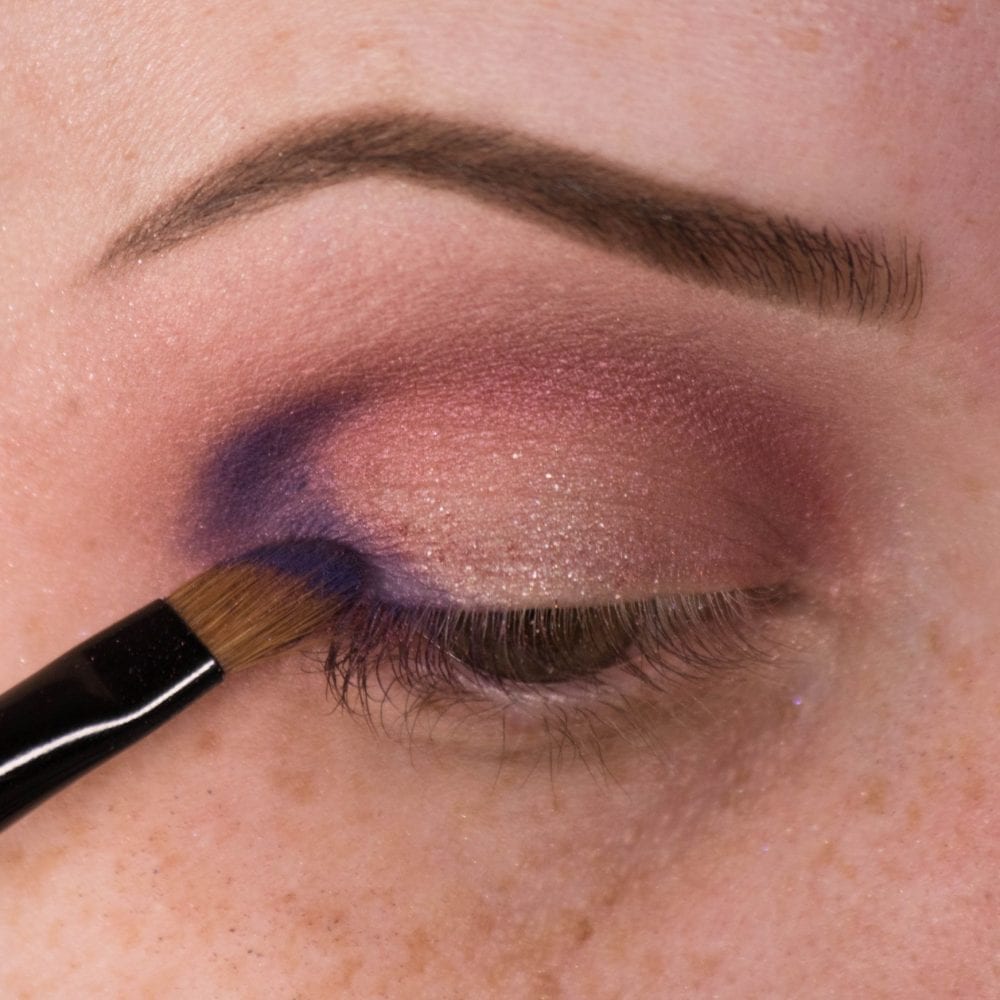
Step 4: Define and deepen the crease
Using a smaller fluffy brush, begin to apply maroon/purple shadow in the crease. Begin at the outer corner of the eye and work your way inwards, ensuring to use less eyeshadow as you blend in and upwards.

After, use a fluffy brush to soften and diffuse the edges so that you get a soft gradient with the crease being the deepest, fading slightly up towards the brow bone.
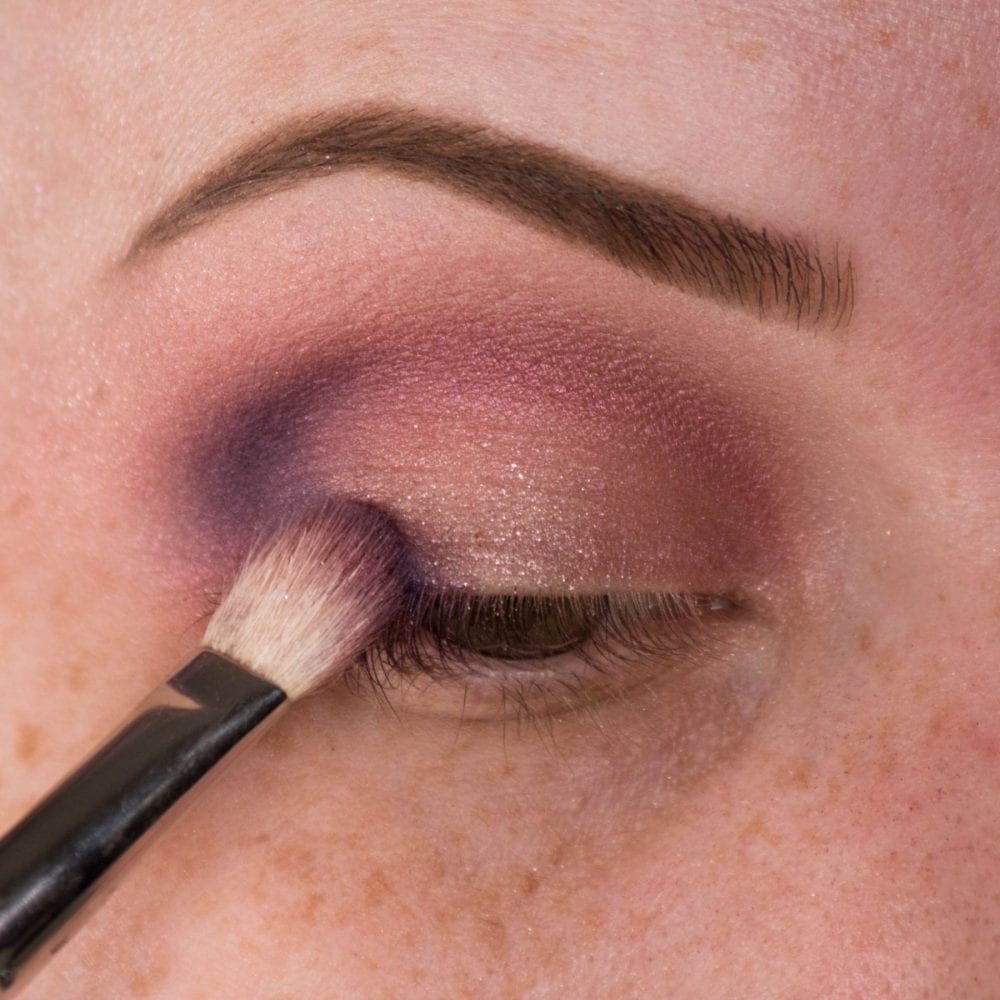
Step 5: Deepen the outer corners
Using a smaller, denser brush, apply a matte purple shadow in a small “V” shape in the outer corner of the eye.
Using a fluffy brush, preferably the one used to apply the previous shadow, blend and soften. You can apply more of the dark purple and use the maroon shade to blend. Alternate between the two until you achieve your desired depth.
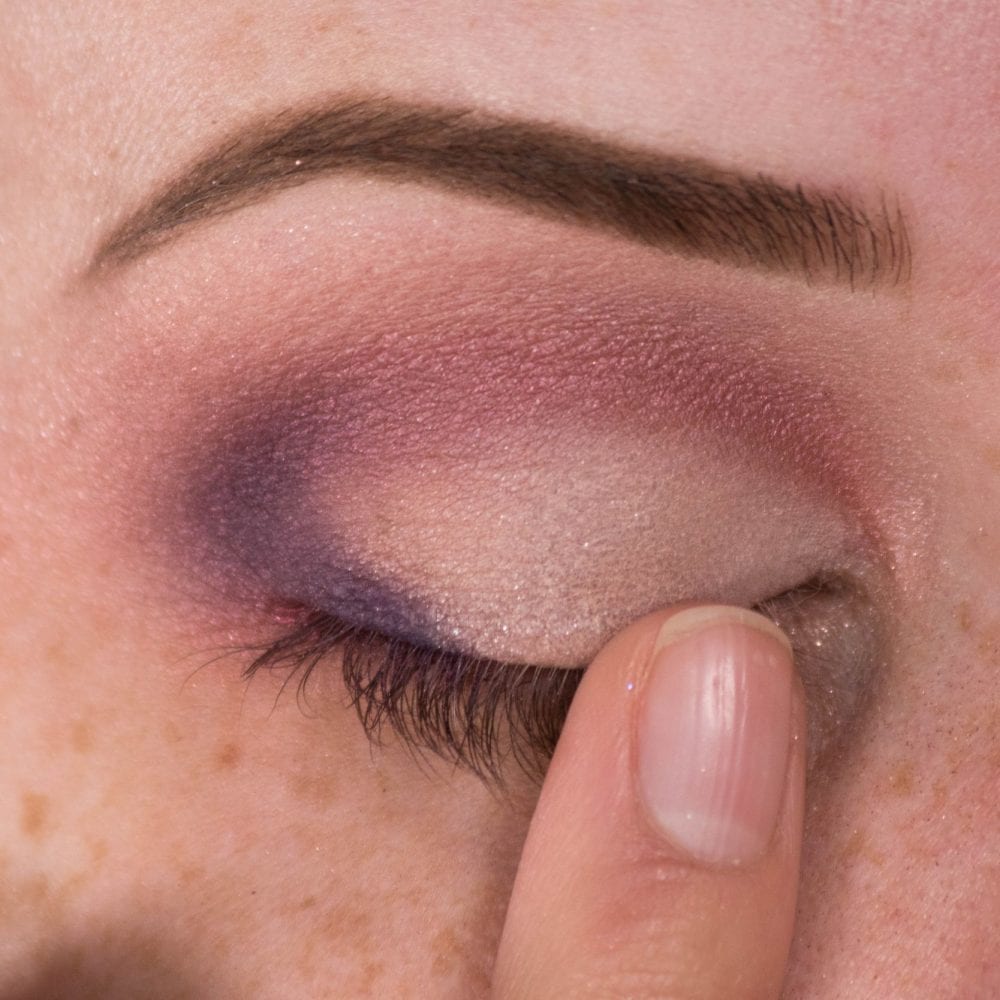
Step 6: Apply base for shimmer
Using a flat concealer brush, and a small amount of concealer, apply product across the eyelid in preparation for our lid color. Since I chose an icy violet, the concealer helps the powder color to stay on longer and give the shimmer the most impact. This is because you have given it a sticky and light-toned base to adhere to.
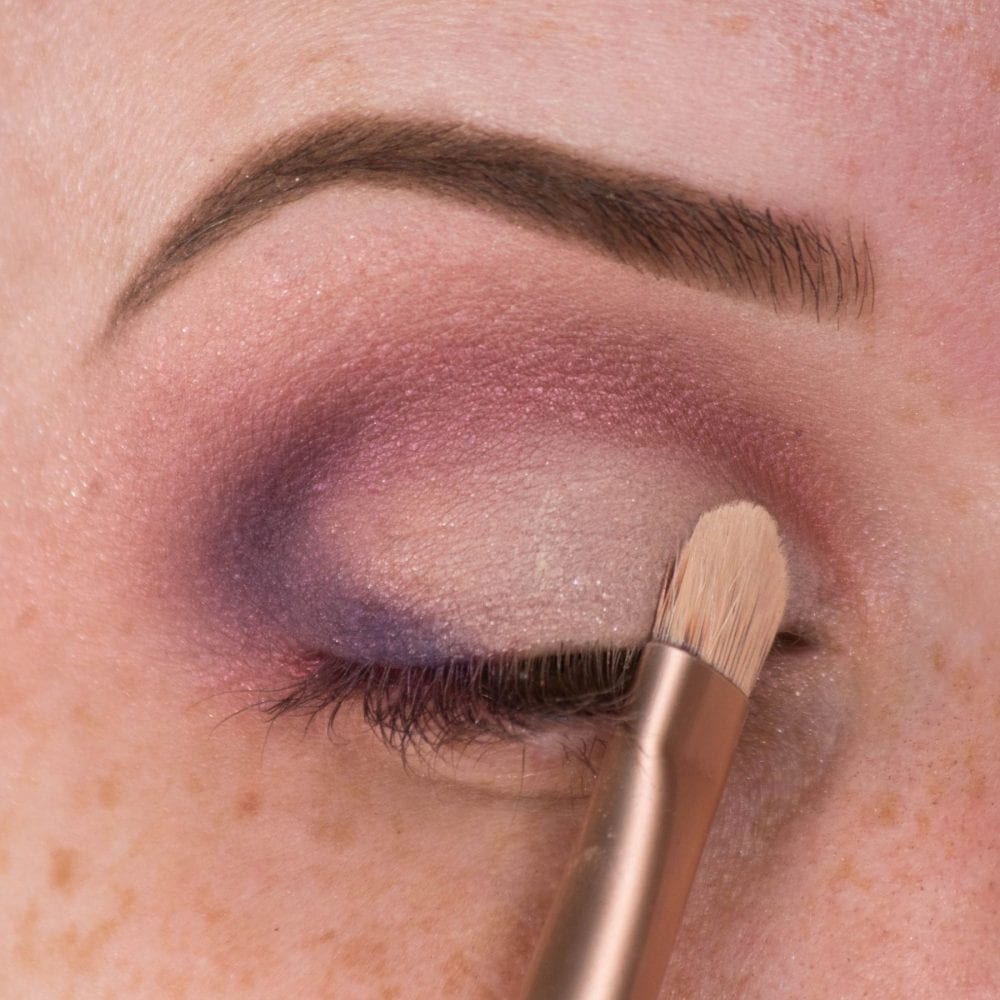
As we are not doing a clean cut crease, use your finger after to soften and diffuse the concealer so as not to have too sharp of a line. You may also go back in with the same eyeshadow blending brush from the last step. This is used in order to soften the crease and add a bit more pigment before the next step.
Step 7: Apply a shimmery shadow
Using a flat brush, apply the shimmery shadow to one side of your brush. Then take a setting spray and spritz the brush. The setting spray works to wet the product slightly so as to achieve the highest shine. This step only works with shimmery or pearl shadows.
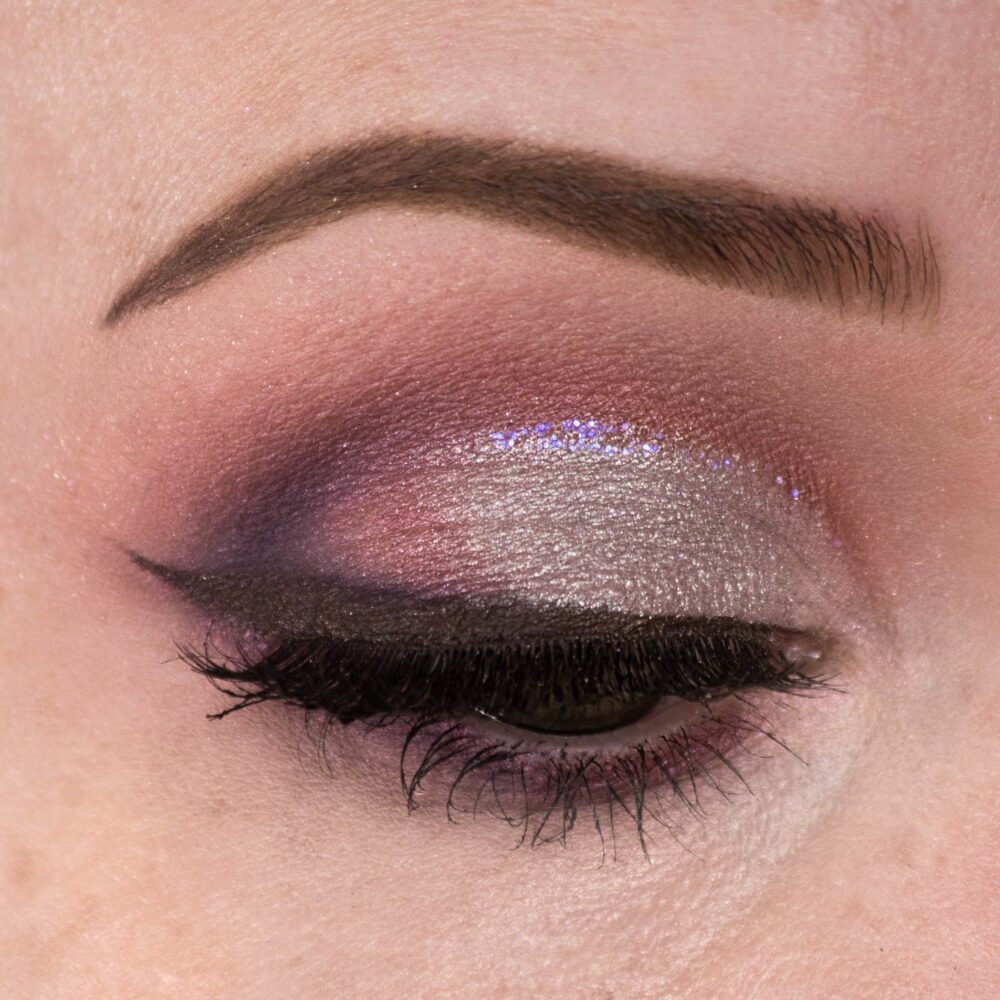
Apply the shimmery lilac/silvery shadow across the whole eyelid.
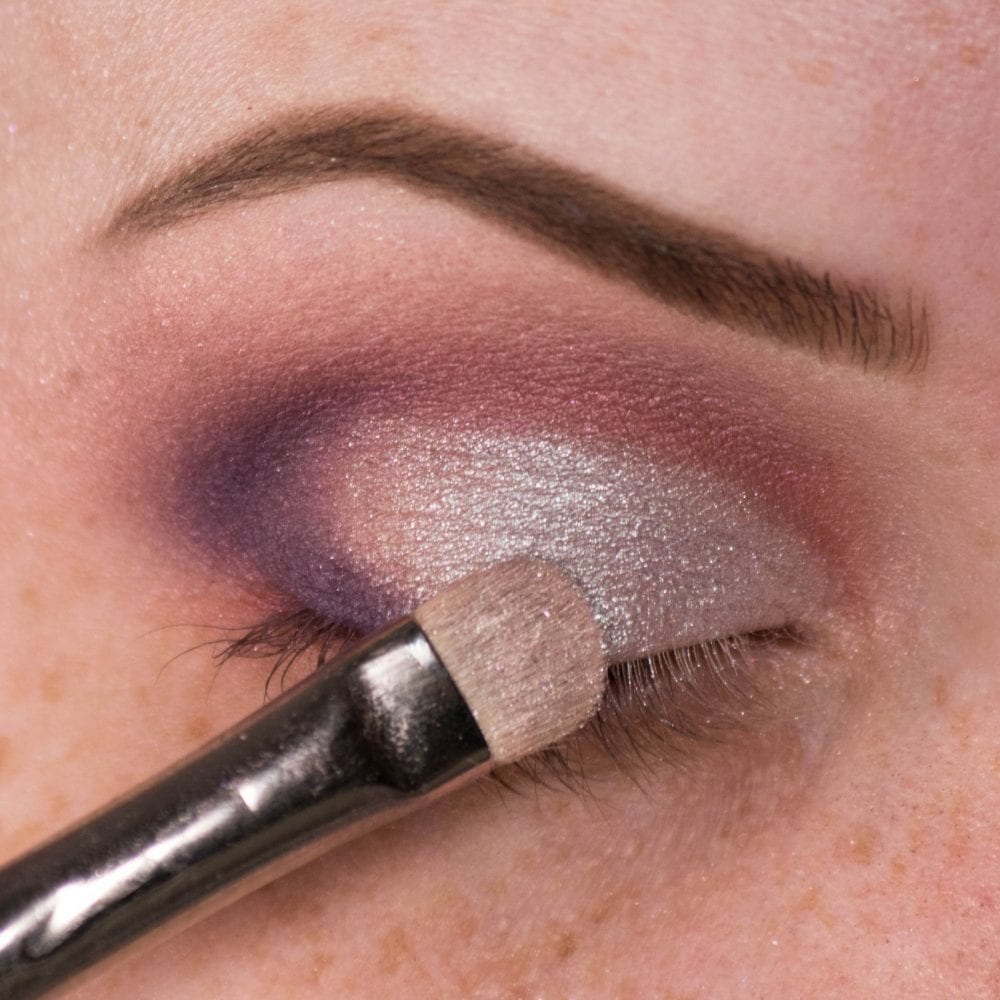
After applying the silver, go back into the maroon shade and add a little to marry the silver with the purple on the crease. After, use the same brush to lightly tap over the border of where the two shadows meet in order to blend their edges together.

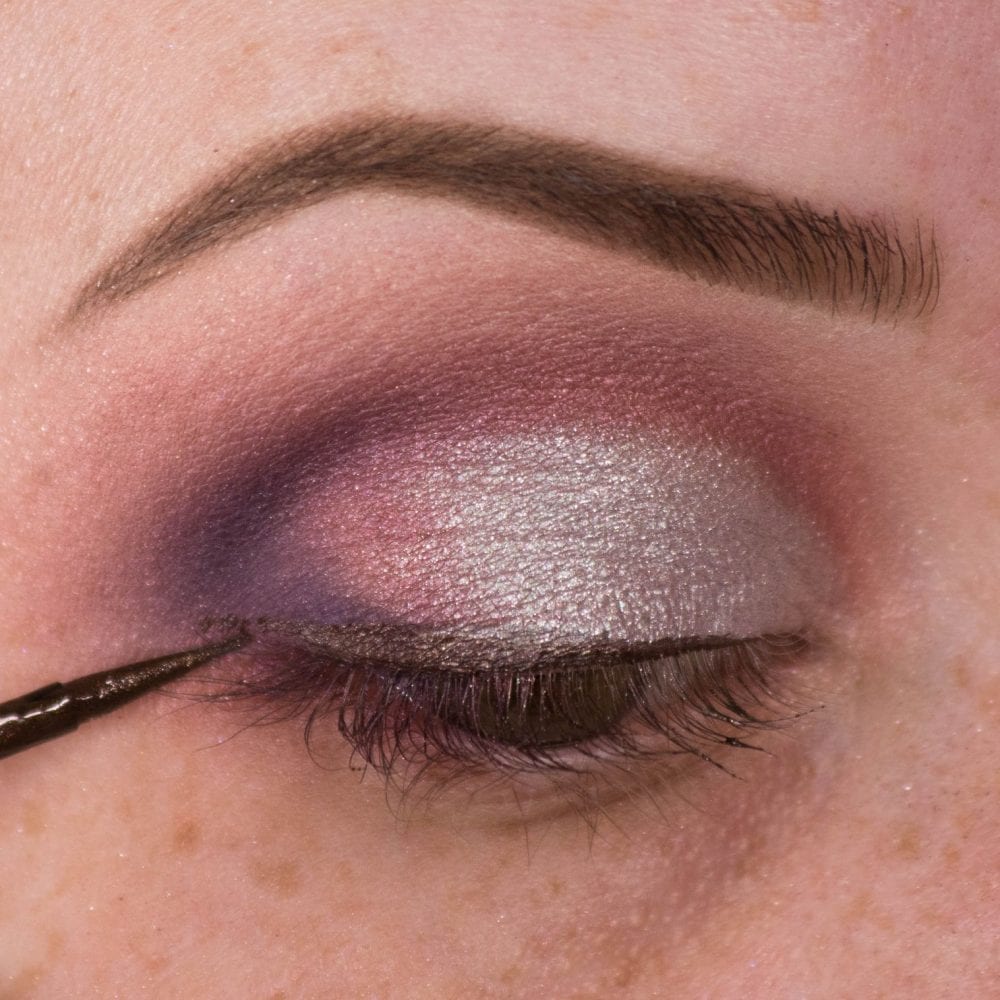
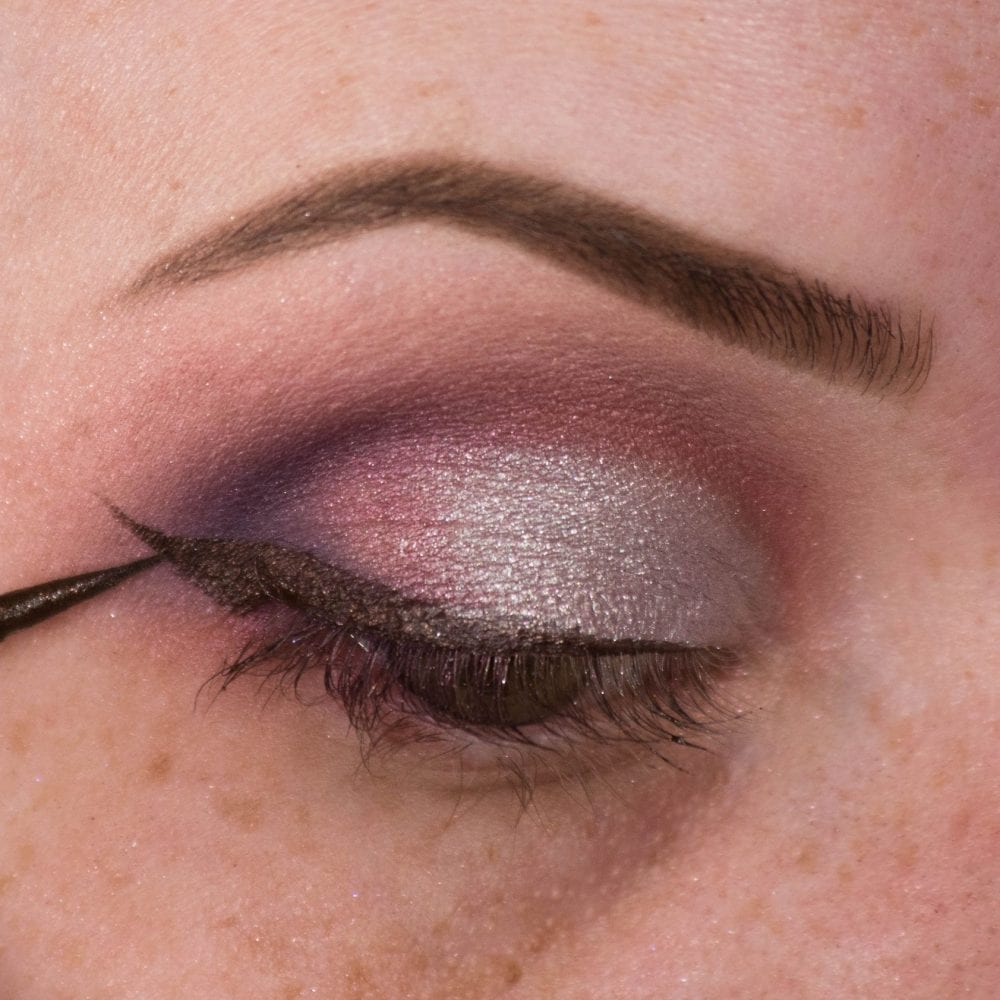
Step 8: Line your eyes
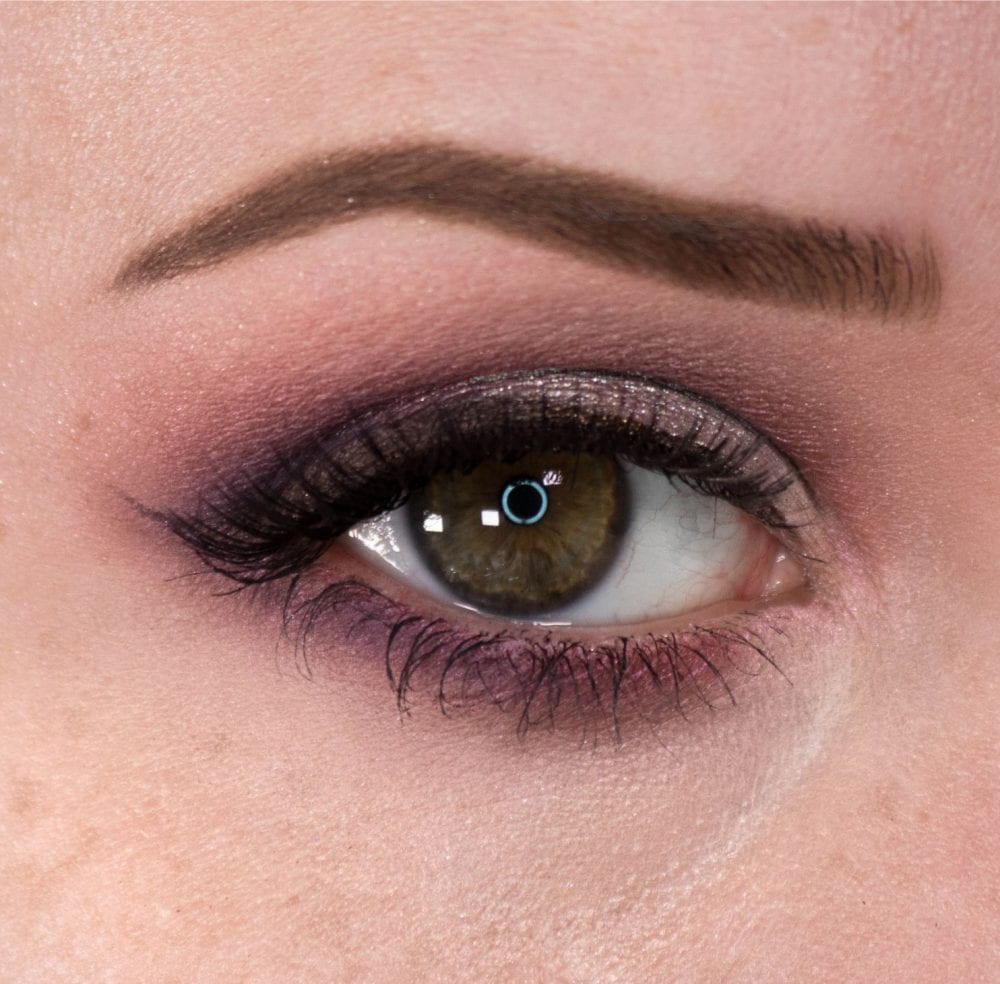
Using the liner of your choice, line the upper lid. Focus on starting on the outer corner and lightly work your way in. The reason I say this is because the first line we draw is always the thickest. We want to ensure that the liner towards the inner corner of the eye is nice and thin so as not to close up the eyes and take up valuable lid space.
I opted for a winged eyeliner using a shimmery brown liquid liner. I also always opt for long-wearing and waterproof formulations as you can never be too safe.
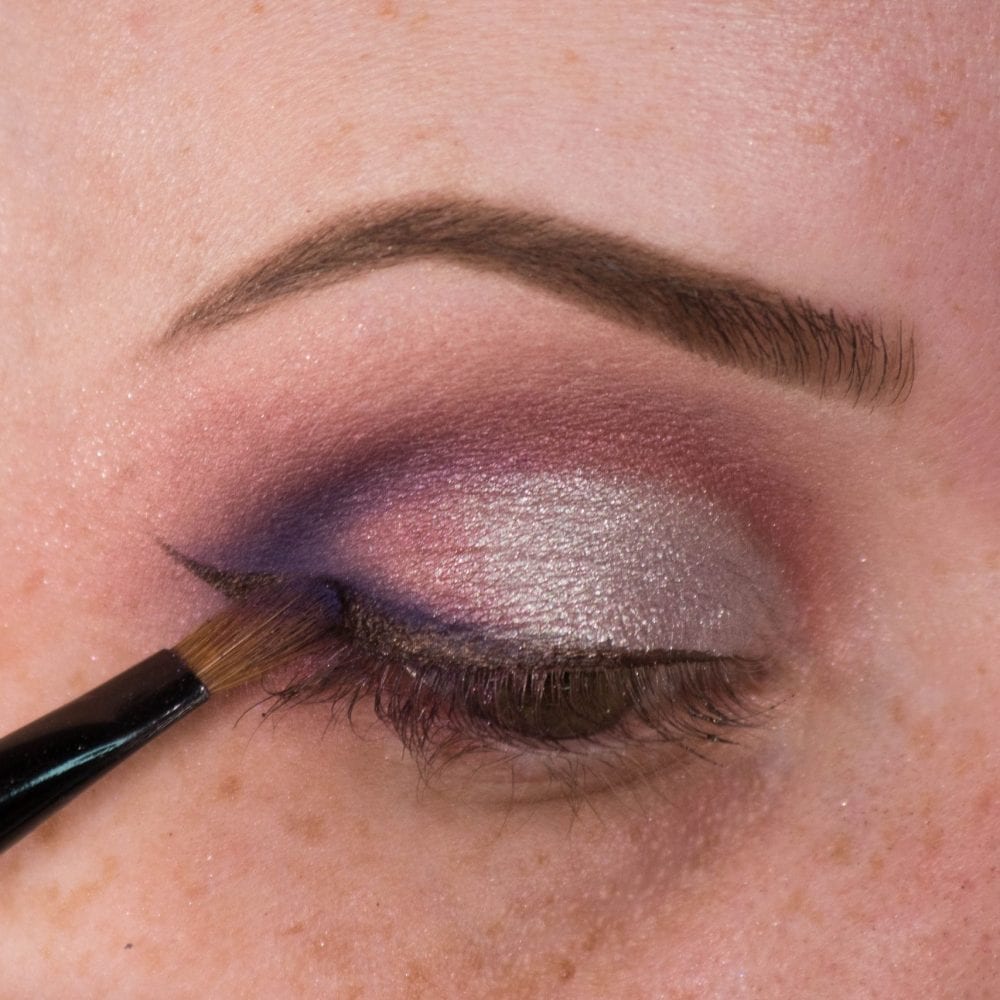
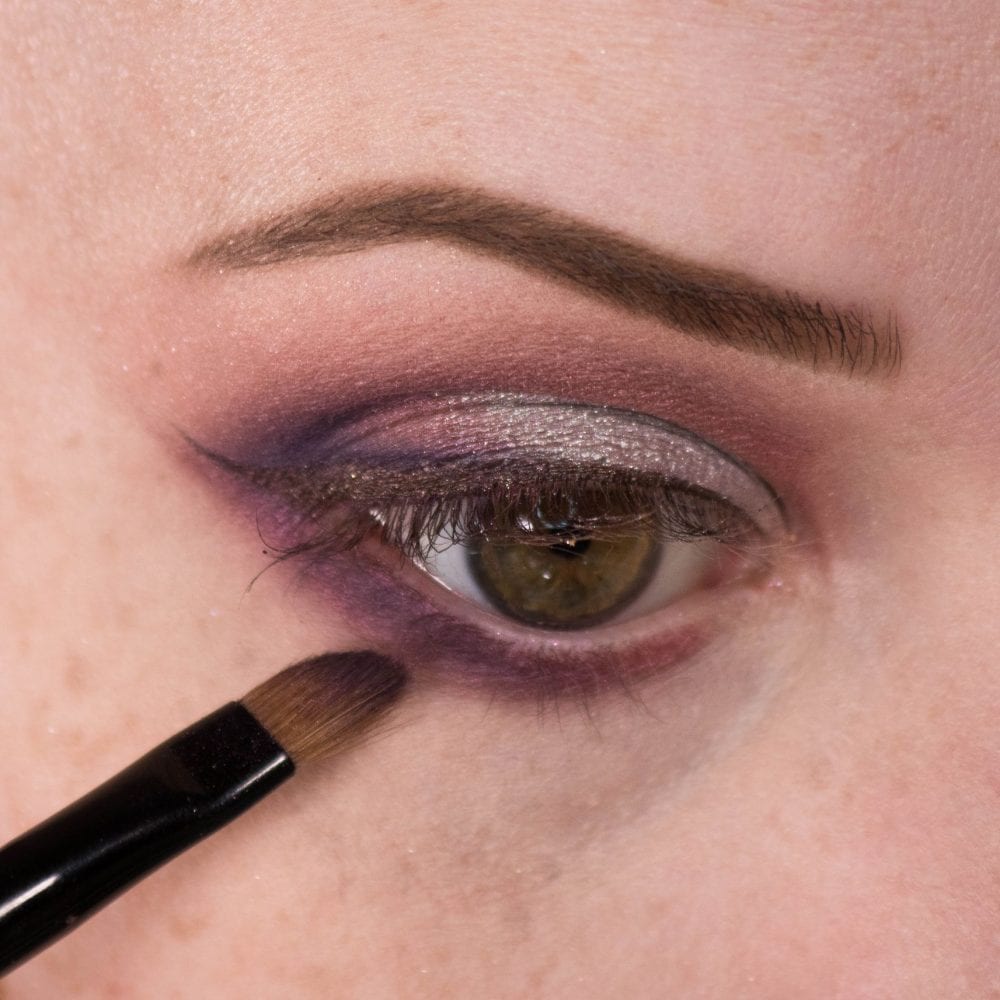
Step 8: Soften eyeliner
Using a small angled brush, take the dark purple shadow used in the crease to soften the eyeliner and to deepen the crease.
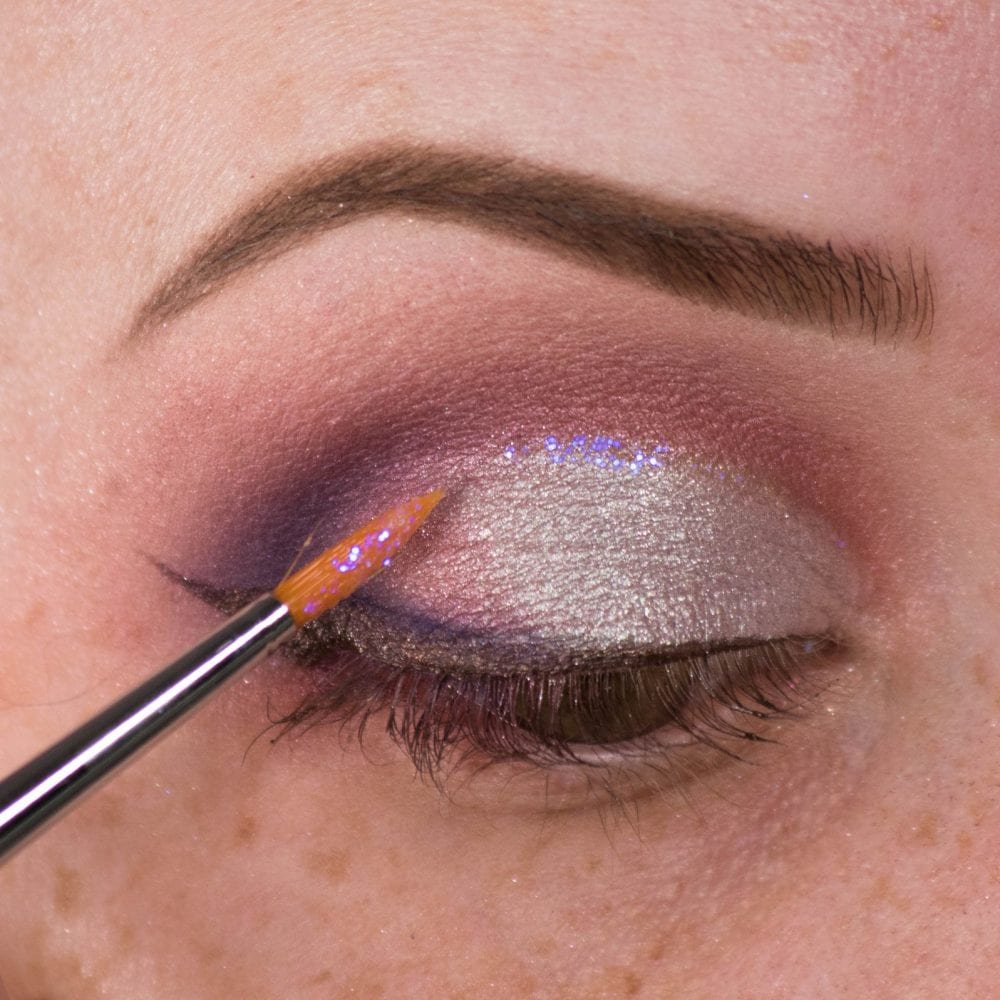
Step 9: Throw some glitter on it
This next step isn’t necessary, but fun none-the-less. Using a thin liner brush take a little liquid glitter and add it to the tip of the crease where the silver and the maroon shades meet. If you having an evening reception, this bit will really catch the lights nicely for that added bit of “fairy tale.”
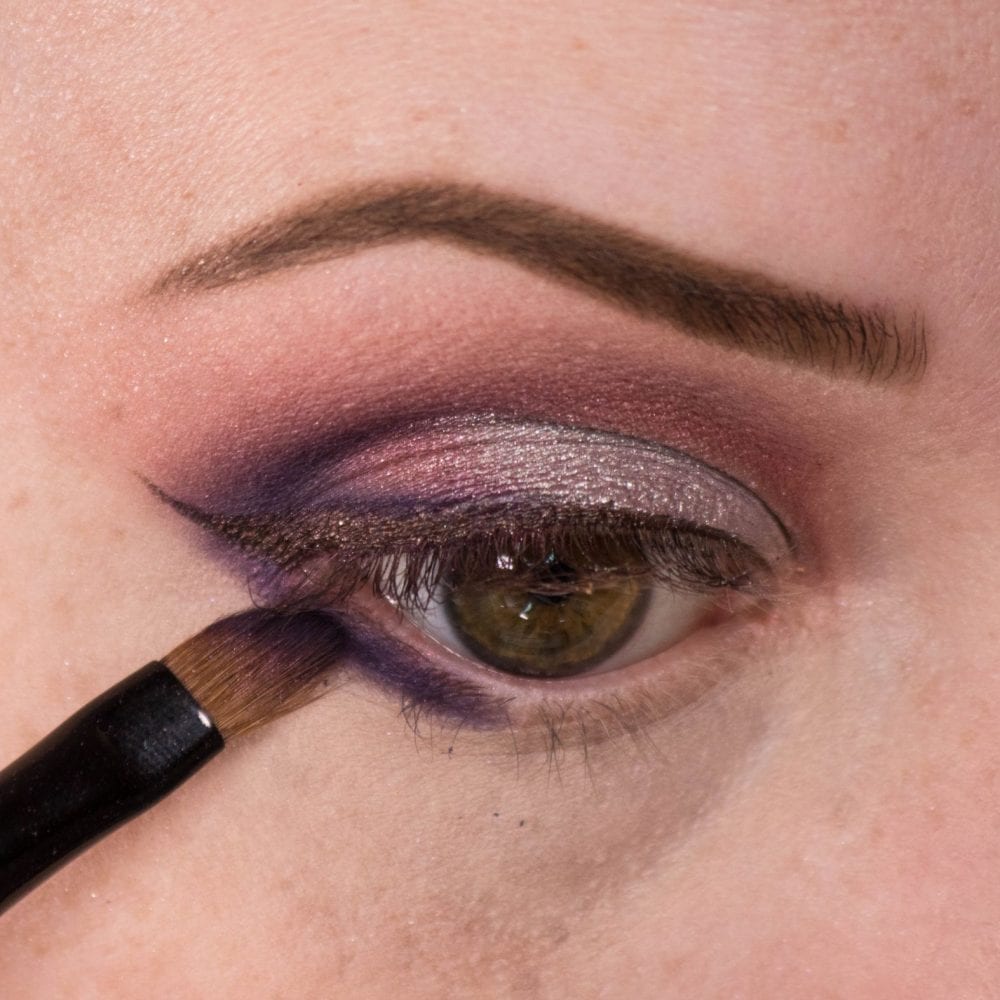
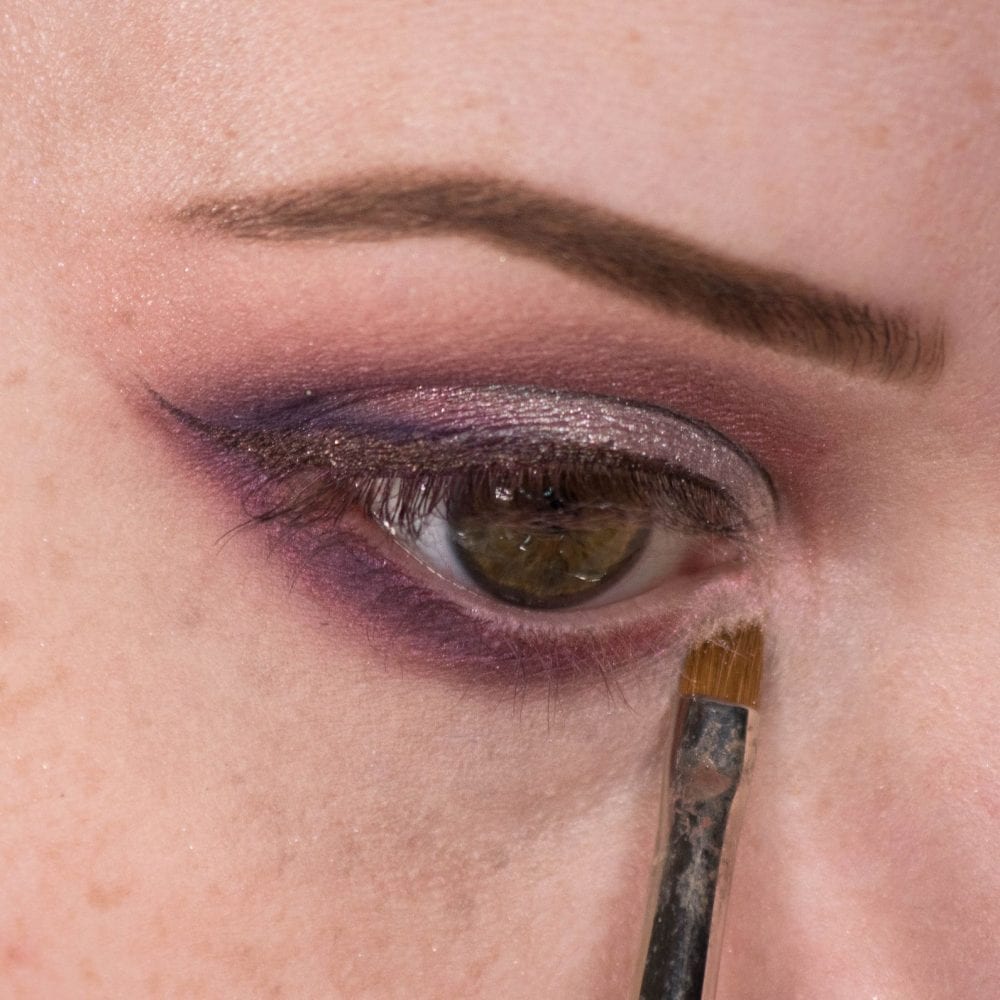
Step 10: Smoke out the bottom lashline
Starting with the dark purple shadow and a small brush, begin to define the lower lashline. Then taking that same brush and the maroon shade, blend and smoke out.
Step 11: highlight the tear duct
Using a small dense brush and a light shimmery pink highlighting shadow, apply a small amount of color to the tear duct to help brighten and open up the eye.
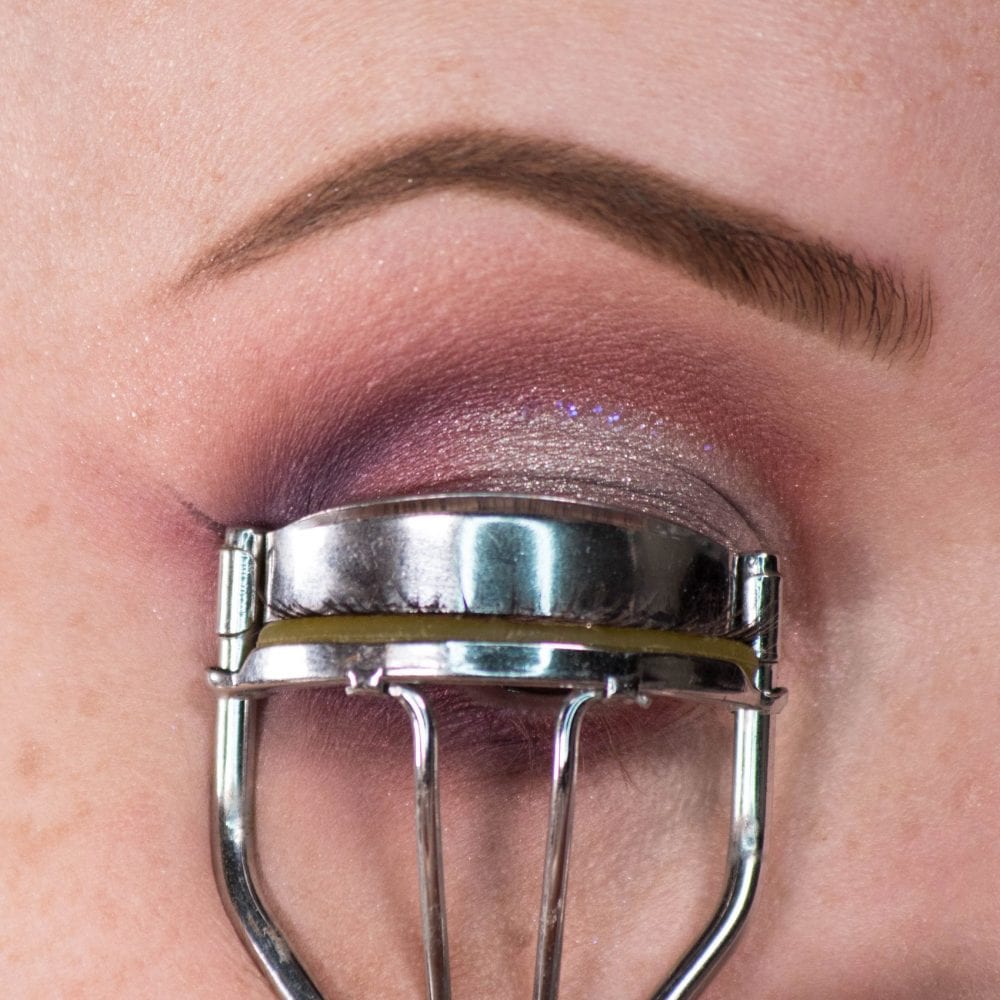
Step 12: Apply eyelashes
This is everyone’s favorite step (not!). Apply a light layer of glue across the band. Wait a couple of seconds (maybe 30) for the glue to get tacky. Then, taking a pair of tweezers, apply the lashes starting at the center of the eyelid. Then pull and tuck the inner and outer corners in order to secure the band to the eyelid.

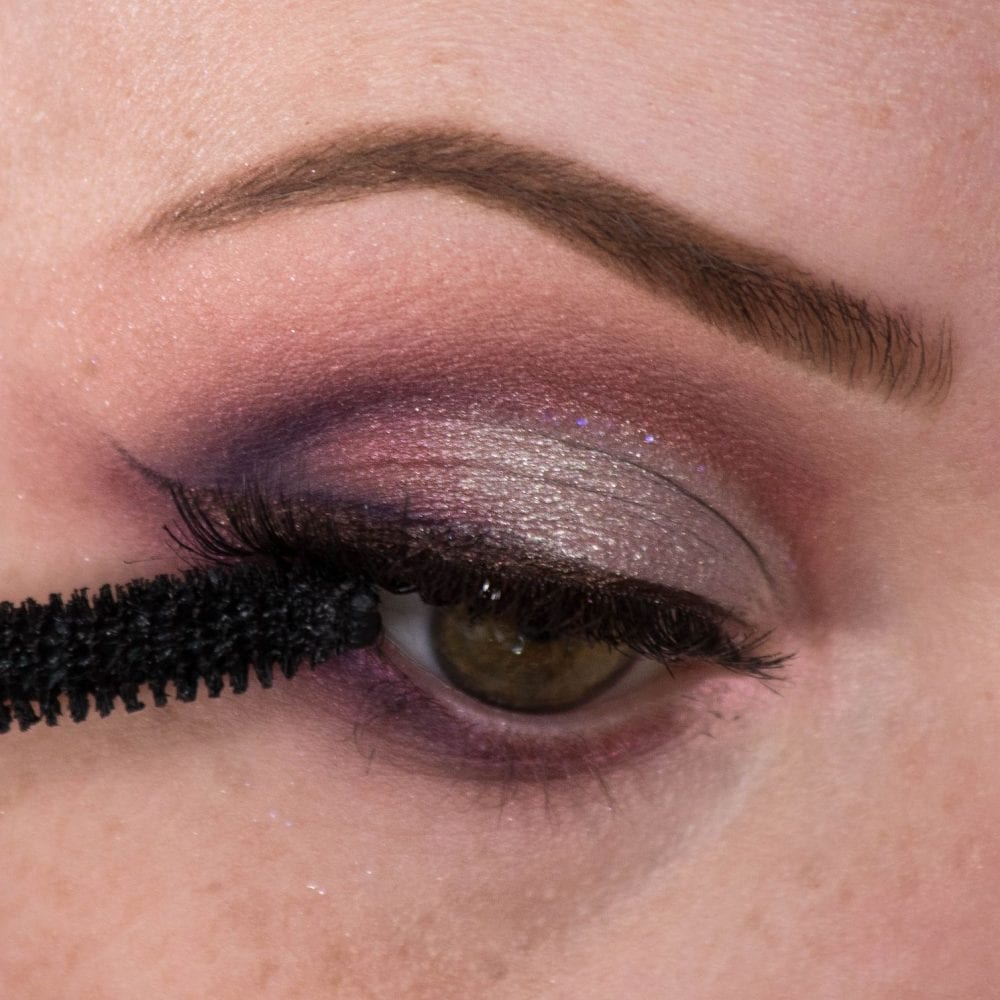
Once you feel like the lashes are secure, take your eyelash curler and curl your natural lashes with the falsies and apply mascara.
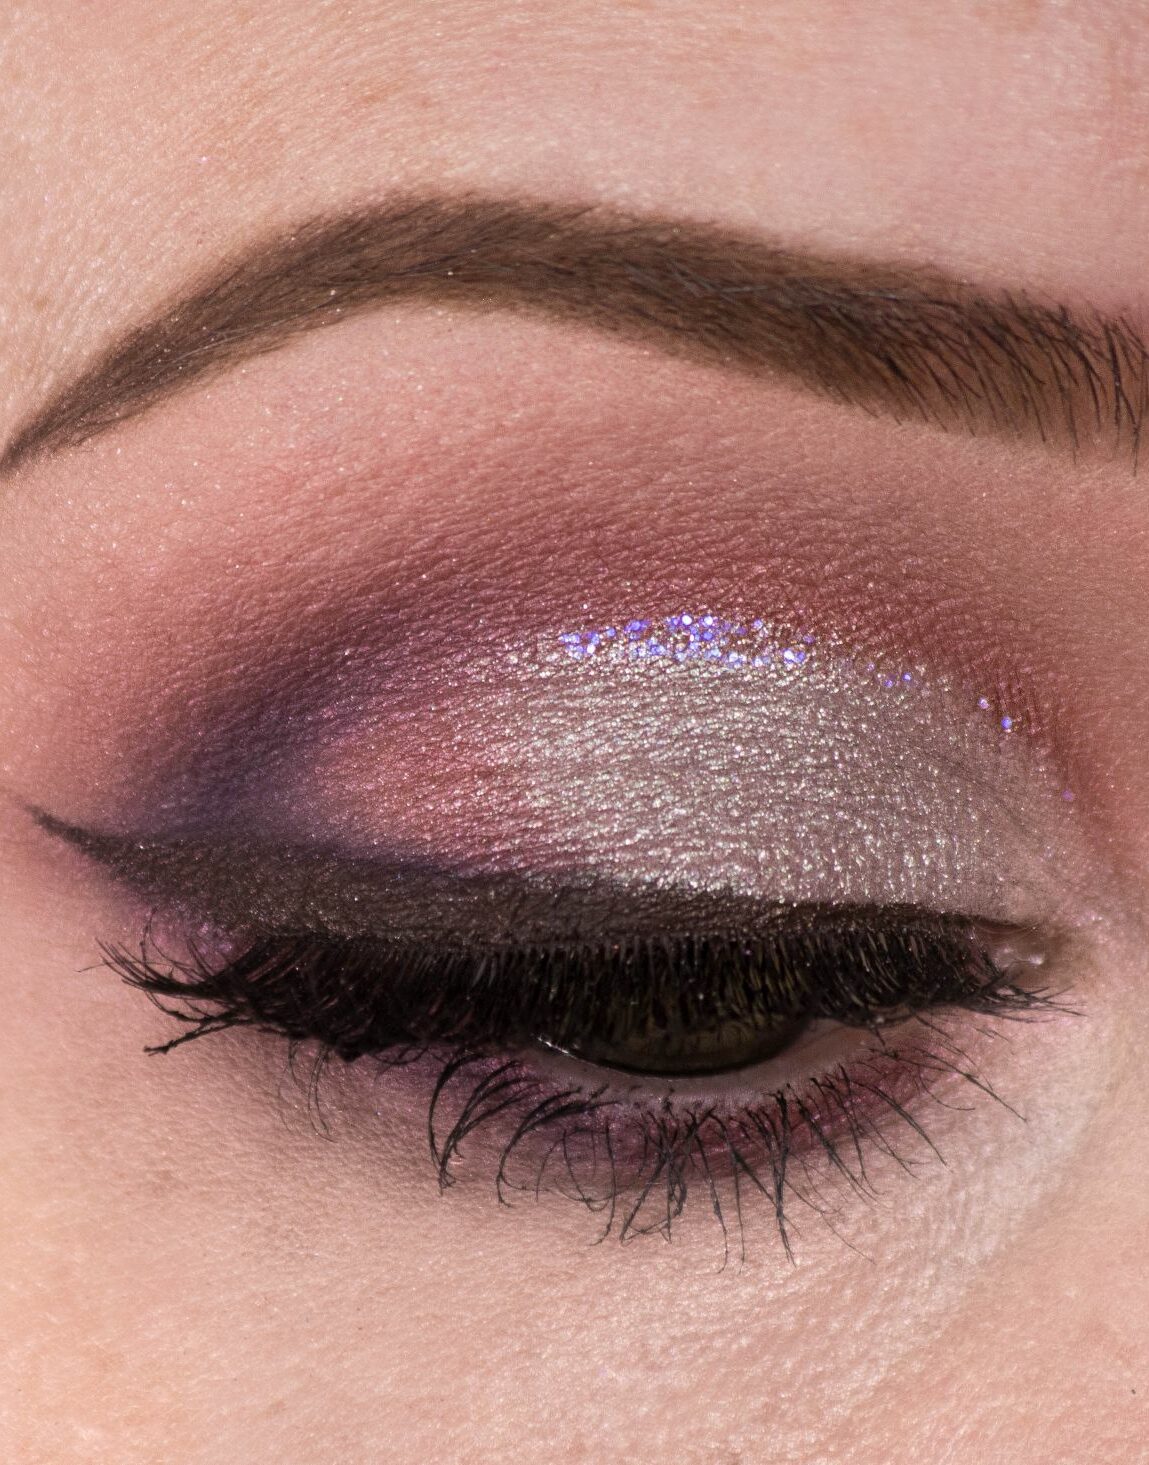
Step 12: the final result!
That’s all there is to it! Now, take a step back to make sure you don’t need to add more mascara or a little more blending around the edges. Ensure that your eyes at least look like “sisters,” and you are done, son!
Just don’t forget, the key to any beautiful makeup is allowing yourself the time to create it. If you are planning on recreating this look for a special occasion be sure to practice ahead of time and to leave yourself plenty of time to play on the day. Good luck girl, you got this!