
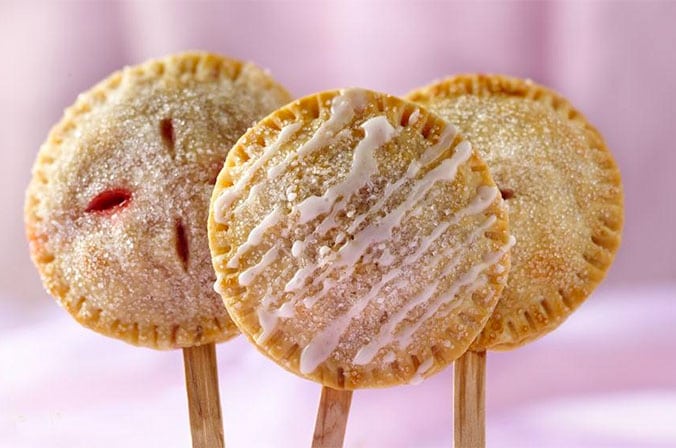
Edible favors are always a popular choice for weddings, and lately, I’ve been seeing a lot of deliciously sweet pie pop favors! The lovely folks at Pillsbury® were kind enough to share their recipe for making your own pie pop favors, so enjoy!
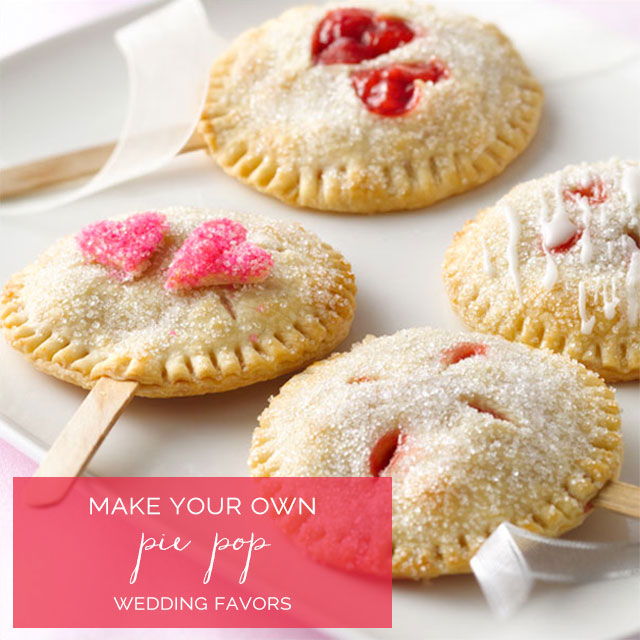
Learn to make pie pop wedding favors
Materials Needed (Makes 8 Pie Pop Favors)
- 3/4 cup frozen strawberries, thawed, chopped, drained, juice reserved
- 1/3 cup granulated sugar
- 2 teaspoons cornstarch
- 1 cup frozen chopped rhubarb, thawed
- 1 box Pillsbury® refrigerated pie crusts, softened as directed on box
- 8 craft sticks (flat wooden sticks with round ends)
- 1 egg white, beaten
- 1 teaspoon sugar
- 1/3 cup powdered sugar, if desired for drizzle
- 2 to 3 teaspoons milk, if desired for drizzle
- 3 1/2-inch round cutter
- Food safe plastic wrap (optional)
- Fabric, ribbons and a variety of adornments for decorating (optional)
- Perfect Apple Pie
- Chocolate-Strawberry Pie
- Peach Pie
- White Chocolate-Raspberry Pie
- Pecan-Pumpkin Pie
Step 1: The dough
Pillsbury® Refrigerated Pie Crusts make pie baking a snap – just unroll, fill and bake!
Step 2: The filling
In a bowl, place reserved strawberry juice. In another bowl, mix 1/3 cup granulated sugar and the cornstarch; using whisk, beat into reserved strawberry juice. Stir in strawberries and rhubarb. If desired, replace the strawberry-rhubarb filling with 1 cup of your favorite canned pie filling – cherry, blueberry, apple or a variety! For inspiration, visit Pillsbury.com for hundreds of delicious pie recipes, or check these ideas out:
Step 3: Unroll, cut and fill
Remove pie crusts from pouches; unroll on work surface. Using a 3 1/2-inch round cutter, cut out 16 rounds (8 rounds per crust). Place 8 rounds on ungreased cookie sheet. Spoon strawberry-rhubarb mixture evenly onto each round to within 1/2 inch of edge. Place 1 craft stick in filling of each.
Step 4: Top off the Pops
Flatten remaining rounds to 4 inches in diameter. Brush underside of each round with egg white; place over fruit. Press edges together; seal with fork. Cut small slit on top of each. Brush tops with egg white; sprinkle with 1 teaspoon sugar, dividing evenly among pops.
Step 5: Bake
Bake at 450°F for 10 to 13 minutes or until golden brown. Remove from cookie sheet to cooling rack; cool 10 minutes before serving.
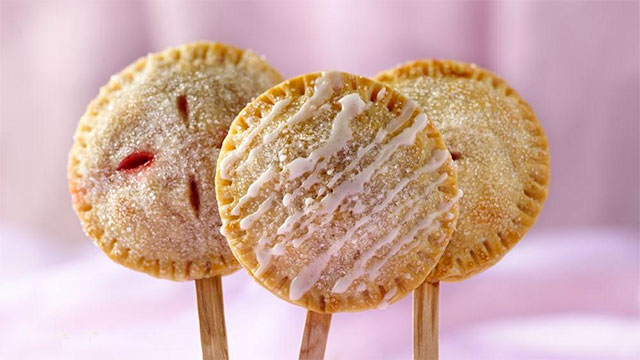
Step 6: Drizzle
Mix powdered sugar and milk until smooth, adding milk until thin enough to drizzle. Drizzle over pops and let stand until set, about 30 minutes.
Step 7: Decorate
Once cooled, decorate with fabric, ribbon, personalized hang tags or any other special touches you can dream up and place in food-safe plastic wrap to keep fresh.
Step 8: Enjoy!
Give as favors at your wedding, your cousin’s bridal shower, your sister’s engagement dinner, your friend’s bachelorette party or any other occasion that deserves a sweet little homemade thank-you. Just don’t expect any leftovers!
Recipes and photos courtesy of Pillsbury®.
Need help? Check out these products!
This post contains affiliate links. If you decide to make a purchase, Artfully Wed will receive a small commission for introducing you to a great brand or product. This doesn’t cost you anything extra, but it helps to support Artfully Wed and allows us to keep providing you with the best inspiration for style-conscious brides. Thanks for reading!
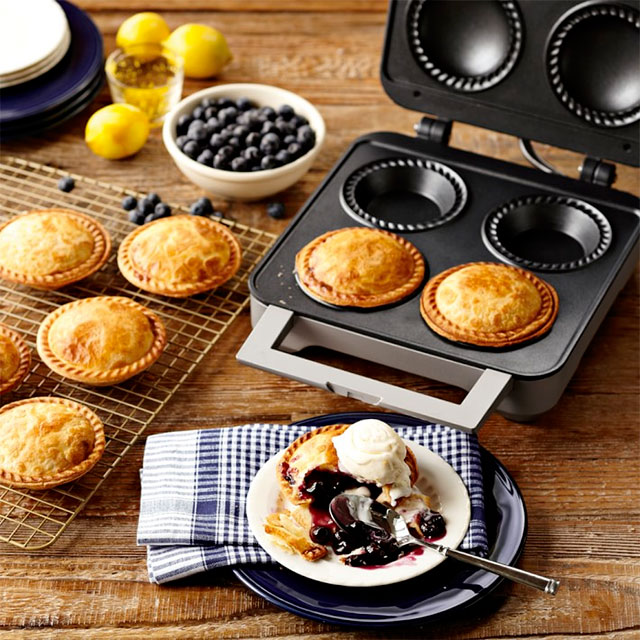
Chef’s Choice Petite Pie Maker
– via Sur La Table
![]()
Handstamped Chevron Treat Sticks
– via Pink Lemonade Party Shop on Etsy