
Listen, Ladies, 2019 is the age of the educated consumer. With the abundance of beauty blogs, Pinterest articles, and youtube tutorials, more and more women are turning to the online beauty community for advice and instruction.
With this, more brides are going DIY on their big day, and why not? Who else knows your face better than you do!
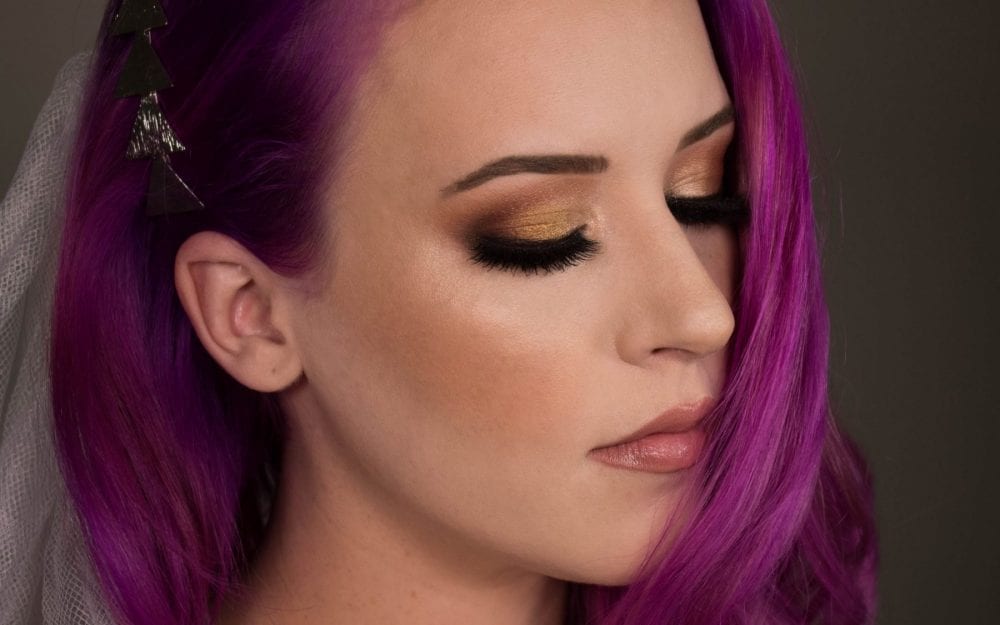
So today I’m going to give you this step by step guide on how to achieve your dream smokey eye, perfect for your wedding day.
Step 1: Prep for Eye Shadow
Start with a clean eyelid. I went ahead and did my complexion makeup and used a light translucent powder packed under my eyes to help catch any eyeshadow particles that could fall under the eye. Alternatively, you can do your eyes first and then follow with your foundation.
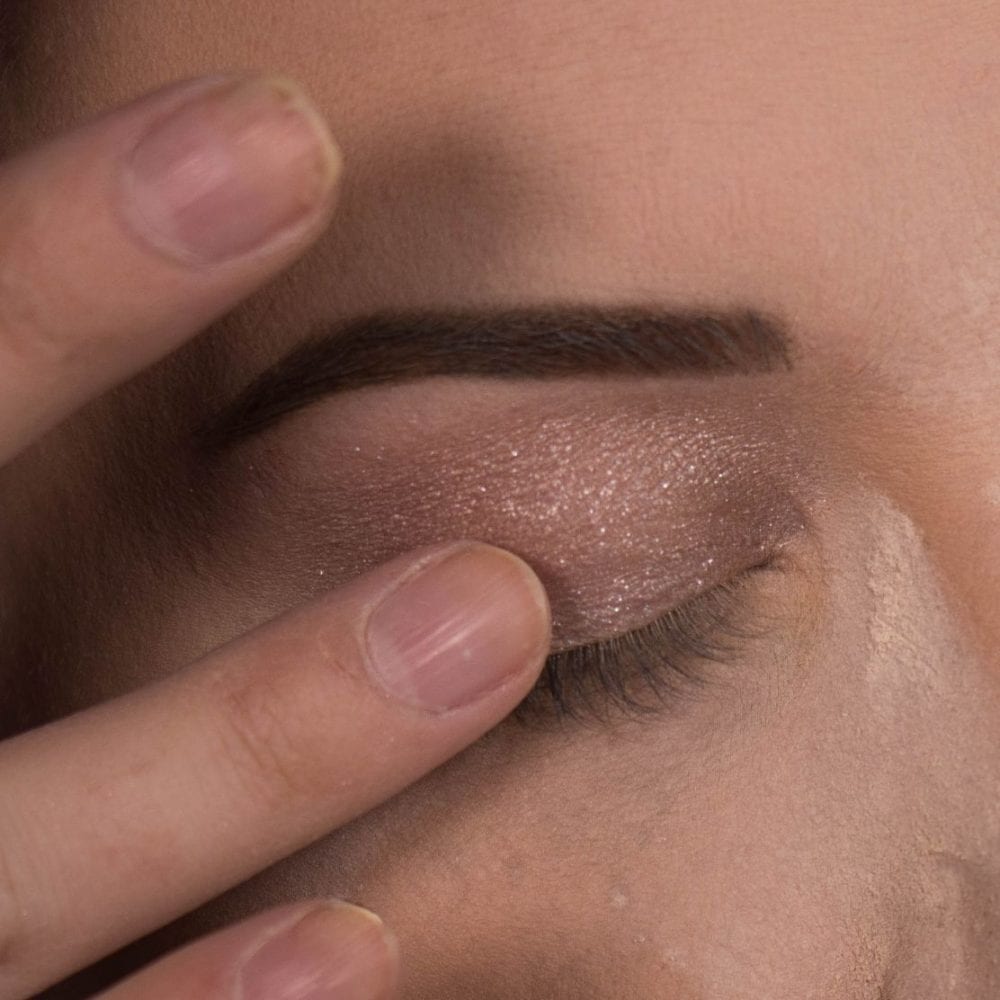
Step 2: Prime Your Eyelids
Prime your lids. In this example, I used MAC paintpot in Vintage selection. Depending on your age and skin type you may opt for something more matte.
The best trick for this is to apply the majority of the product on the lid and blending whatever is left over up towards the eyebrow. I used a dome-shaped brush. But fingers works fine too. Just be ensure your base is applied evenly. This is to ensure everything lasts all day long and doesn’t fade.

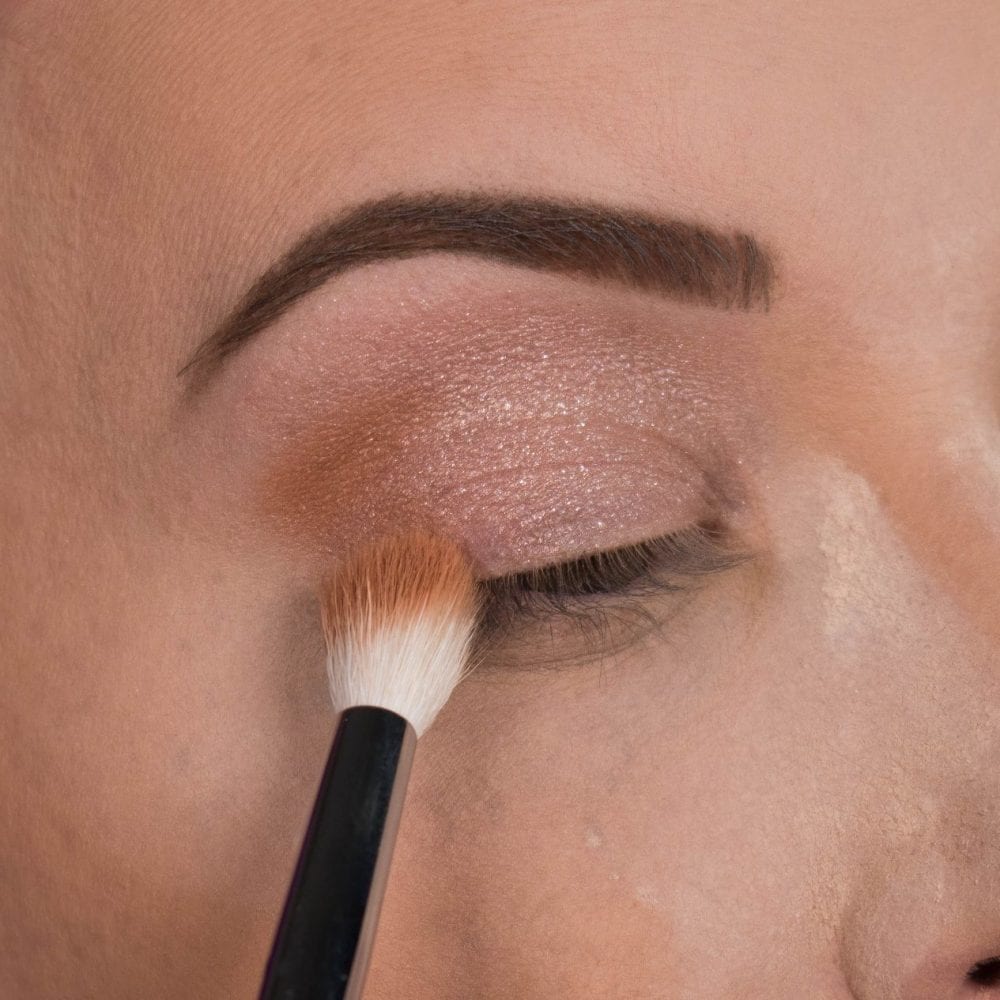
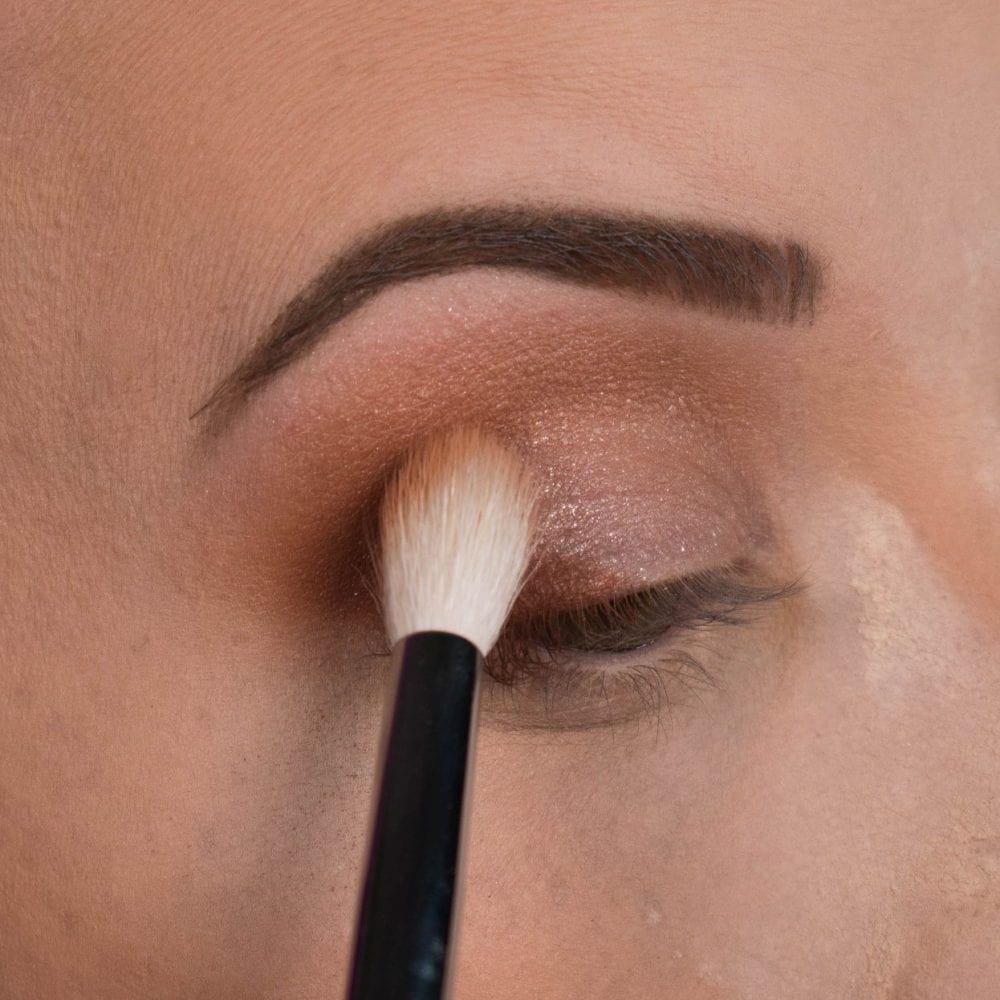
Step 3: Begin Applying Color
Using a fluffy brush, pick up a mid-toned brown and begin to tap the color on the outer V or “crease.” Start with a little, as less is more! Many artists prefer the windshield wiper motion when blending, but, I find by tapping you get a cleaner blend. When the majority of the pigment is in the outer corner, begin to blend remaining shadow along the crease towards the inner side of the eye.
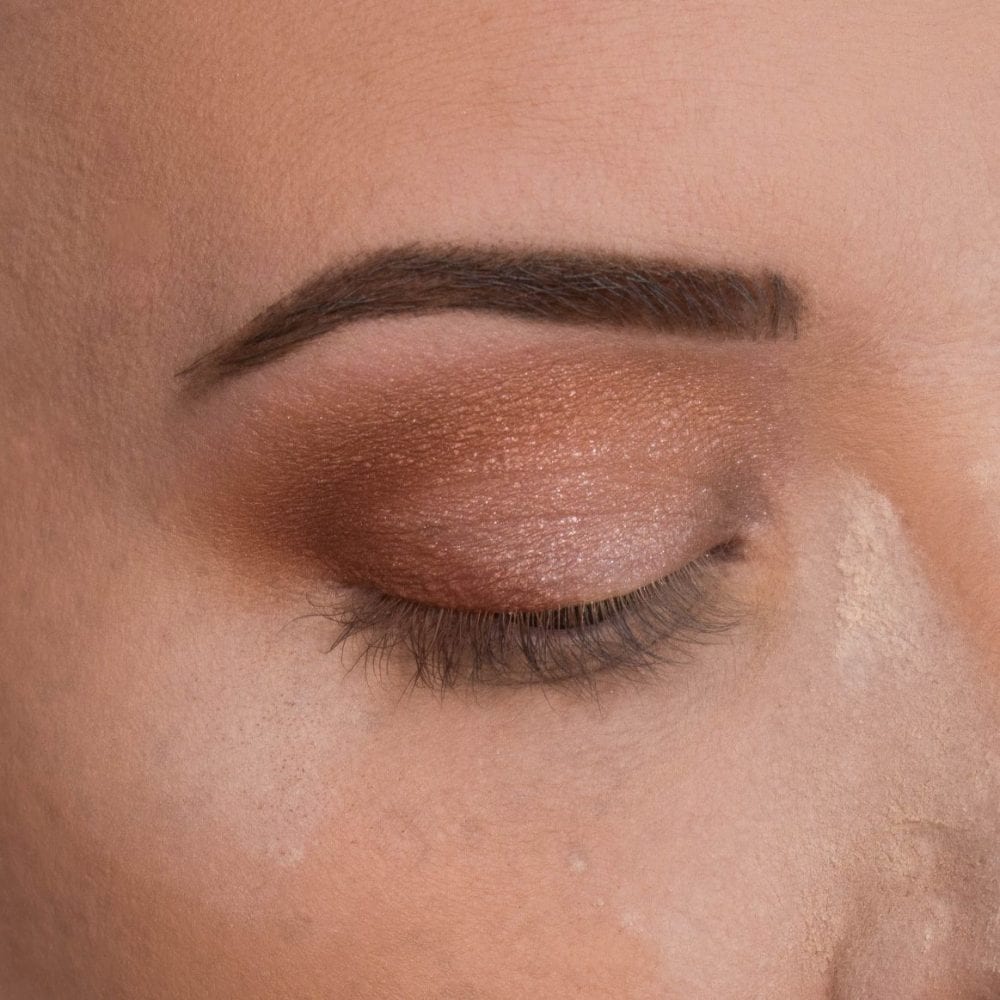
After working the first shadow in, take a clean blending brush to soften the edges. We want to be creating a “beige rainbow” of sorts.
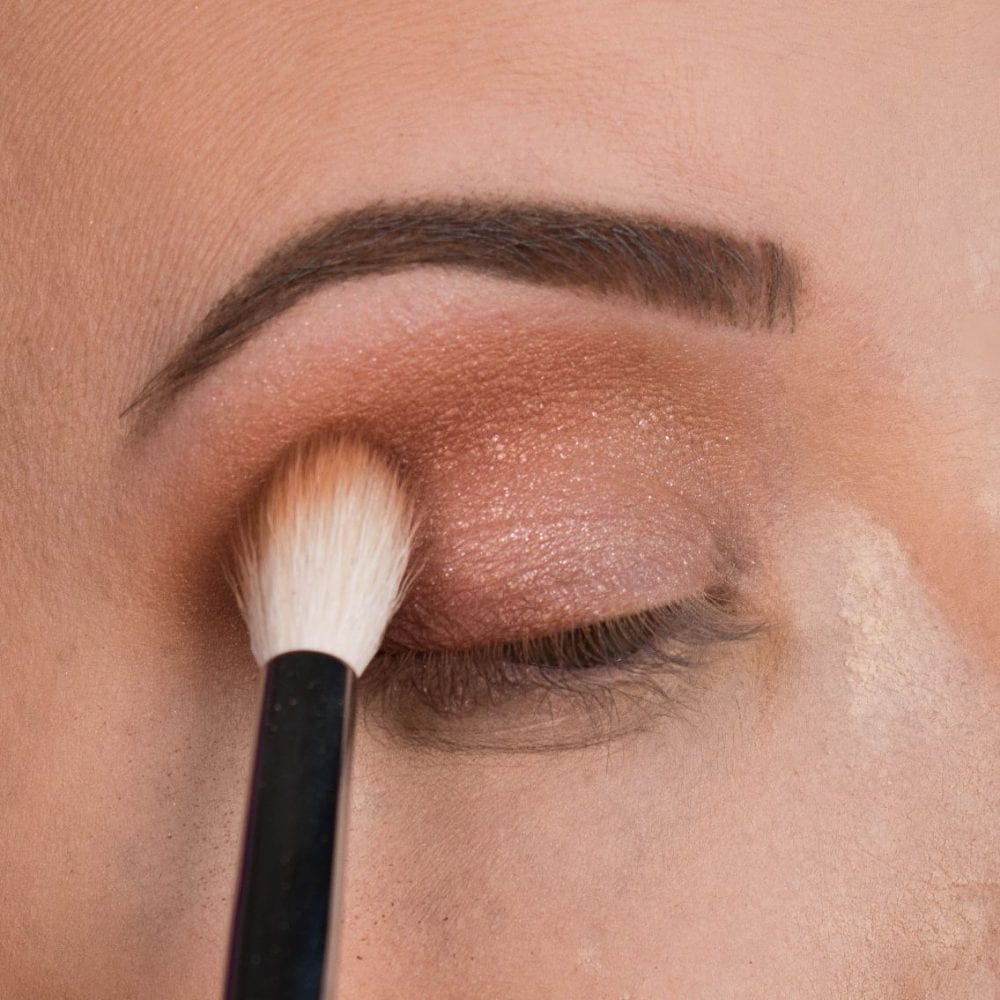
Step 4: Refine Your Application
Next, take a smaller brush with a slightly darker warm-brown. Place it in the outer crease in a small V shape. It should look something like the following:
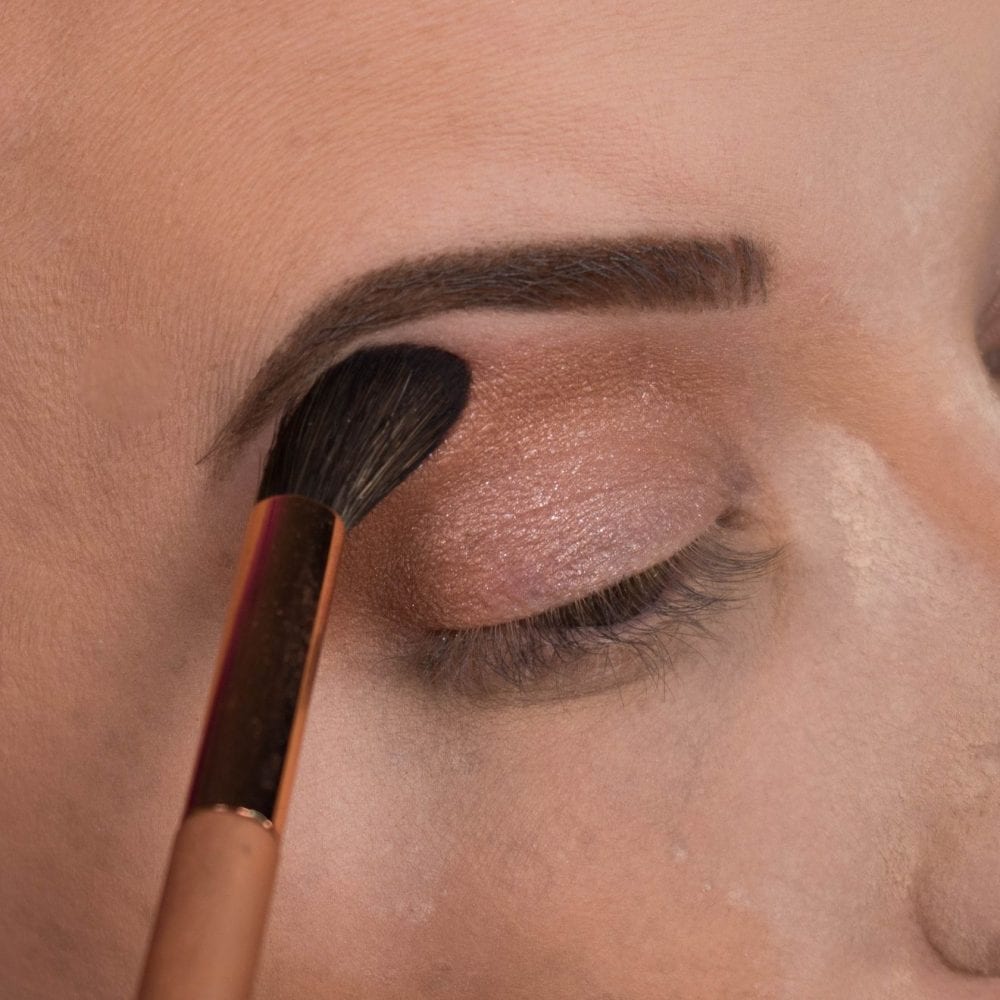
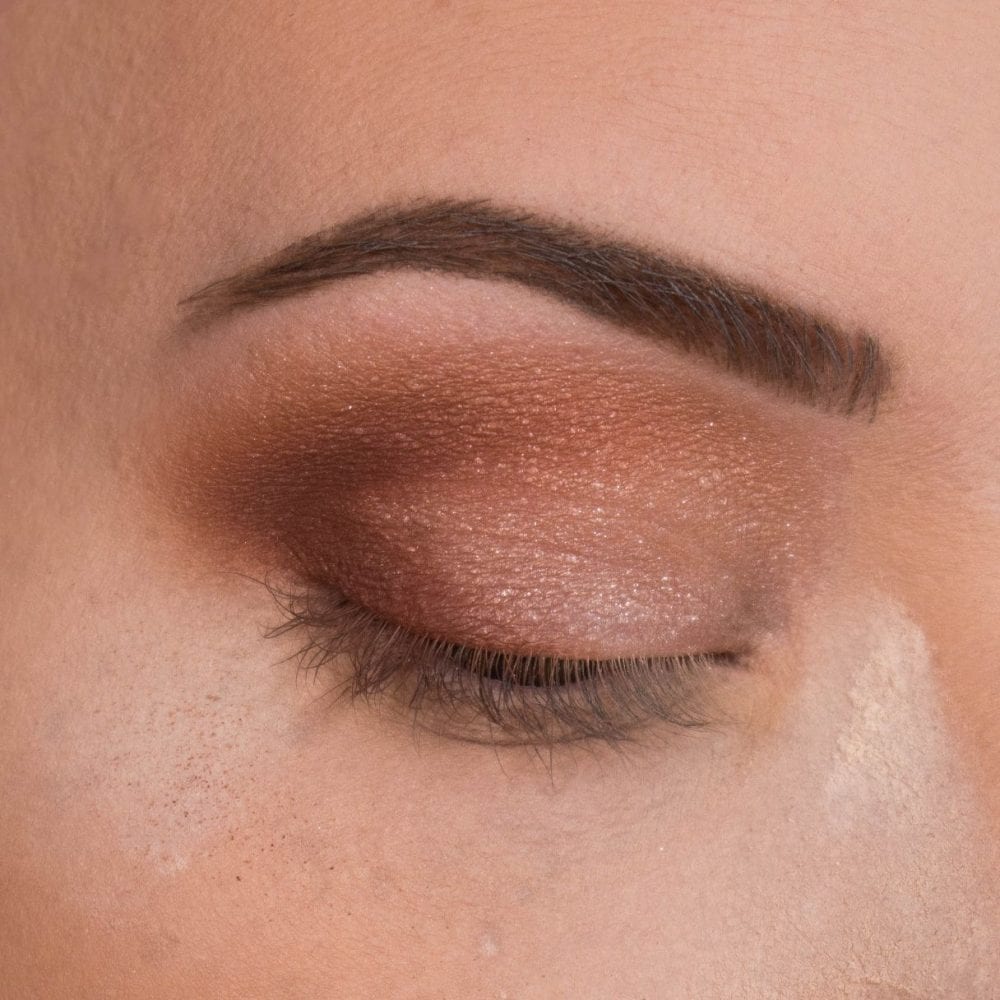
Step 5: Blend!
Take the original blending brush that you used to apply the first eye color and blend. Using a tapping motion soften the outer corner so that it lightly fades.
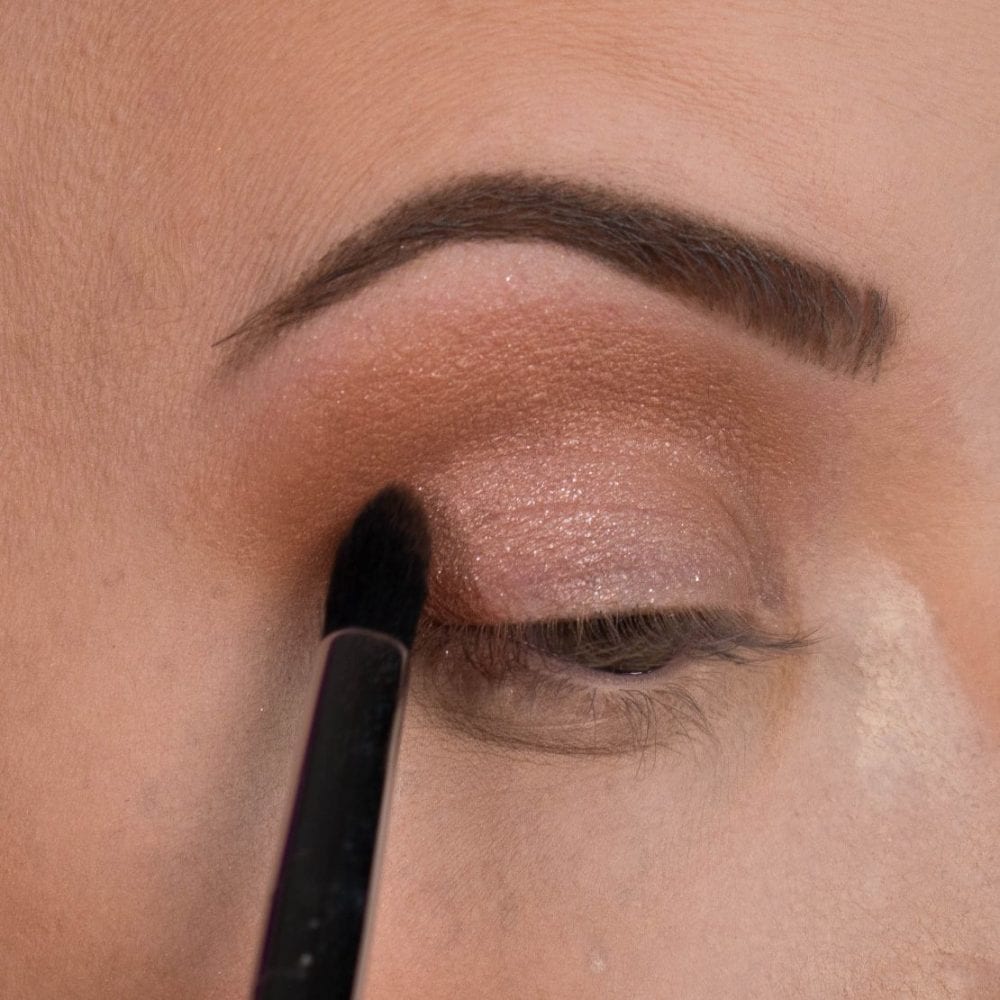
Step 6: Deepen Your Crease
(For the drama queens) Using a smaller denser brush to add a deeper shade of brown in a smaller V shape in the outer corner. It should look like this:

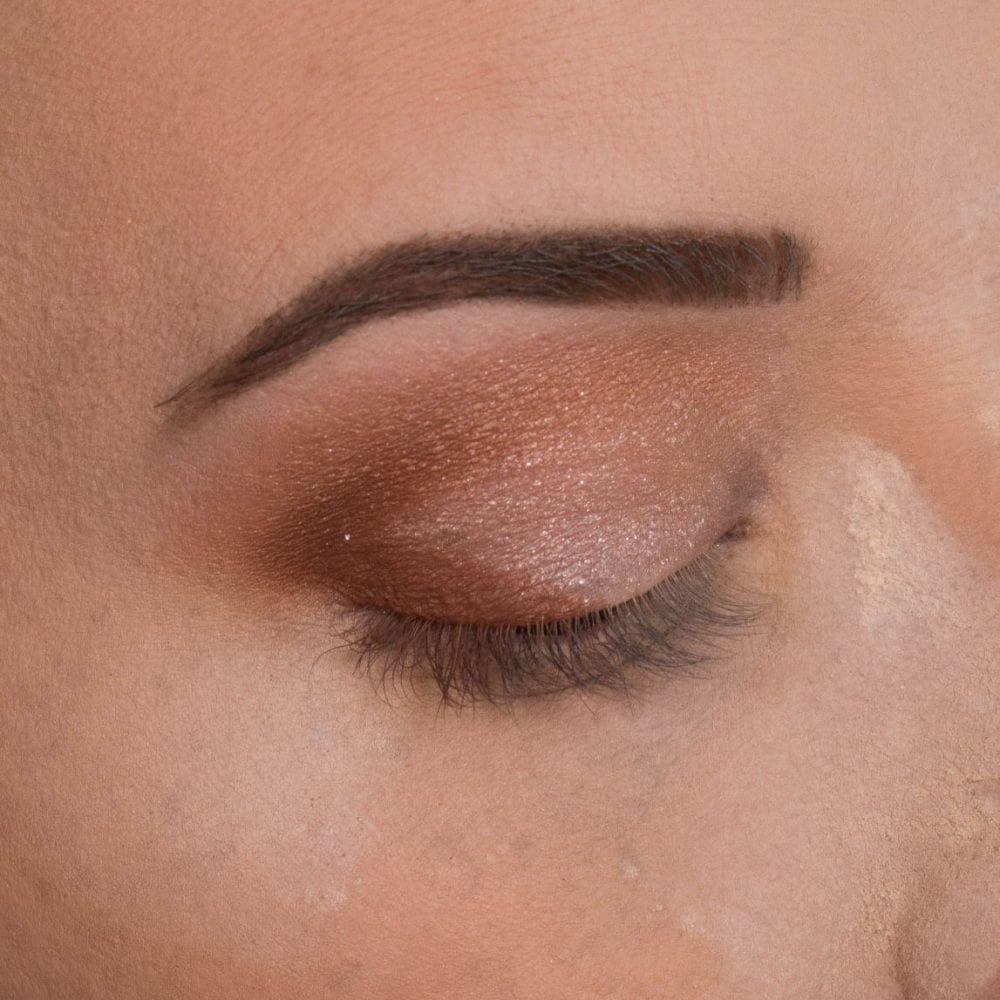
Step 7: More Blending!
Use that same original fluffy brush to blend the dark brown into the crease. Try to stay within the shape that you applied it when blending so as not to muddy the colors together. If you are concerned with losing pigment blend lightly and alternate in more of the darker shadow until you reach your desired smokiness. After blending it should look like this
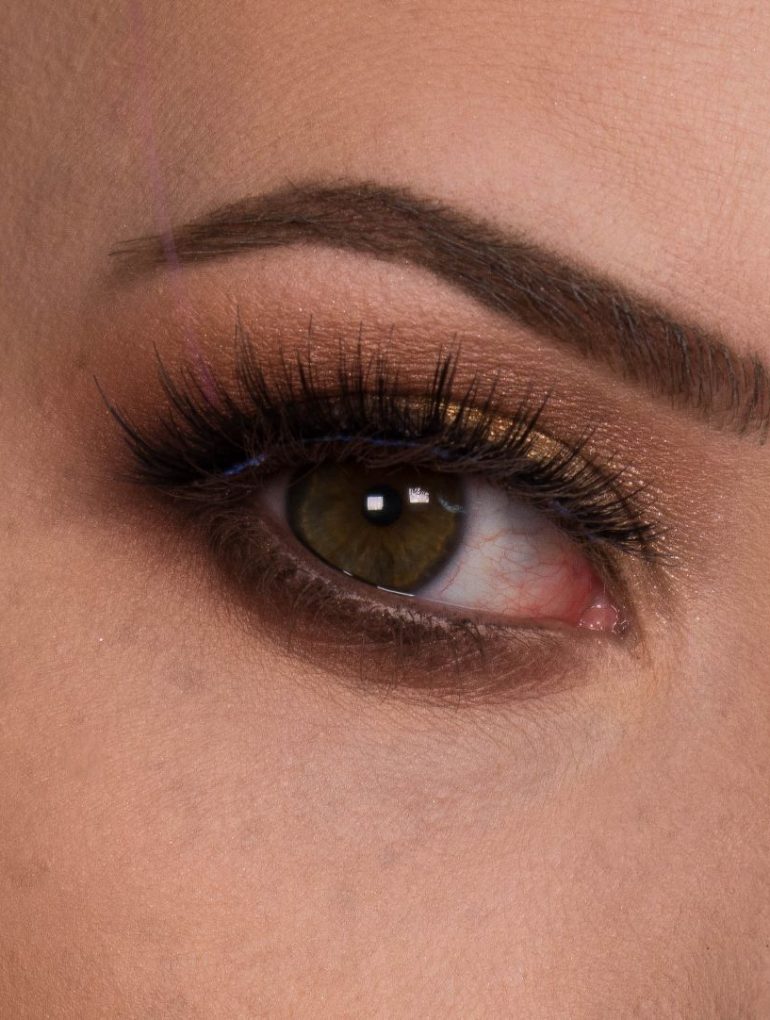
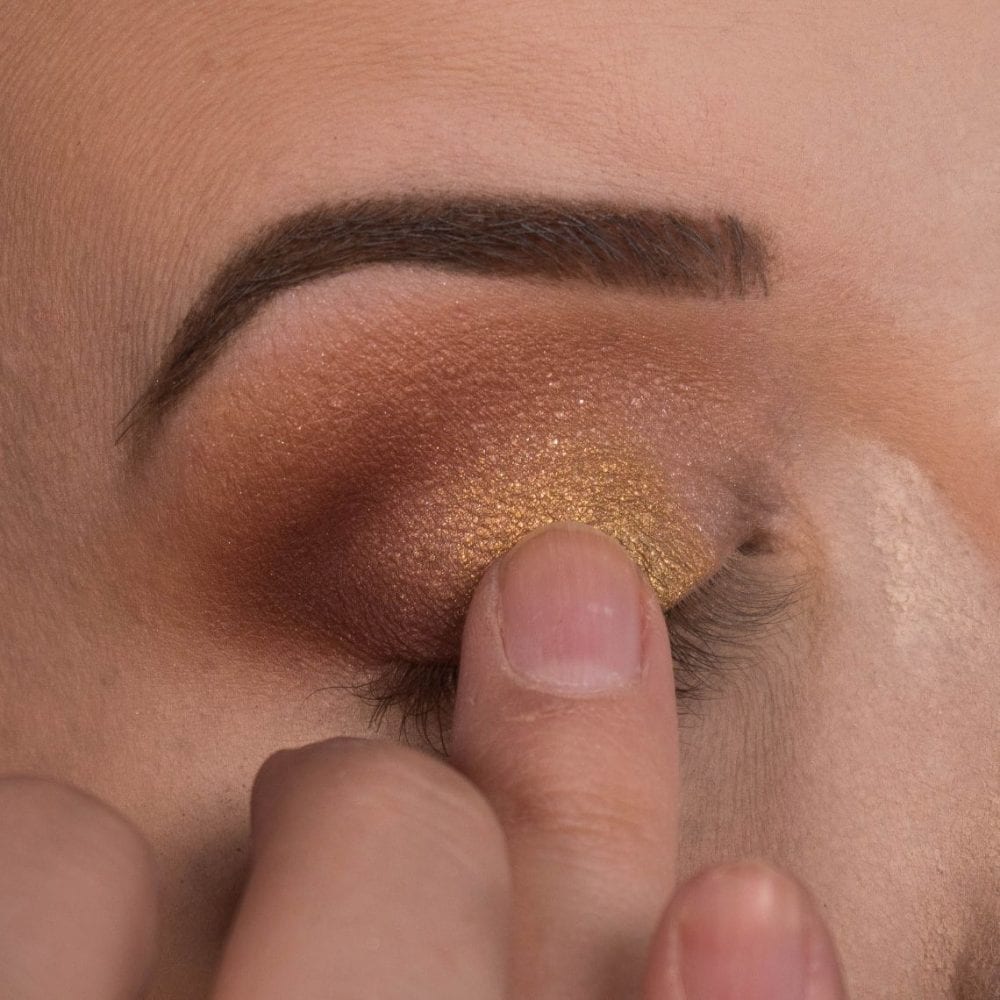
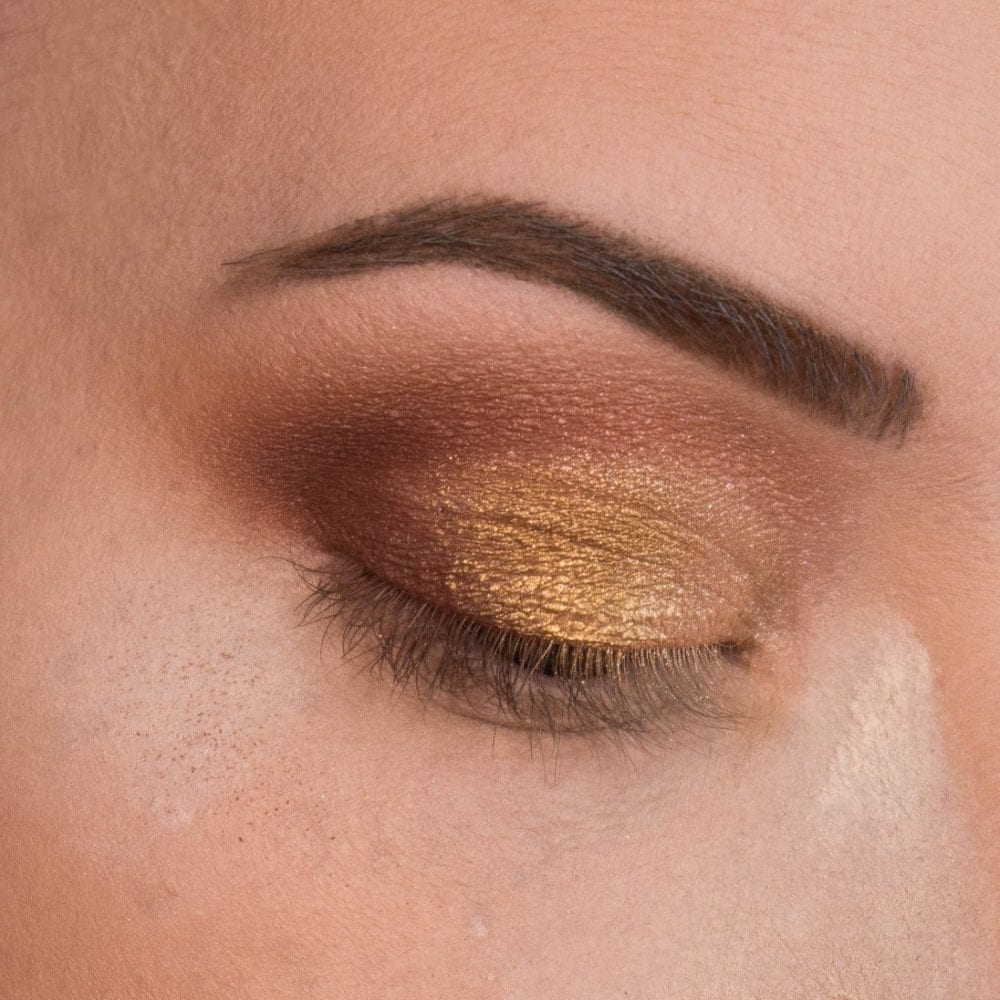
Step 8: Apply Some Gold Shadow
Using a flat brush or your finger and take a shimmery gold shadow and add it to the lid next to the brown. Be sure to leave a little space open on the inner corner for one more shadow.
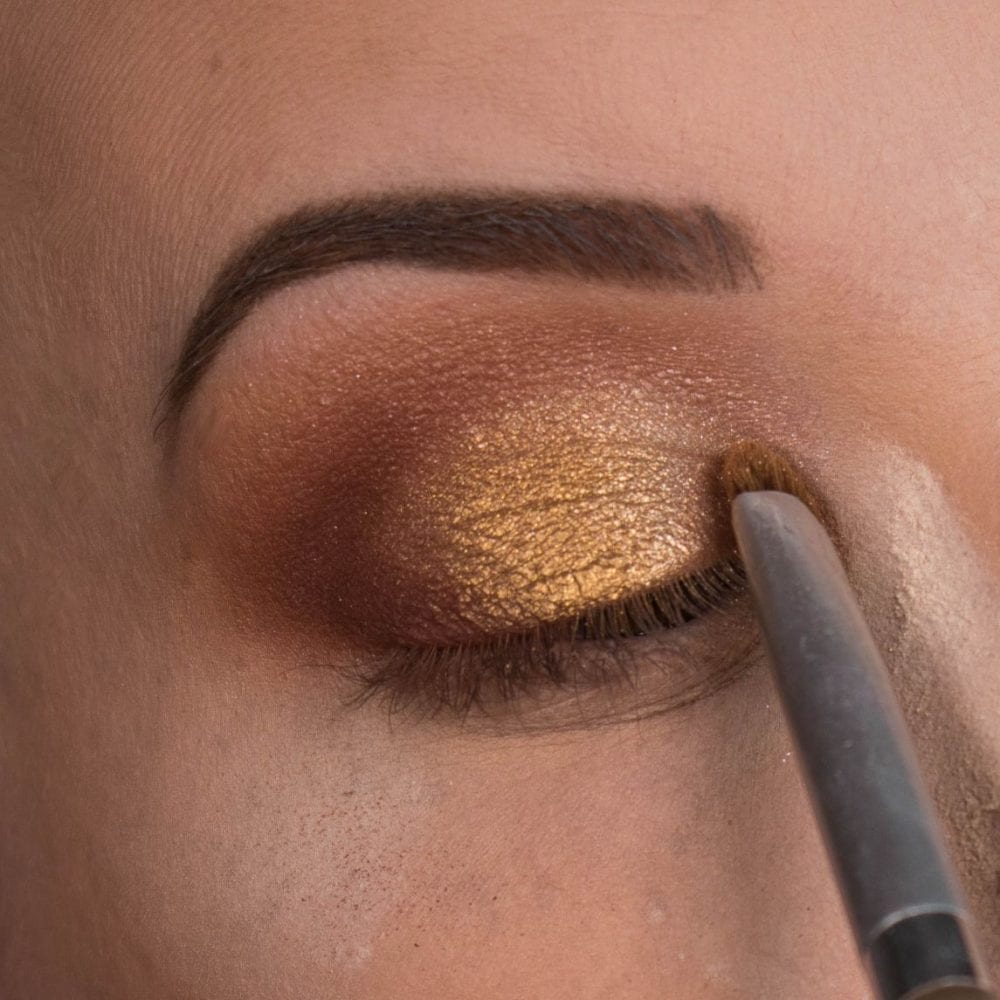
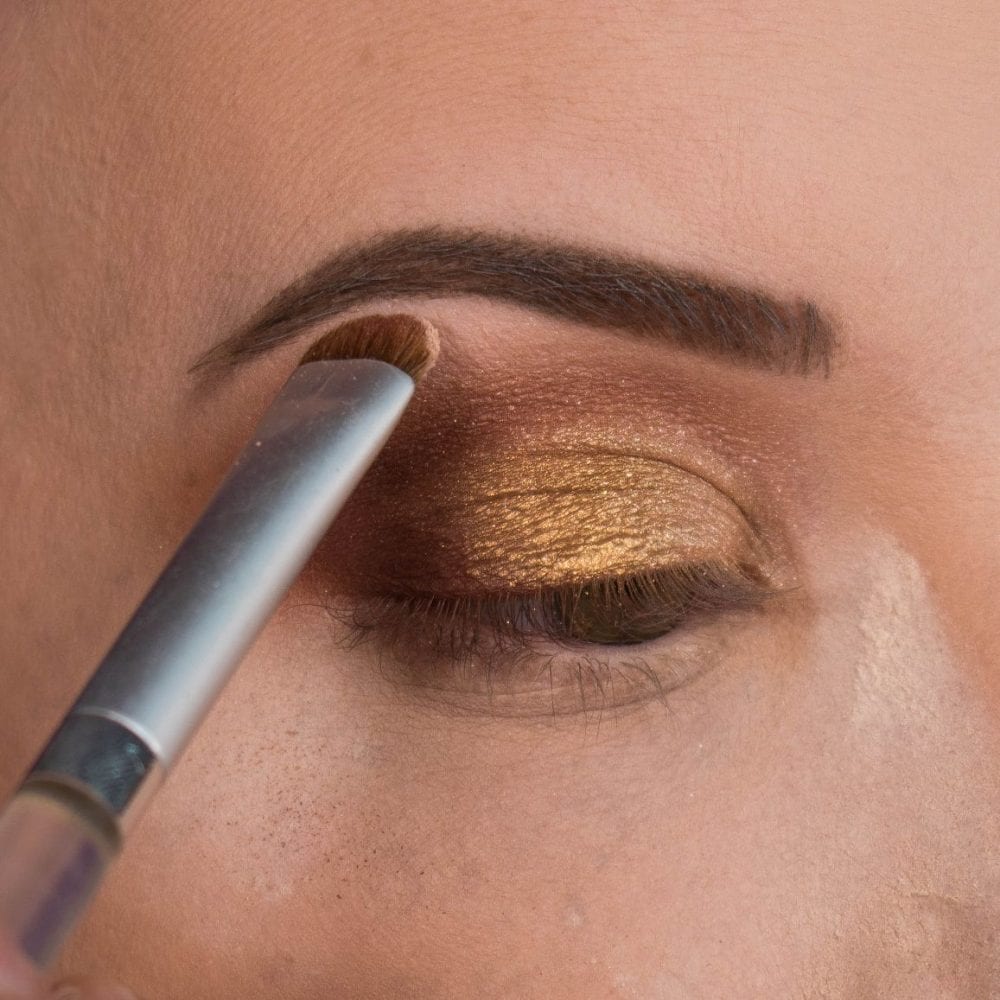
Step 9: Shady the Inner Eye Corner
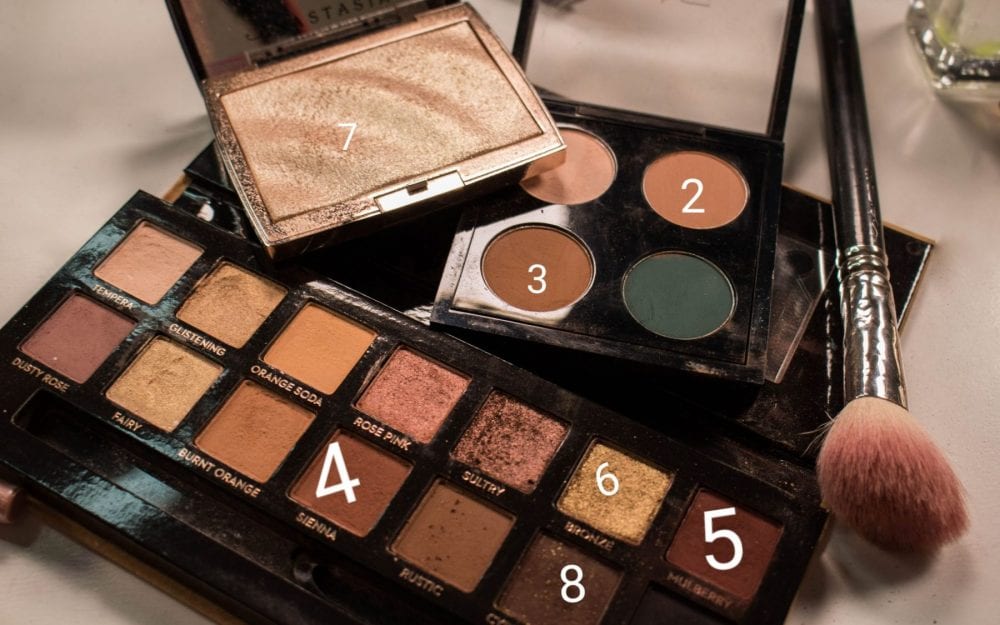
Using a small clean brush pick up a light gold shadow and add it to the inner corner of the eye and under the eyebrow. I used a cheek highlighter from Amrezy x Anastasia Beverly Hills.
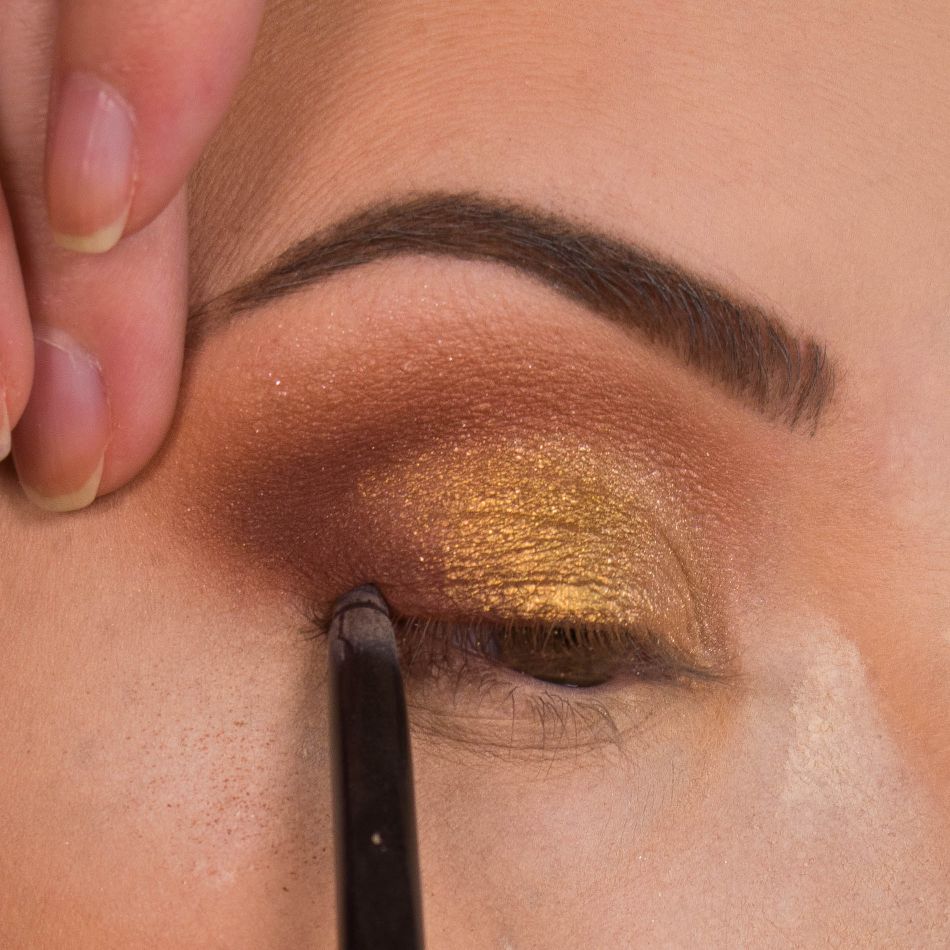
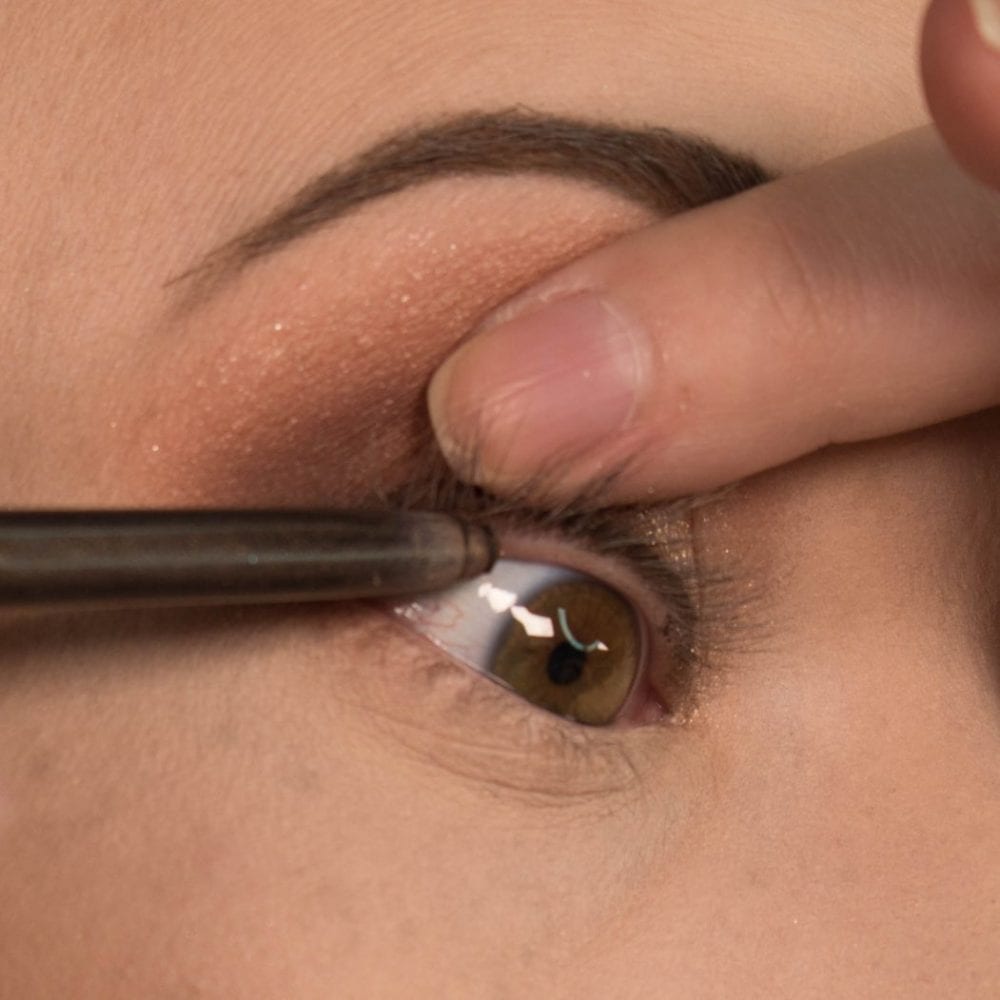
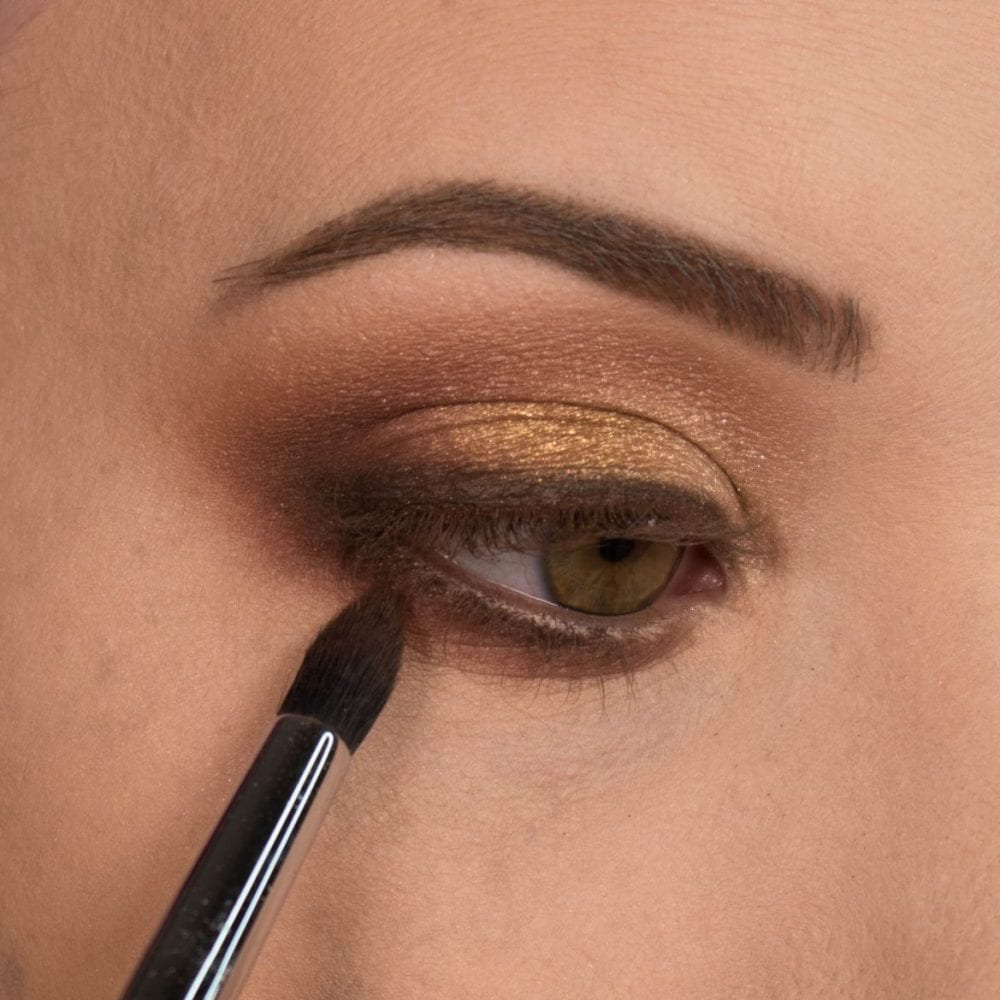
Step 10: Line the Eyelid
Using a soft and long-wearing brown pencil, line the eyelid starting from the outside working in. Start out thin and work up to your desired thickness. Immediately after applying the liner, use a smudger brush to blend out and soften the liner. You can also use a dark brown shadow to soften the line.
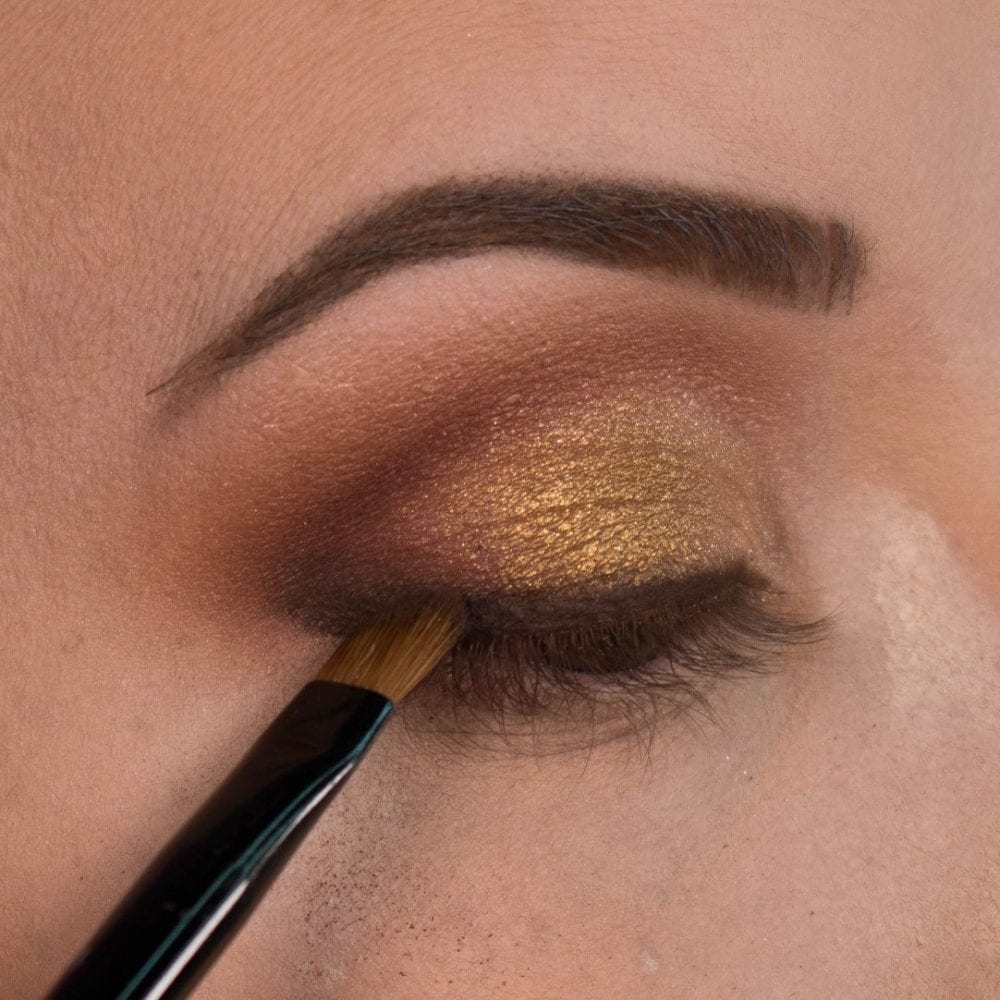
Step 10: Add Brown Shadow into the Liner
Take a dark brown shadow and work it into the brown liner as well as a little in the crease and blend. This will tie the look together.
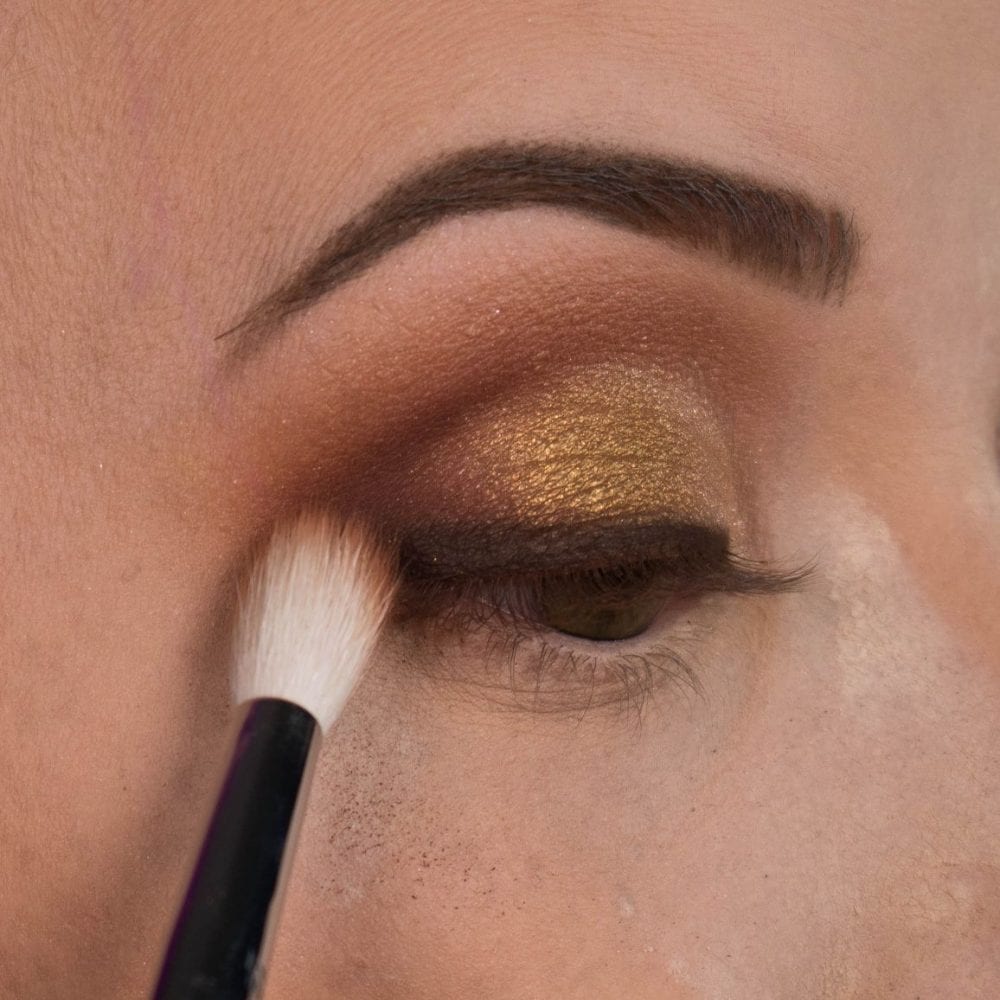
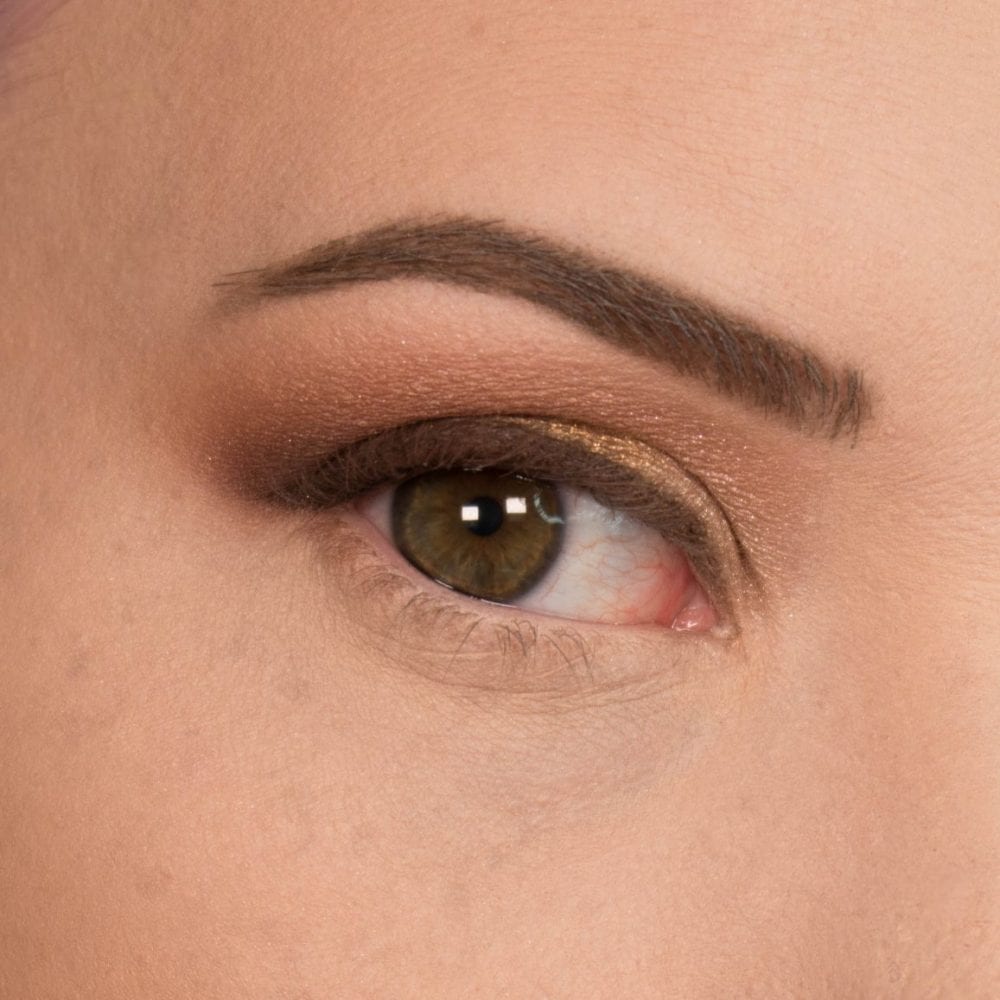
Step 11: Dust Off Excess Powder
Now that you have finished the majority of the eyeshadow you can now take a soft small face brush and dust off all the excess powder including any fall out that may have accumulated.
Now if you are brave, take that same brown eyeliner and add it to the upper waterline. This will help in masking false eyelashes as well as making the lash line appear thicker.
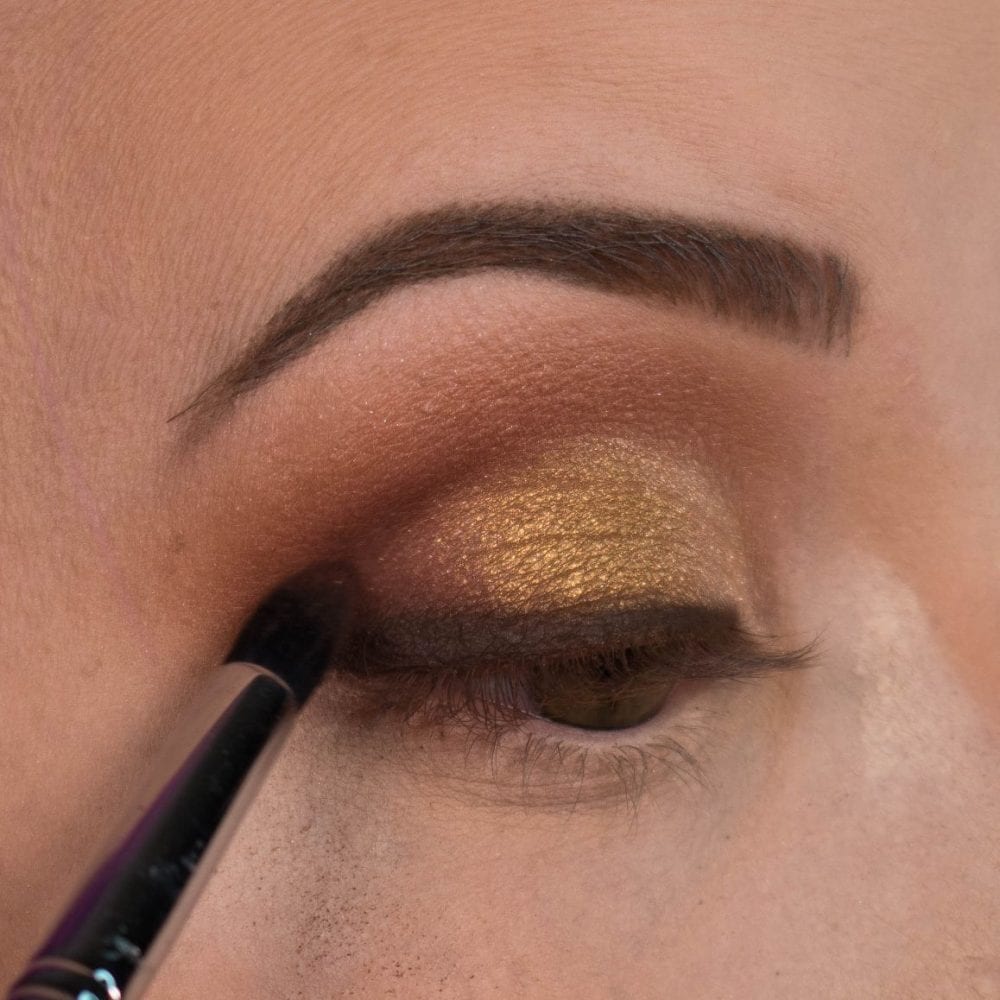
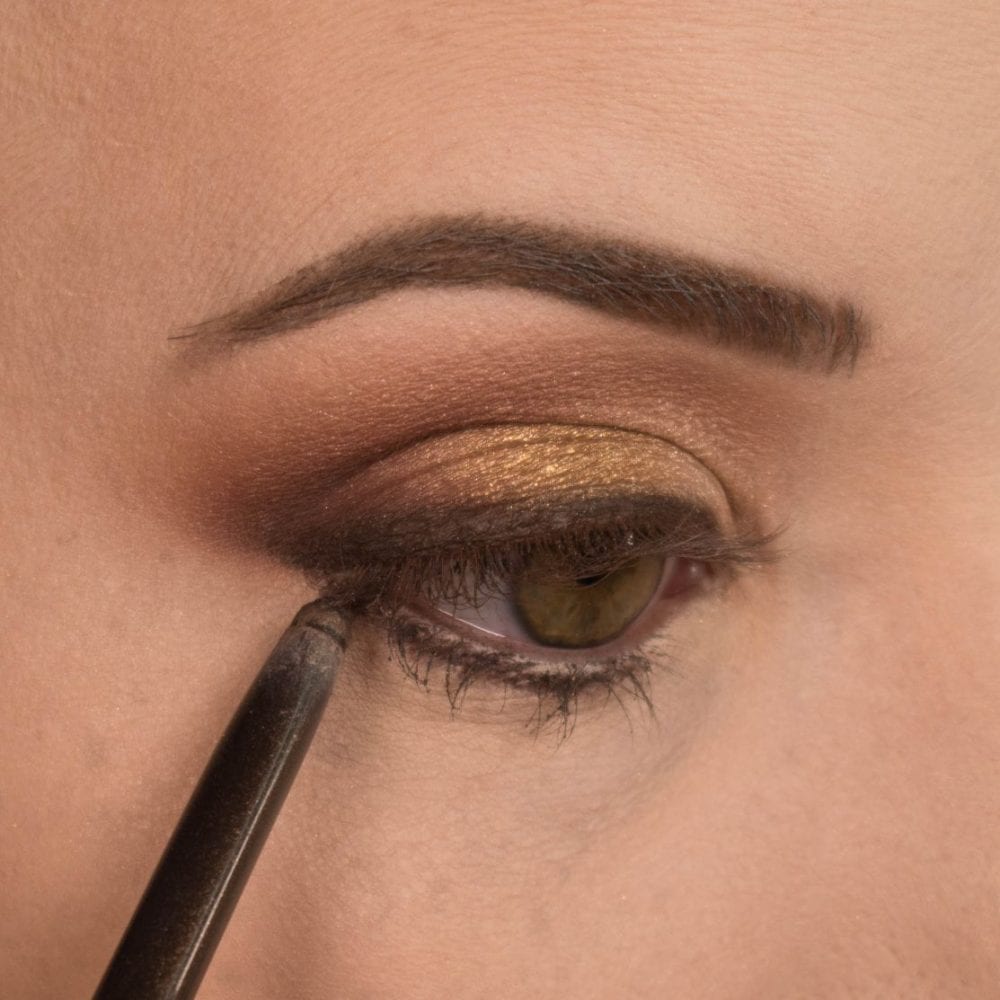
Step 12: Apply Eyeliner to the Bottom Lash
Using that same brown liner, apply it along the bottom lash and in the waterline. Immediately after, take your smudger brush to soften the liner and blend it so there are no naked spots along the lashes.
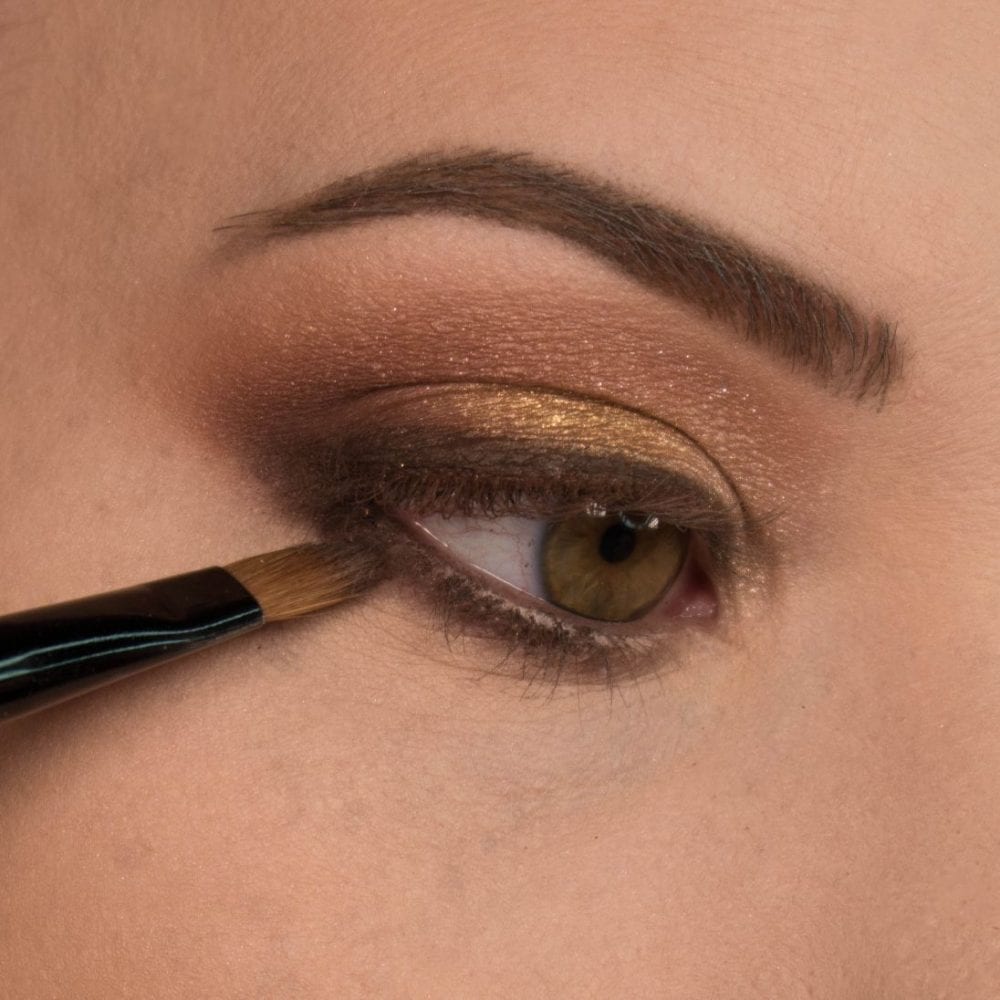
Step 13: Create a Gradient on the Lower Eyelid
Take one of the middle tone browns and smudge it along the lash line to soften and create a gradient similar to that of the top lid.
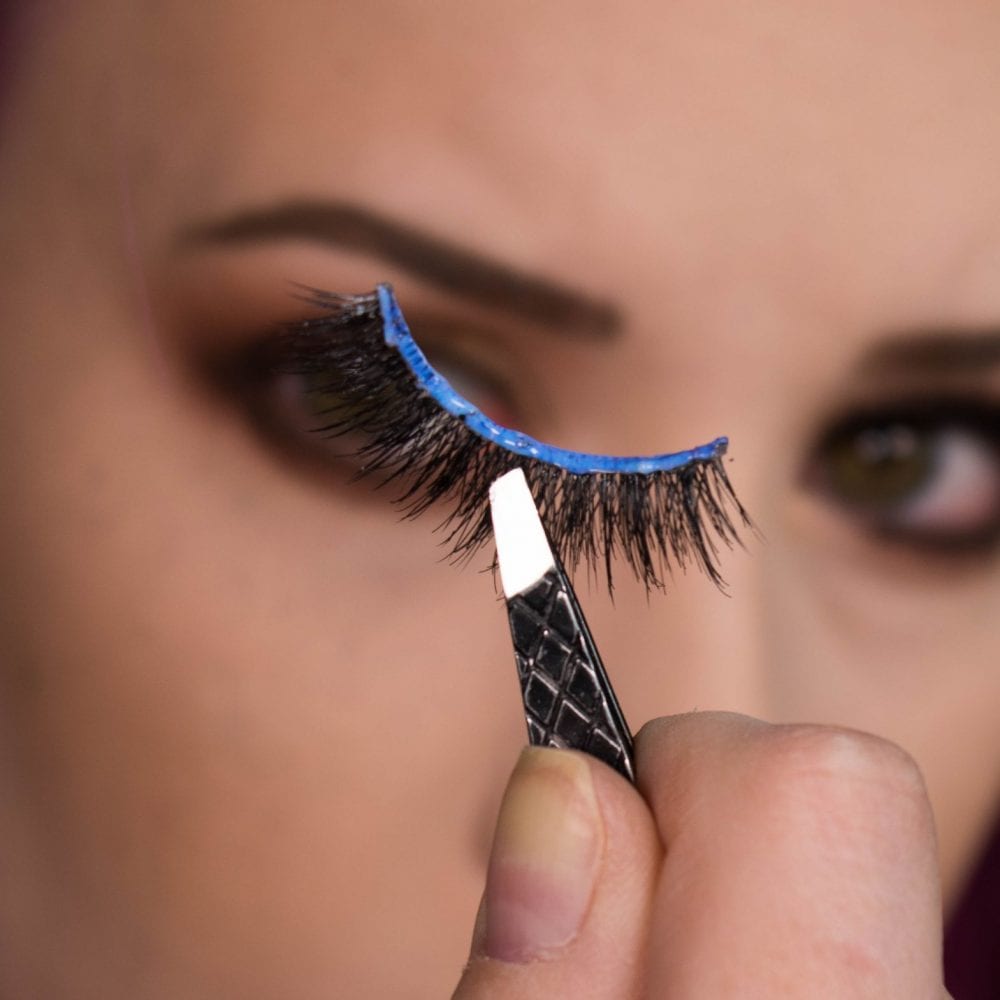
Step 14: Applying False Eyelashes
First things first, take the clean lashes out of the case and put them to your lid without glue. See if they are the right length or if they require trimming. If so cut from the outer corner and take off a little bit at a time unless you achieve the right band length for your eye.
Note: always cut the eyelash band from the outer corner, as the inner corner of the band is designed to be shorter and help the lashes look more natural.
Apply a thin layer of glue along the base of the lash. Wait until the glue becomes tacky. Take a pair of tweezers and grab the lashes from the center of the band.
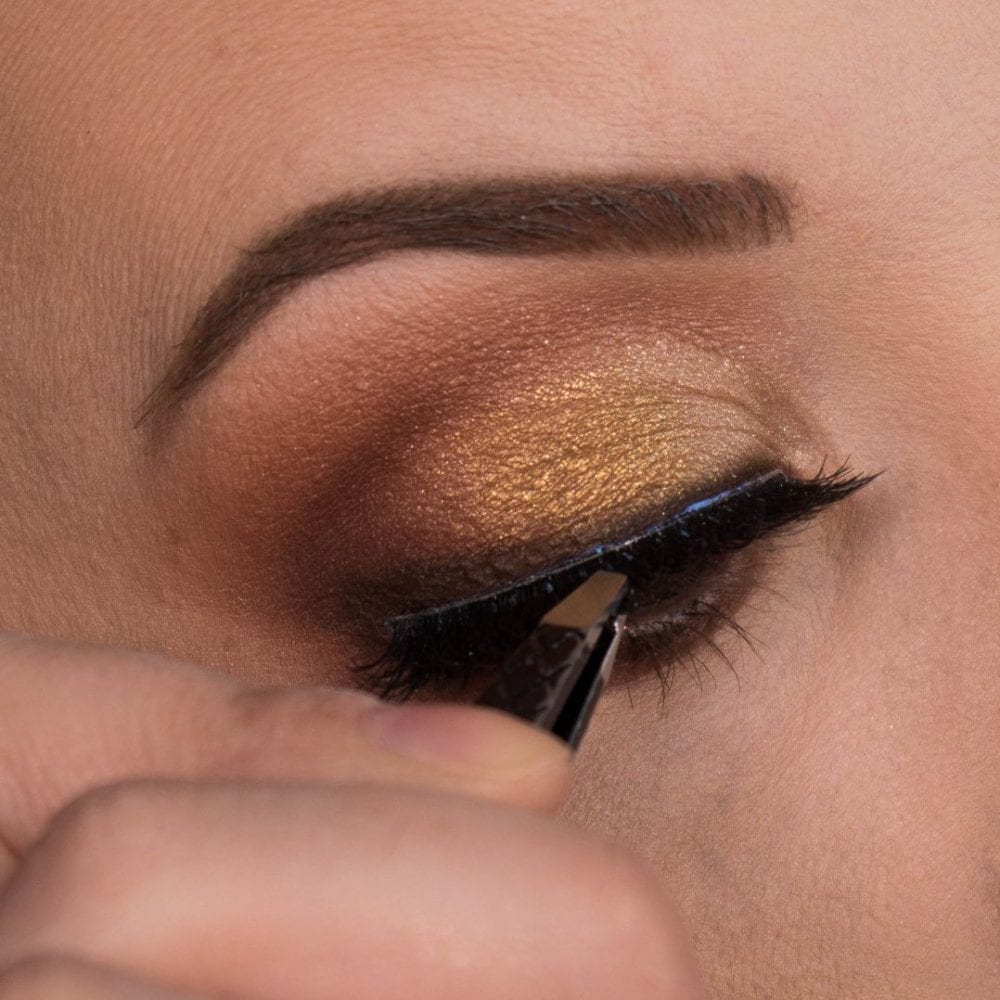
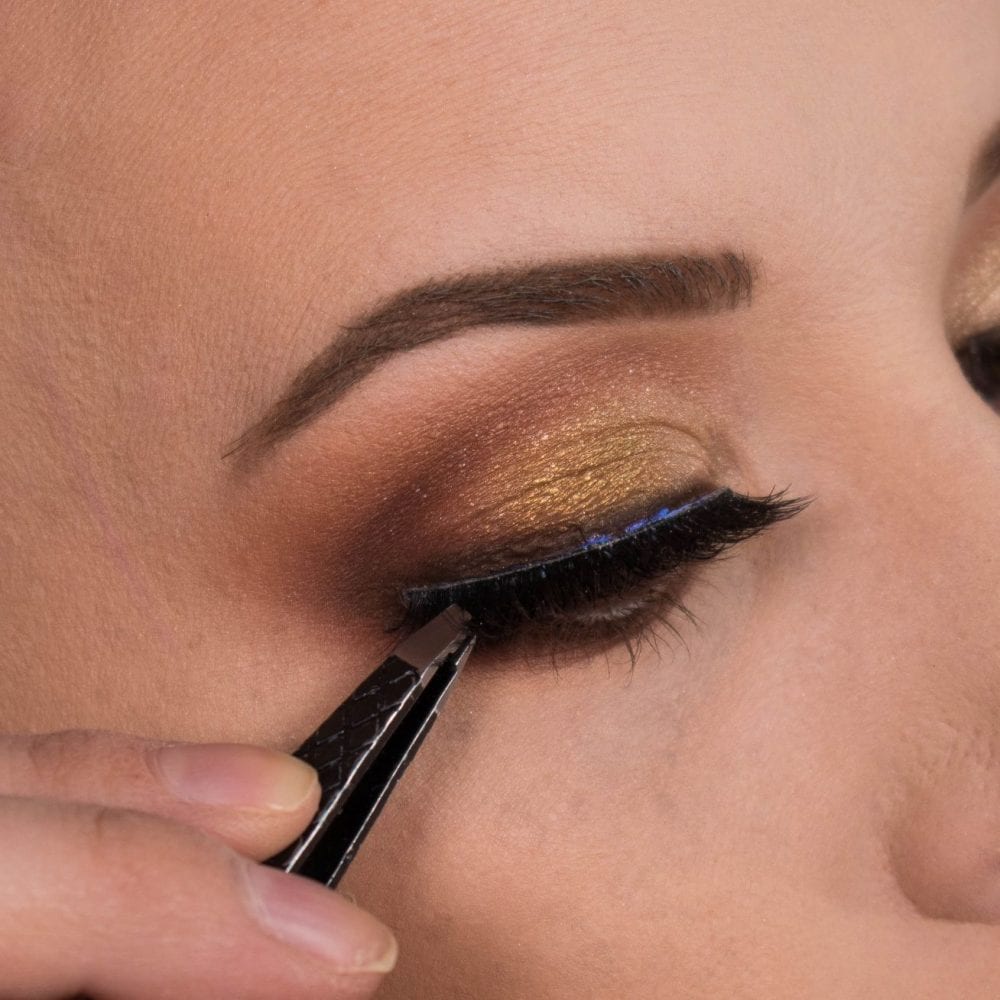
Apply the band first to the center of the lid, close as you can to your natural lashes. Then take the tweezers and “pull and tuck” the corners like so:
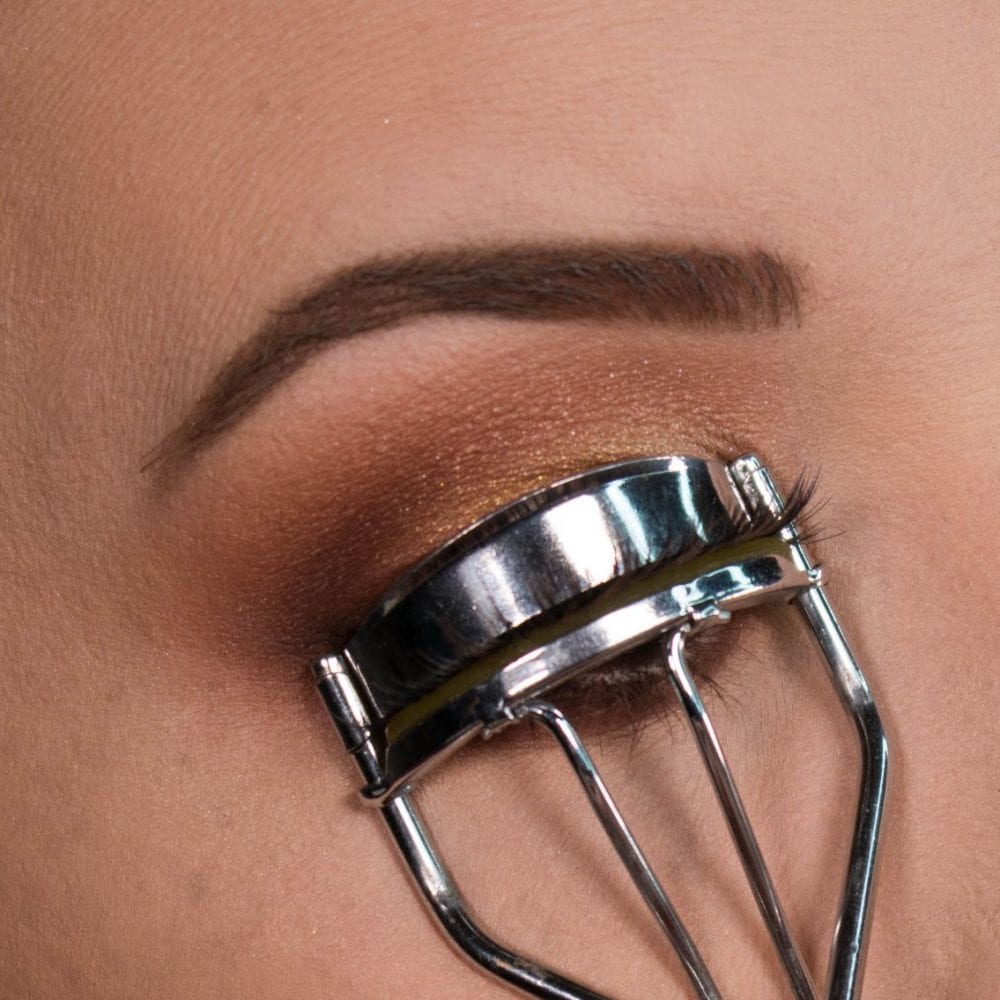
Step 15: Whip Out the Lash Curler!
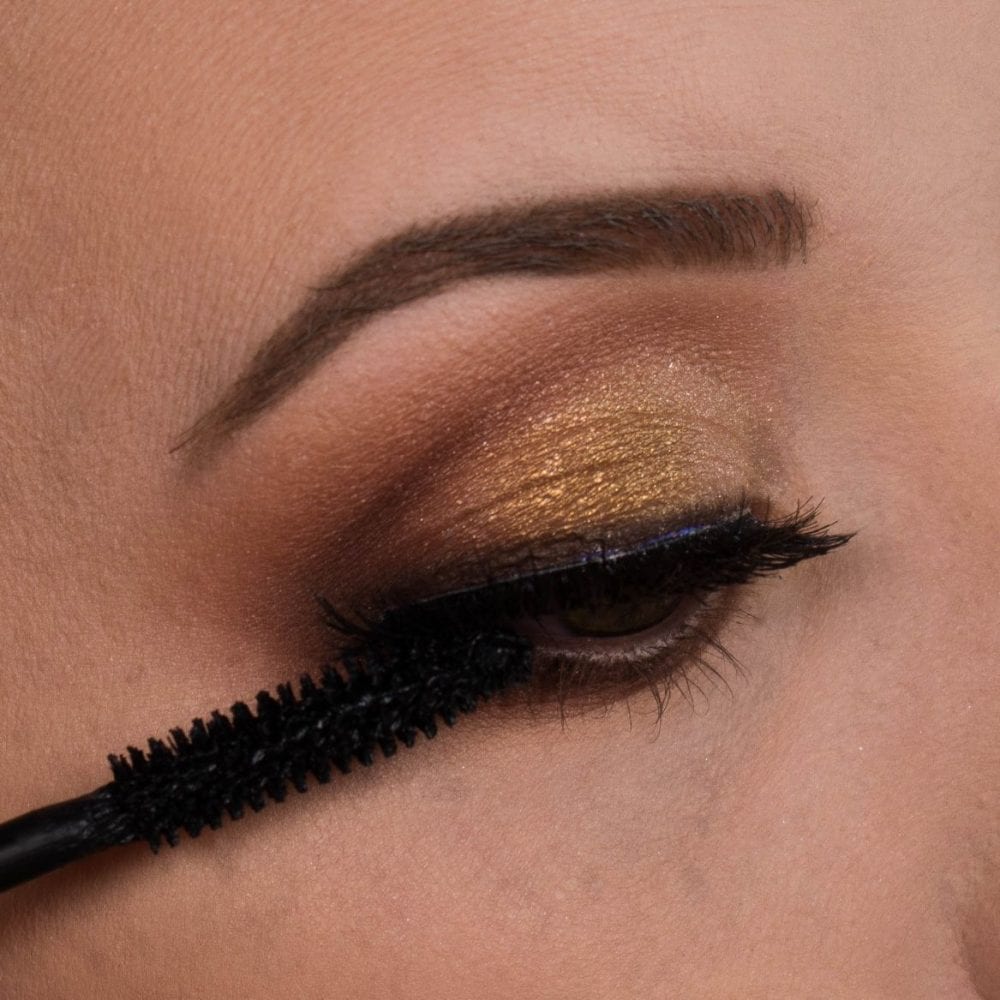
After successfully attaching your lashes wait a minute for the glue to dry. To help the lashes to blend more seamlessly with your own: take a lash curler and press the lashes together with your own. After, follow with mascara on top and bottom lashes.
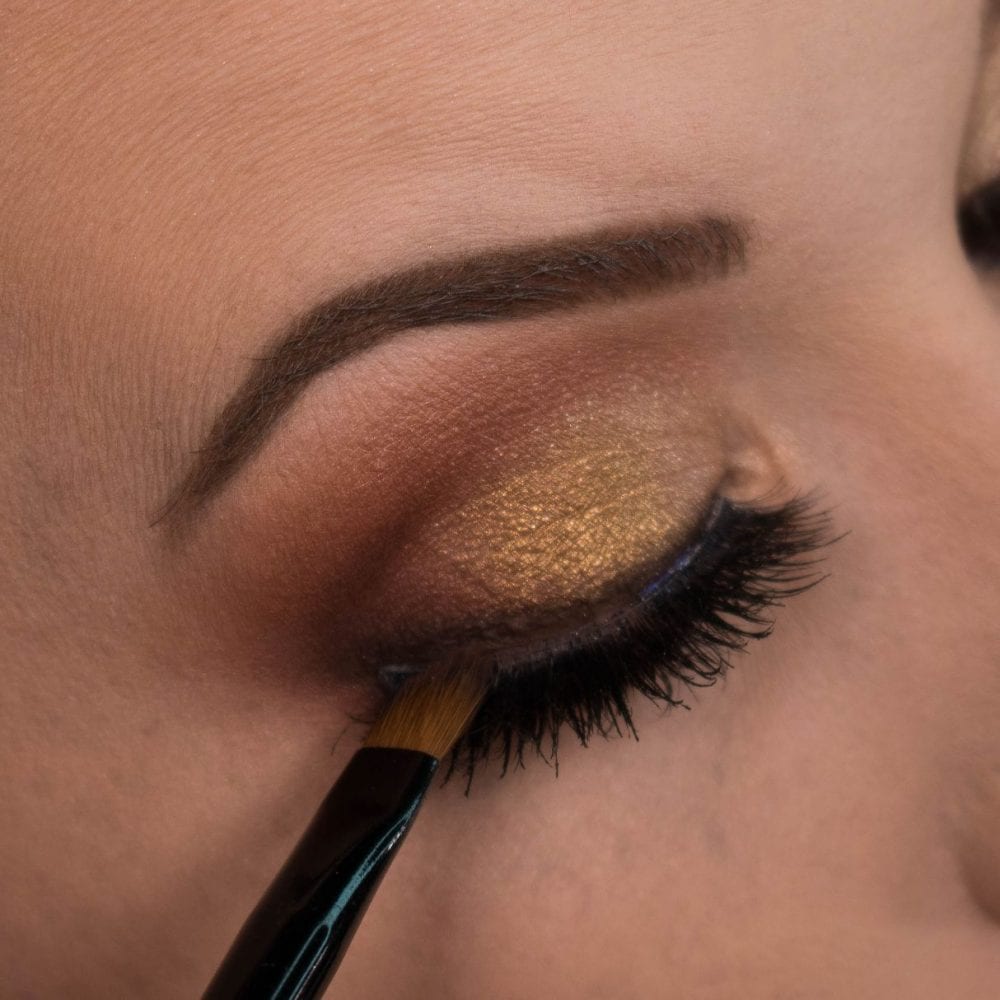
Step 15: Highlight & Mask Those Lashes!
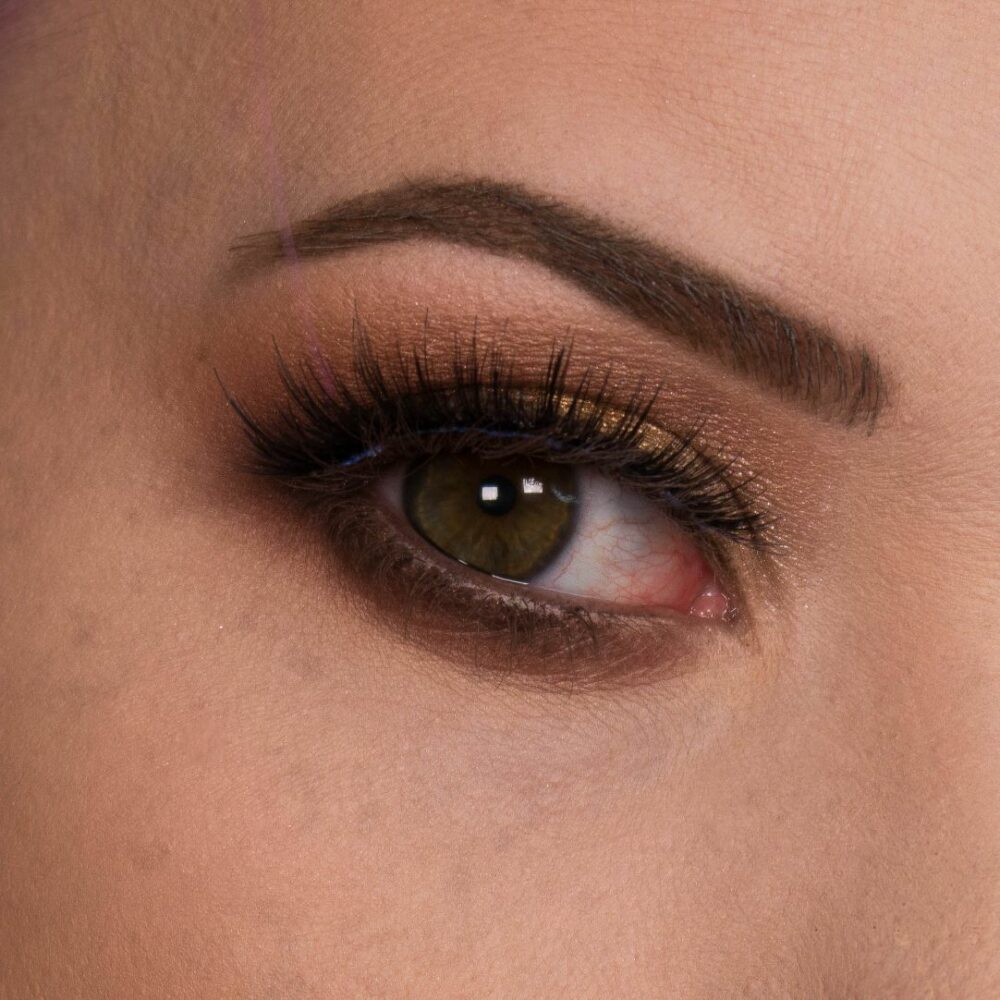
Finish off the eye by adding a light gold to the tear duct and covering the lash band with a little more brown eyeliner or eyeshadow.

Tada! You did it. Just remember, practice makes perfect. Make sure you give this look a test run before going all out and be sure to allow yourself enough time on the big day. God-speed ladies.
![]()